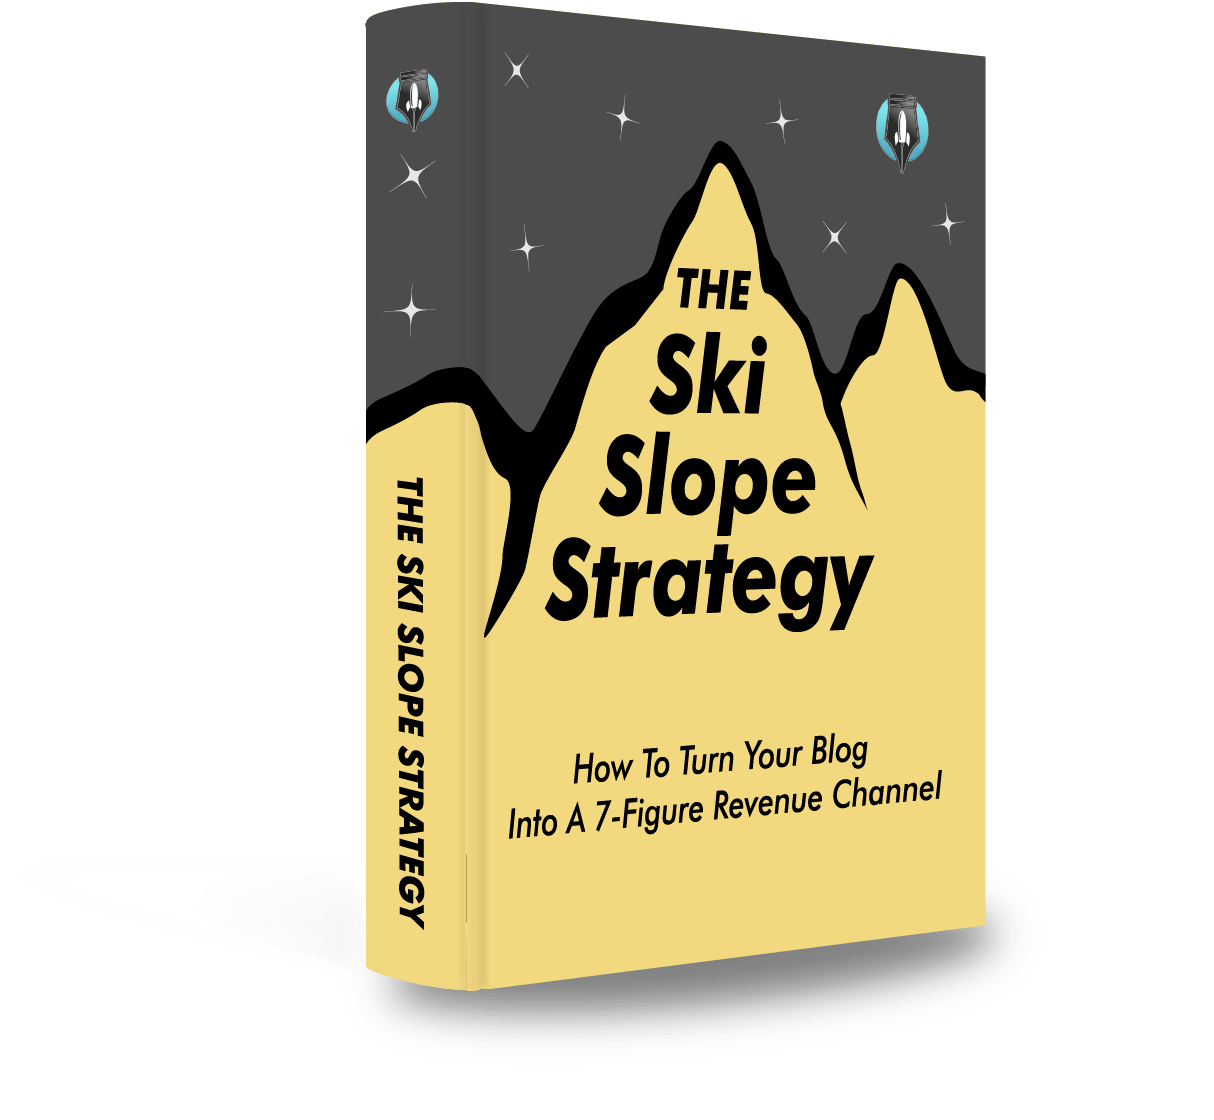
Bonus Material: Free Content Optimization Checklist
In today’s post, I'm going to show you how to use new content optimization strategies proven to work now.
In fact, these are the exact same strategies I used to get:
- 3,000 visitors.
- 600 hyper-targeted email leads (read: leads that buy).
- 17% traffic to lead conversion rate.
(From one blog post without link building).

The kicker?
This blog post was published when I had a new, low domain authority (DA <20) site with less than five blog posts on Content Mavericks.
Grab my content optimization checklist below to see how to convert over 10% of your traffic to leads.
Then follow this 8-step strategy to increase traffic and conversions on every blog post you publish.
Let’s dive right in.
What Is Content Optimization?
Content optimization is the process of creating content optimized for traffic and conversion.
To create “optimized” content you need to optimize for six specific elements:
- SEO.
- Authority.
- Engagement.
- Readability.
- Social Proof.
- Conversion.
Why Is Content Optimization Important?
Traffic for the sake of traffic is useless.
Even if you get 100,000s of visitors to your content, if you can’t get targeted leads who have the potential to buy from you:
You’ve wasted your time creating content.
(unless your goal is “branding”... then you go girl!).
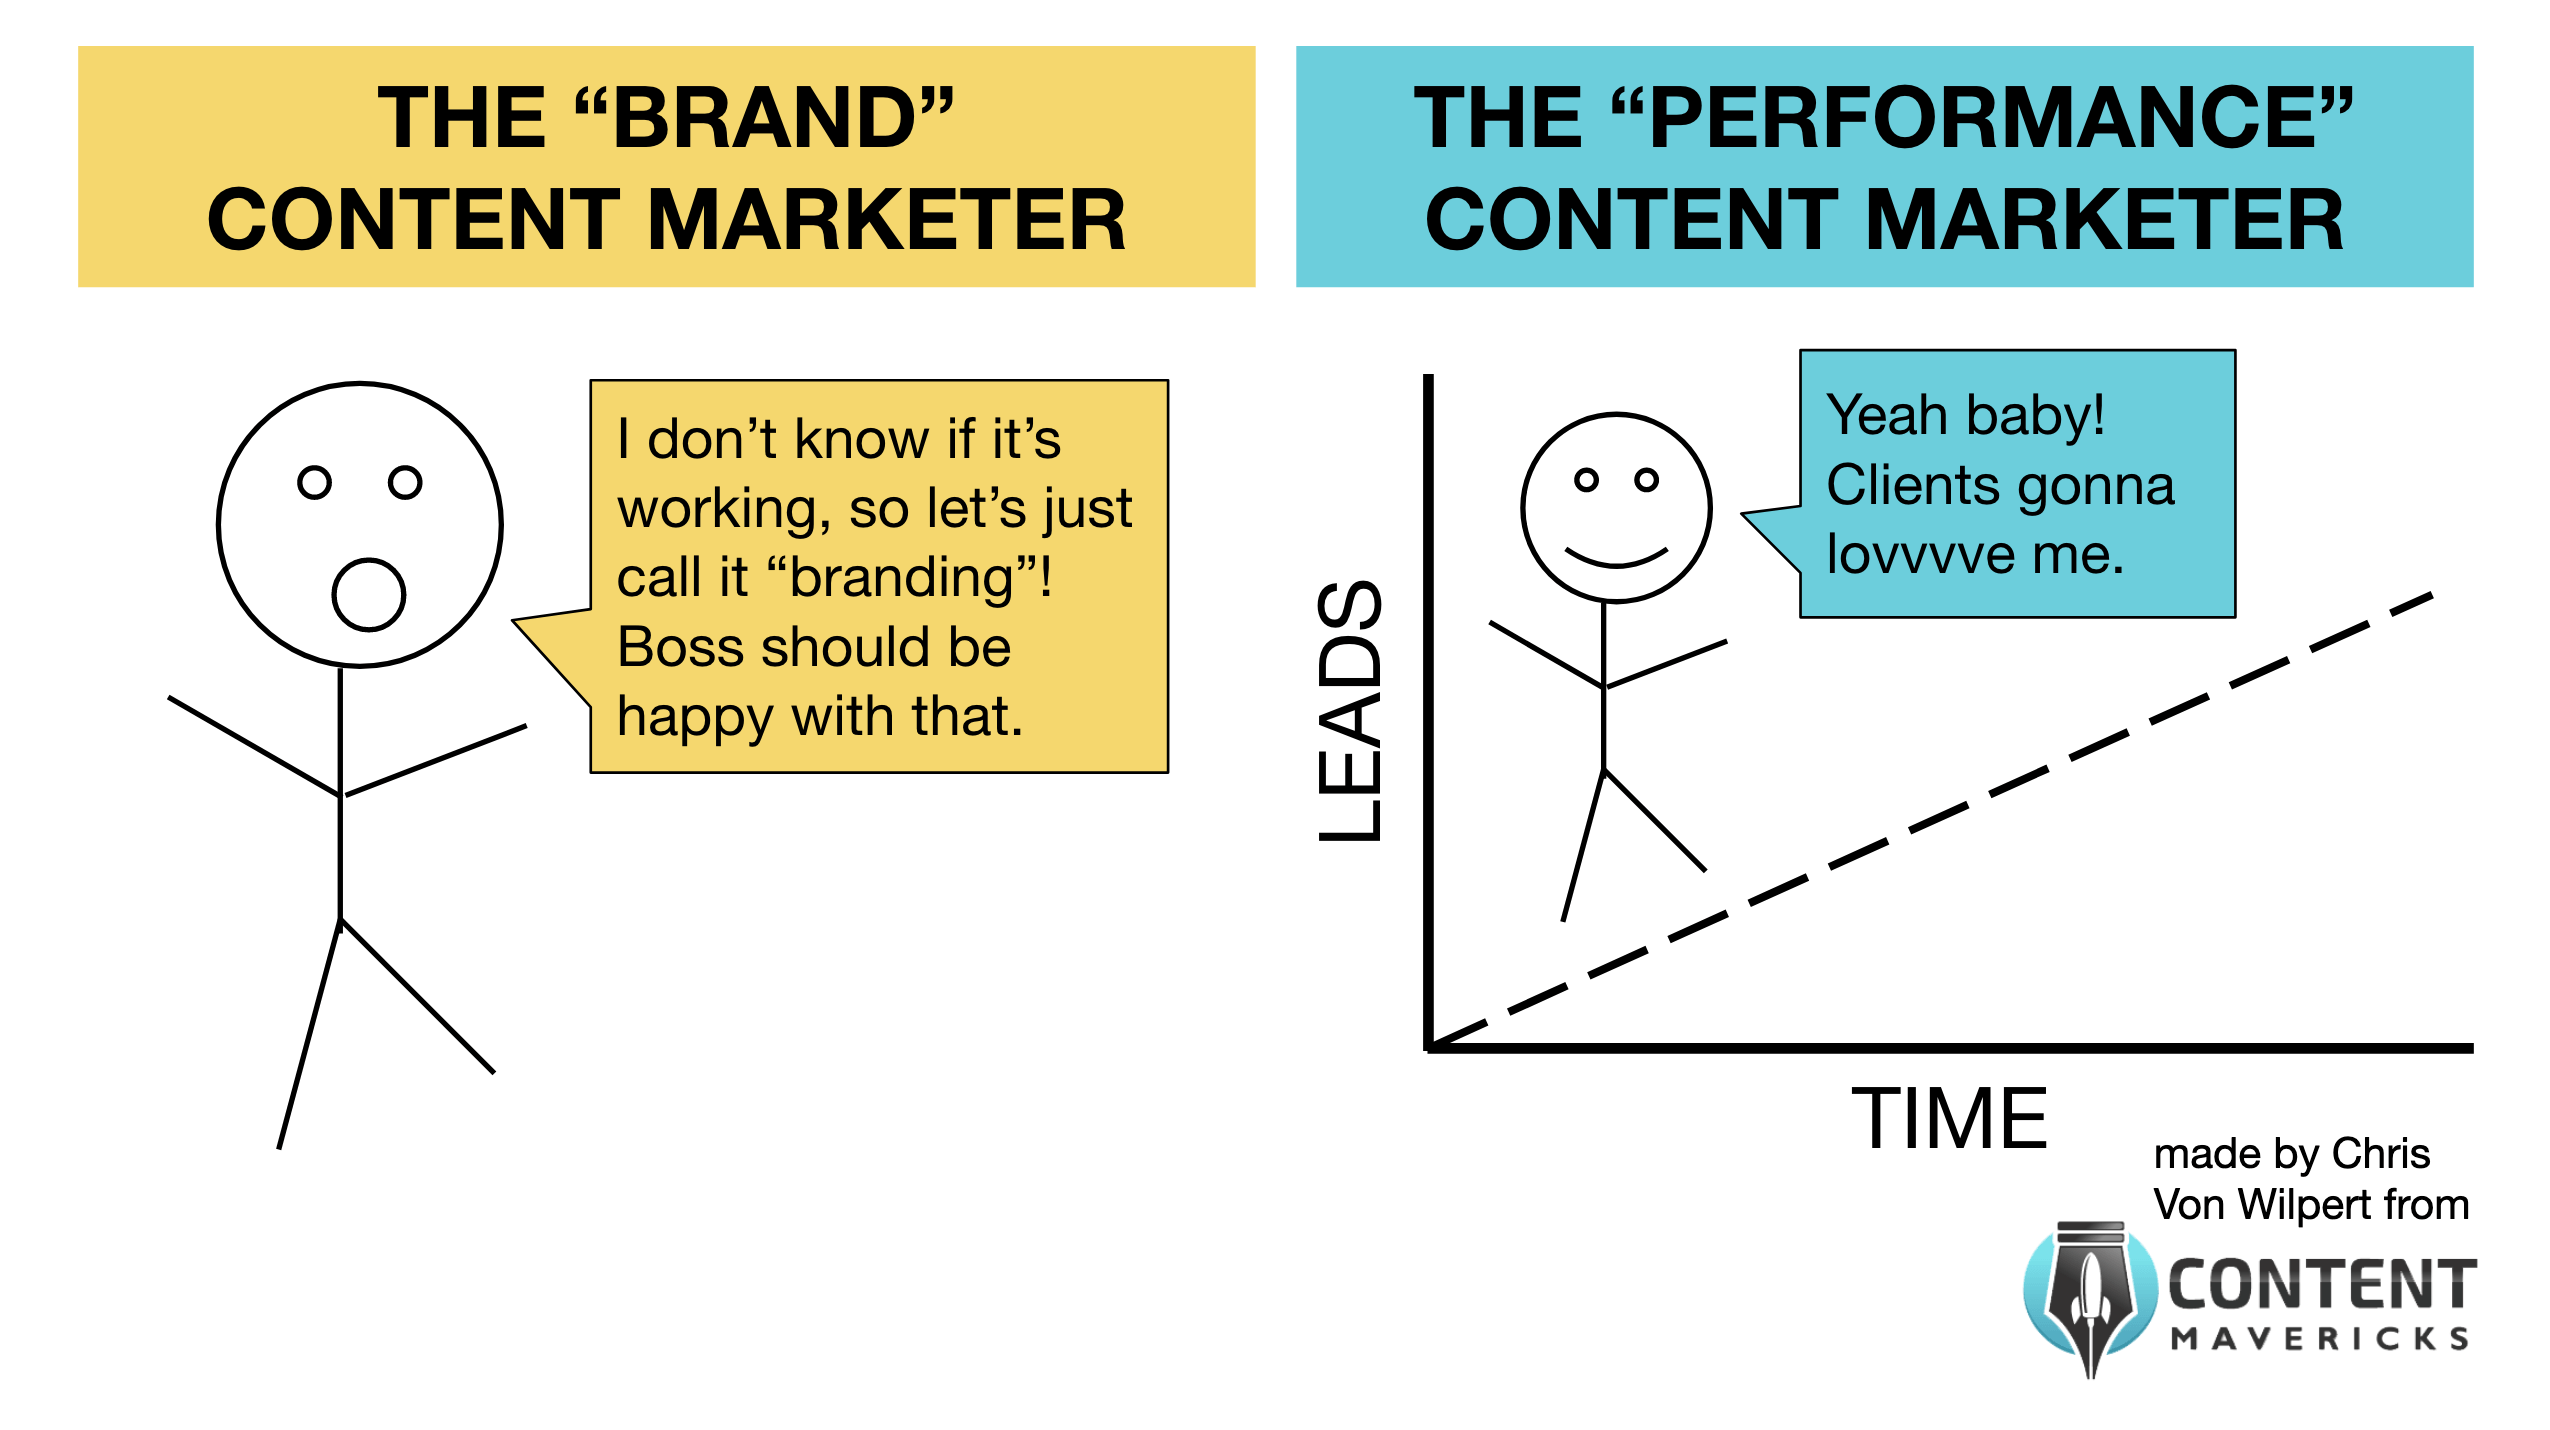
There is a time and place for “branding”, but if you’re running a small startup <$1M revenue per year, you probably ain’t got no time for branding right now.
What you need is traffic that results in leads.
Here’s how it’s done:
The 8-Step Content Optimization Strategy To Increase Traffic & Conversions On Any Blog Post
- Step #1: Find A Content Topic You Can Win For
- Step #2: Write Killer Content Using AIDA
- Step #3: Optimize Your Content For SEO
- Step #4: Optimize Your Content For Authority
- Step #5: Optimize Your Content For Engagement
- Step #6: Optimize Your Content For Readability
- Step #7: Optimize Your Content For Social Proof
- Step #8: Optimize Your Content For Conversion
Step #1: Find A Content Topic You Can Win For
If you can find a topic not many people in your industry have optimized for AND people are willing to pay for:
That is your biggest advantage as a content marketer.
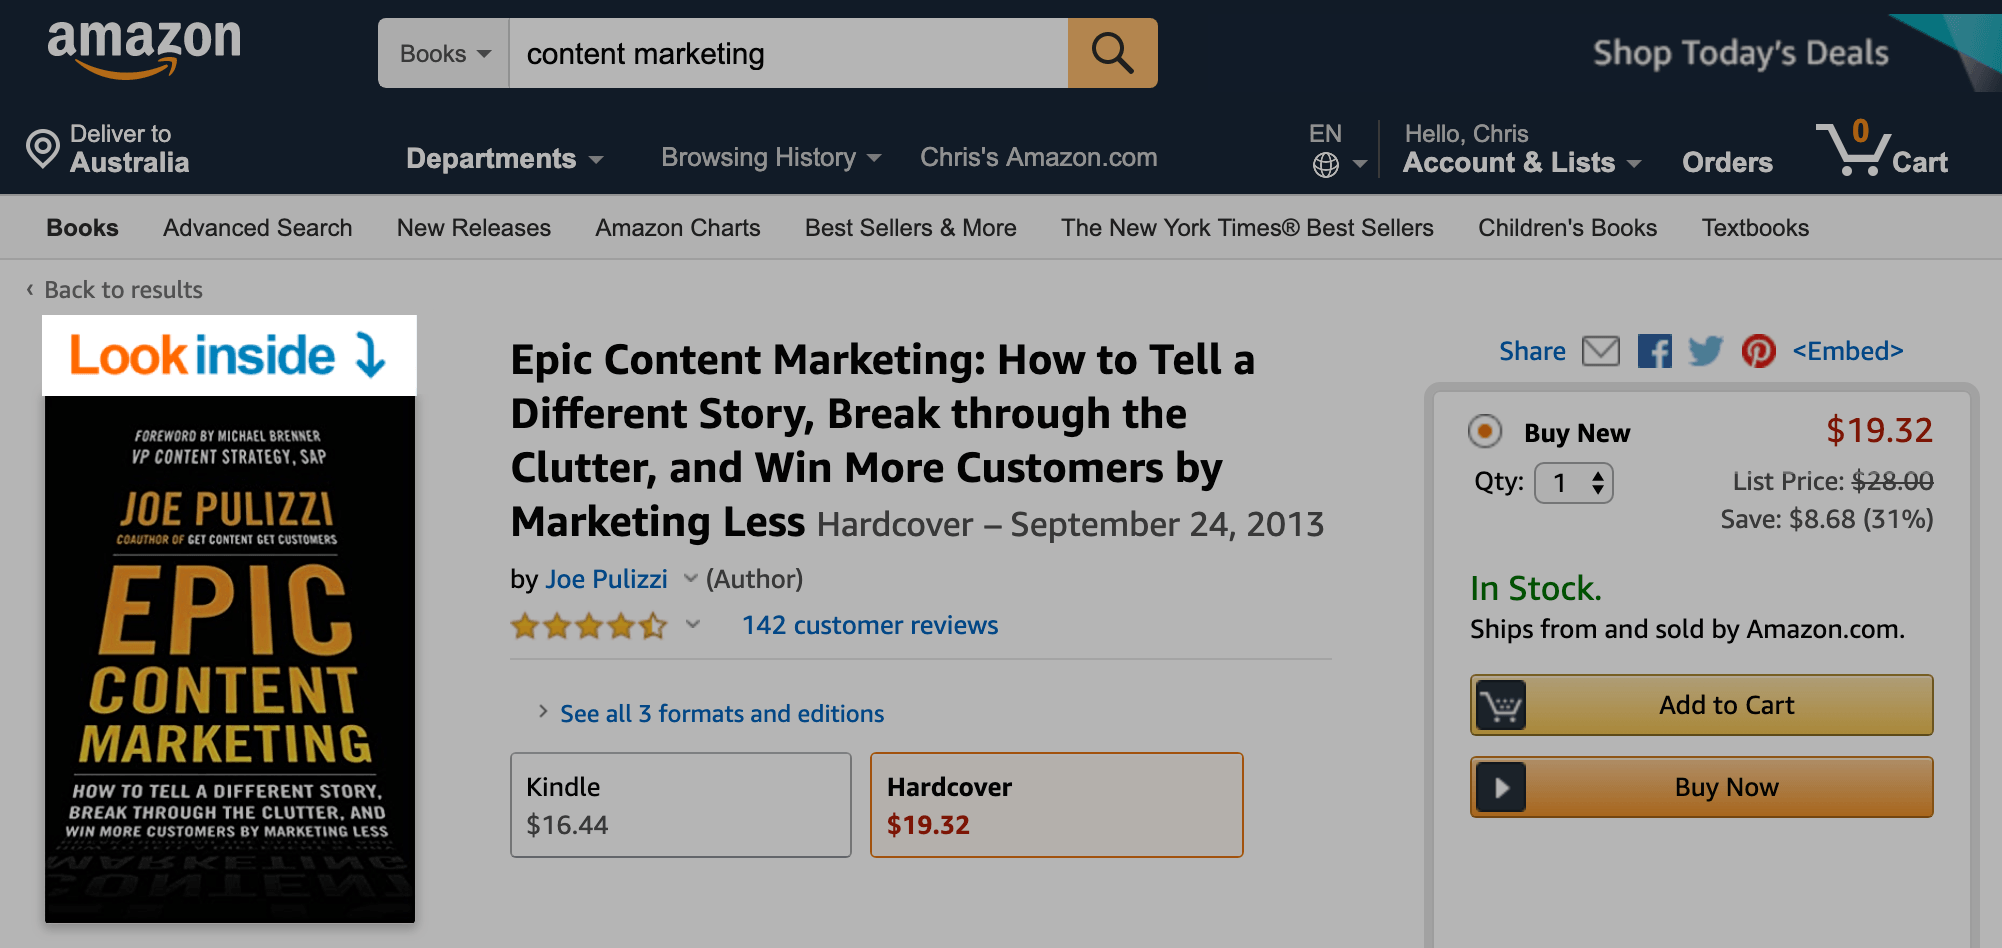
To do it, go to Amazon and search for a topic related to your blog/product in the Books category:
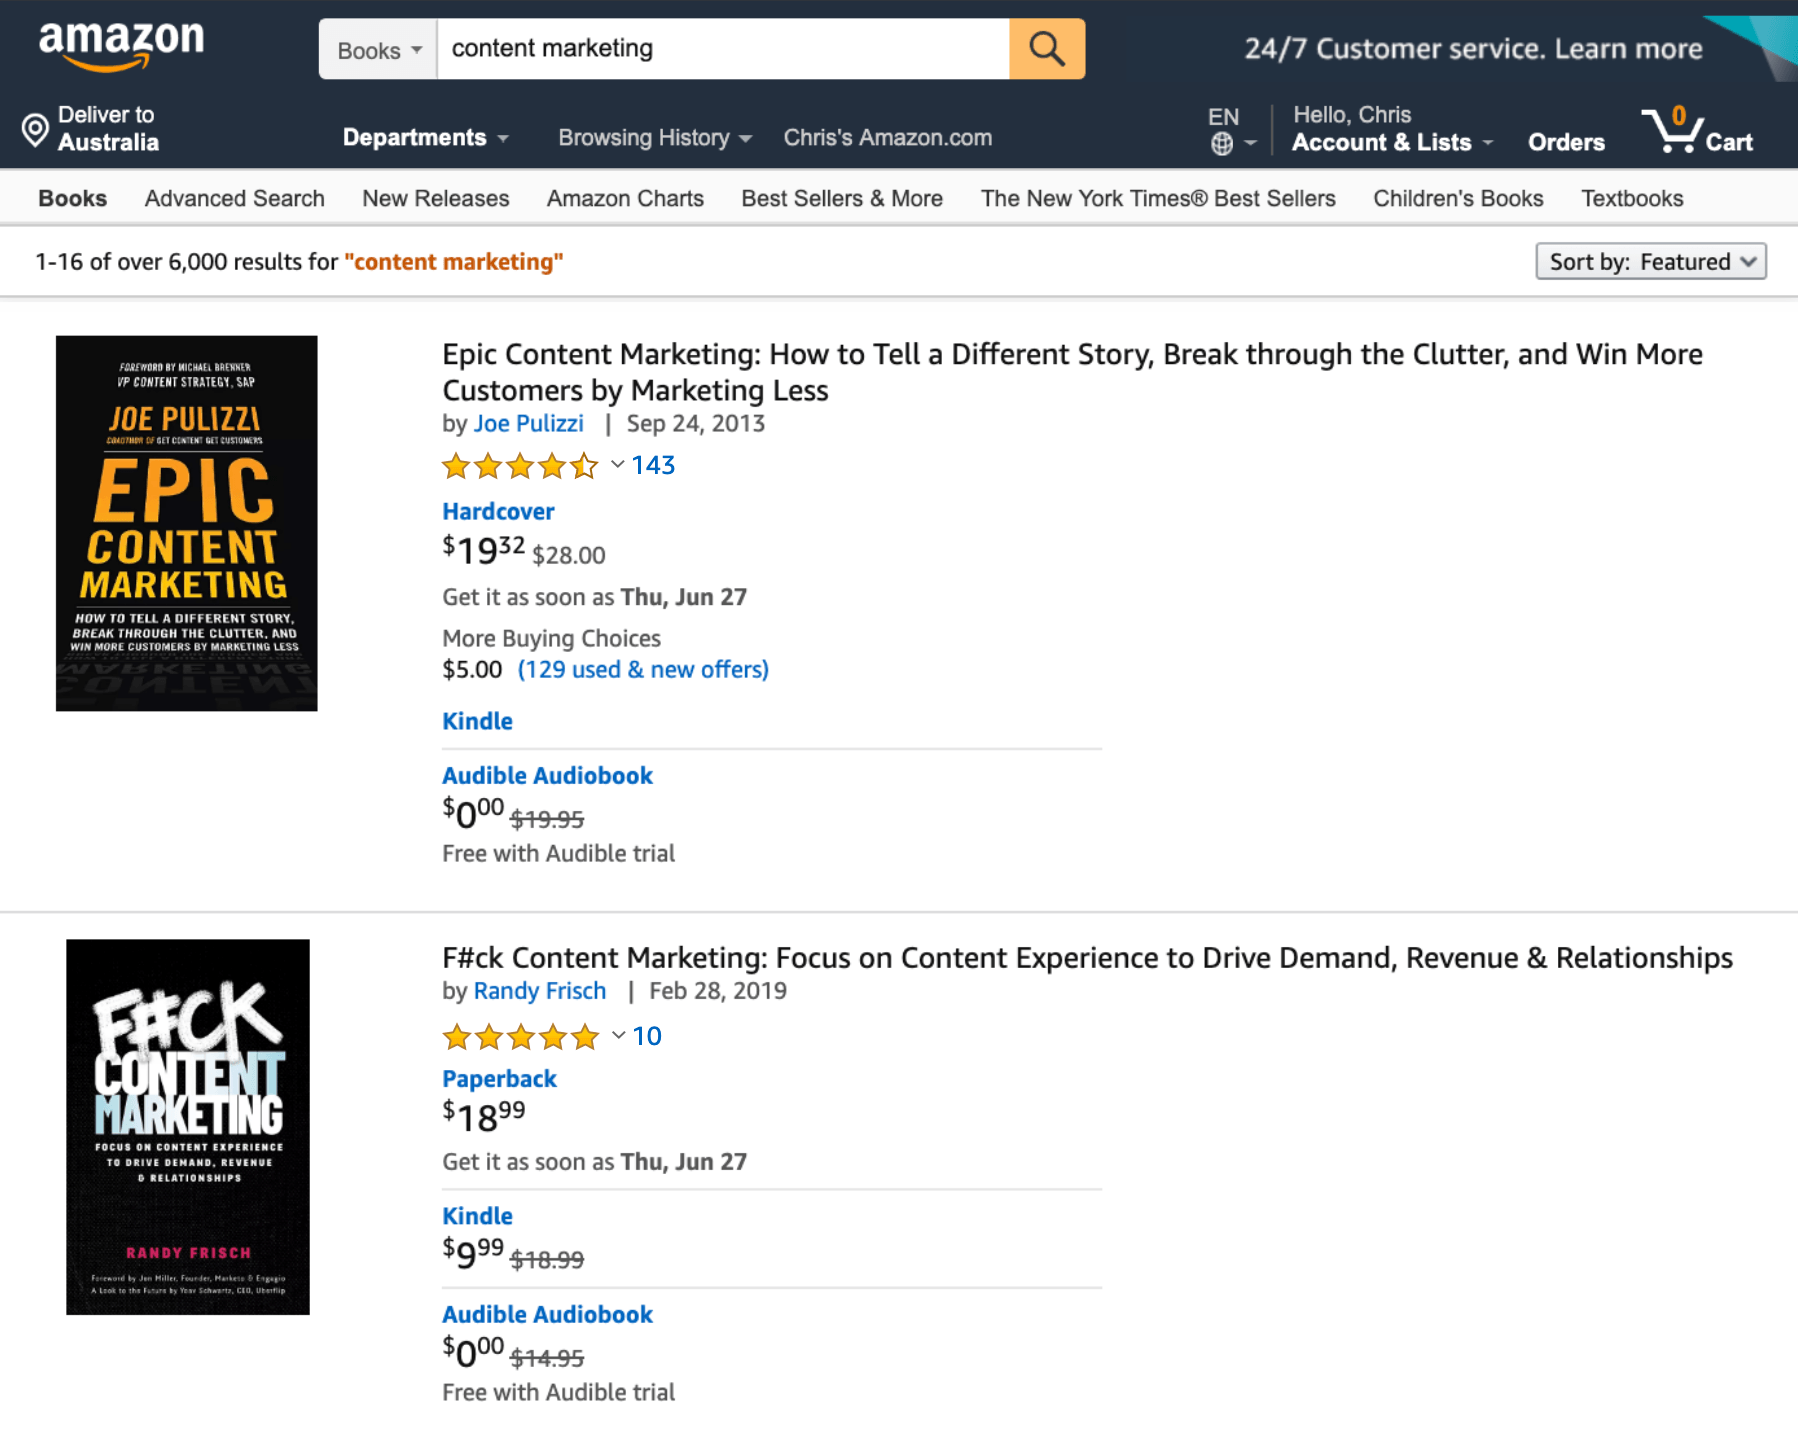
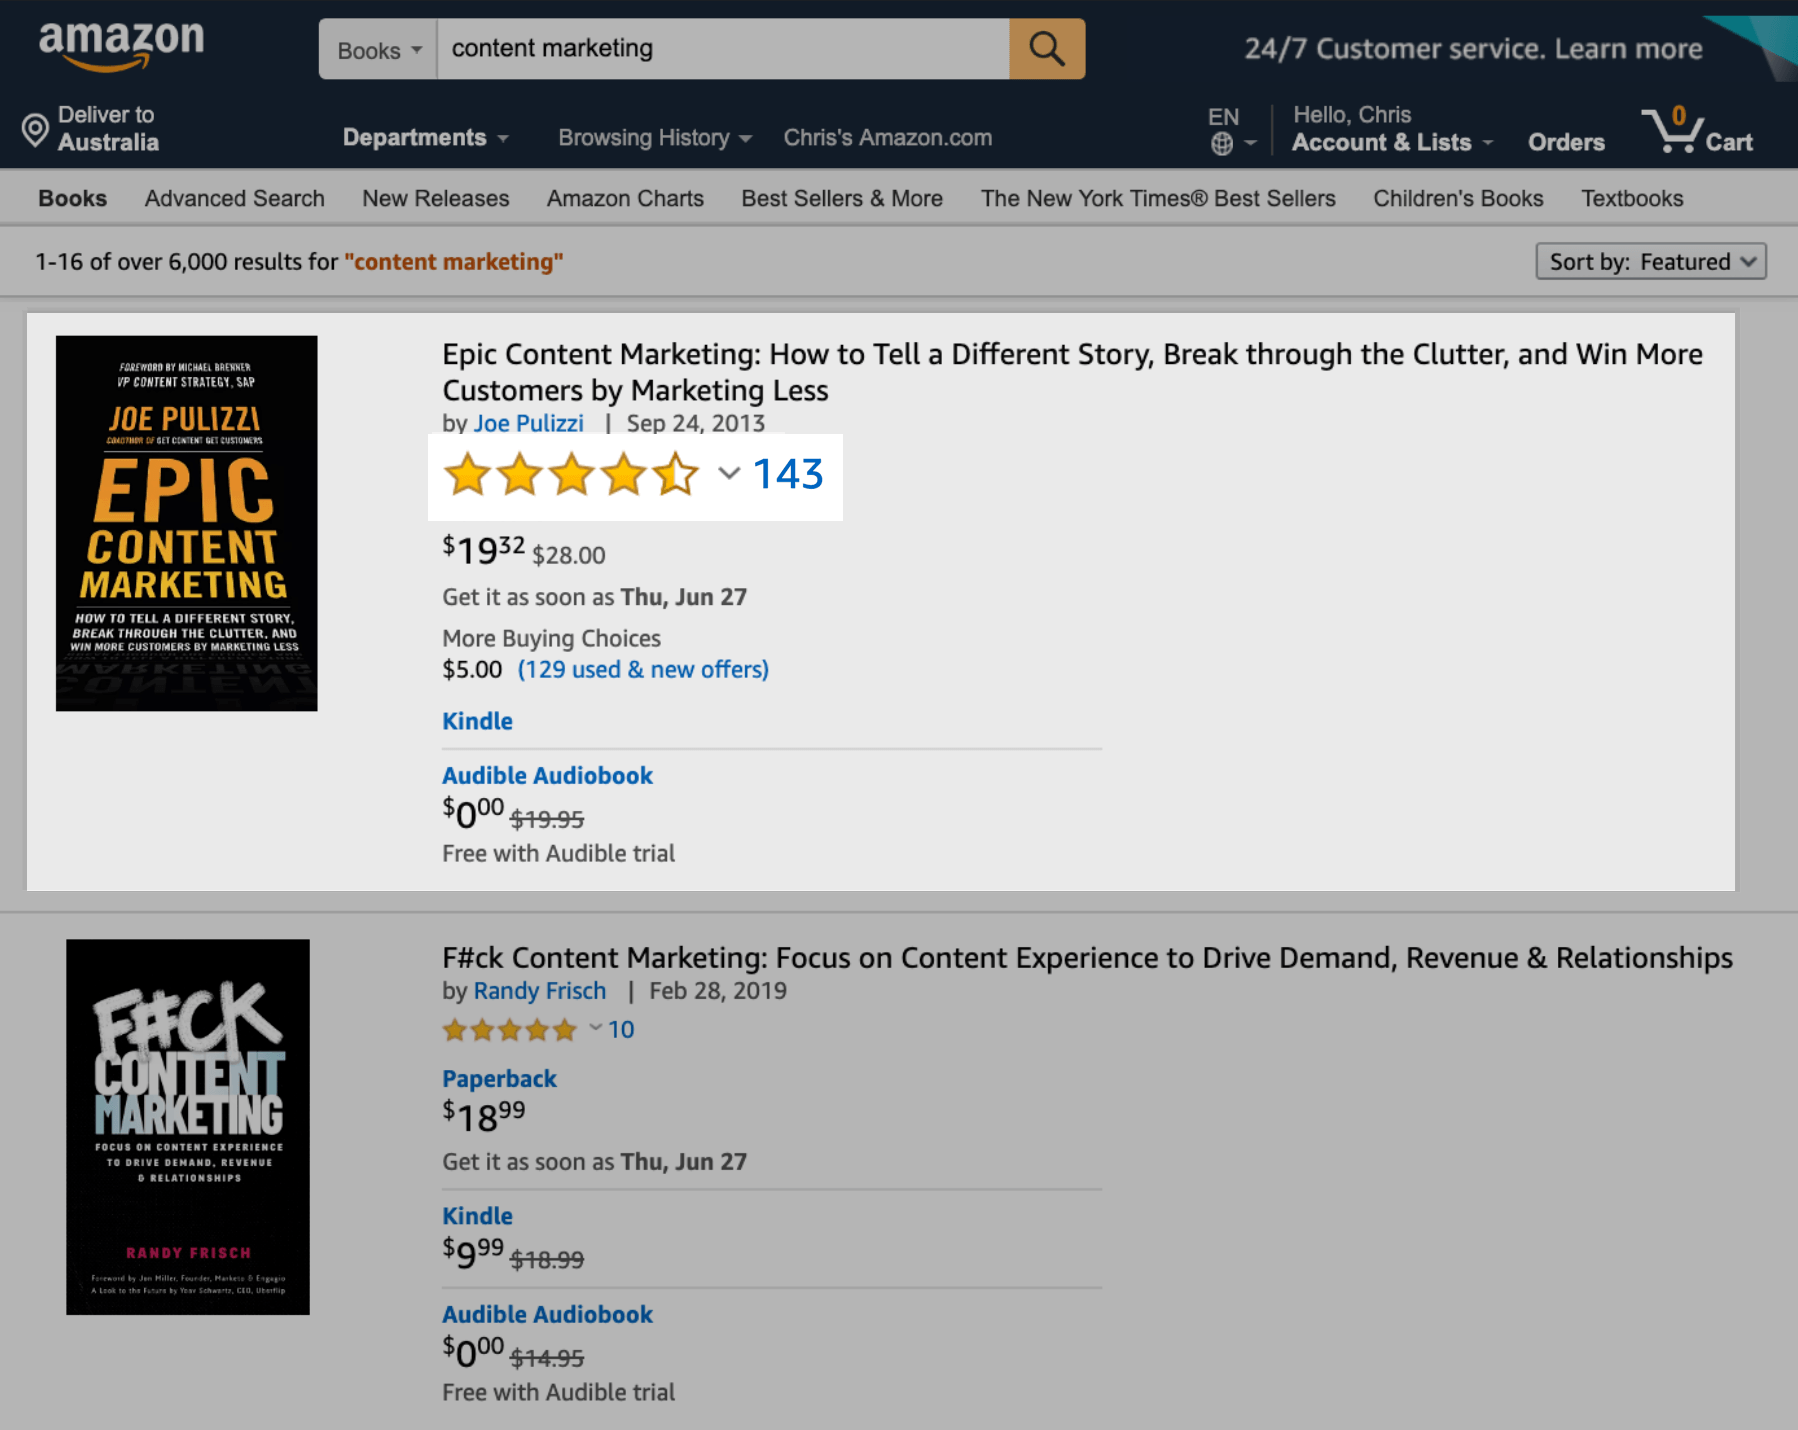
Then look for a book with 100+ ratings.
This is proof that over 100 people have paid for it.
So you know it’s a popular topic with buying intent.
Now, click on Look Inside:
And scroll down to the table of contents:
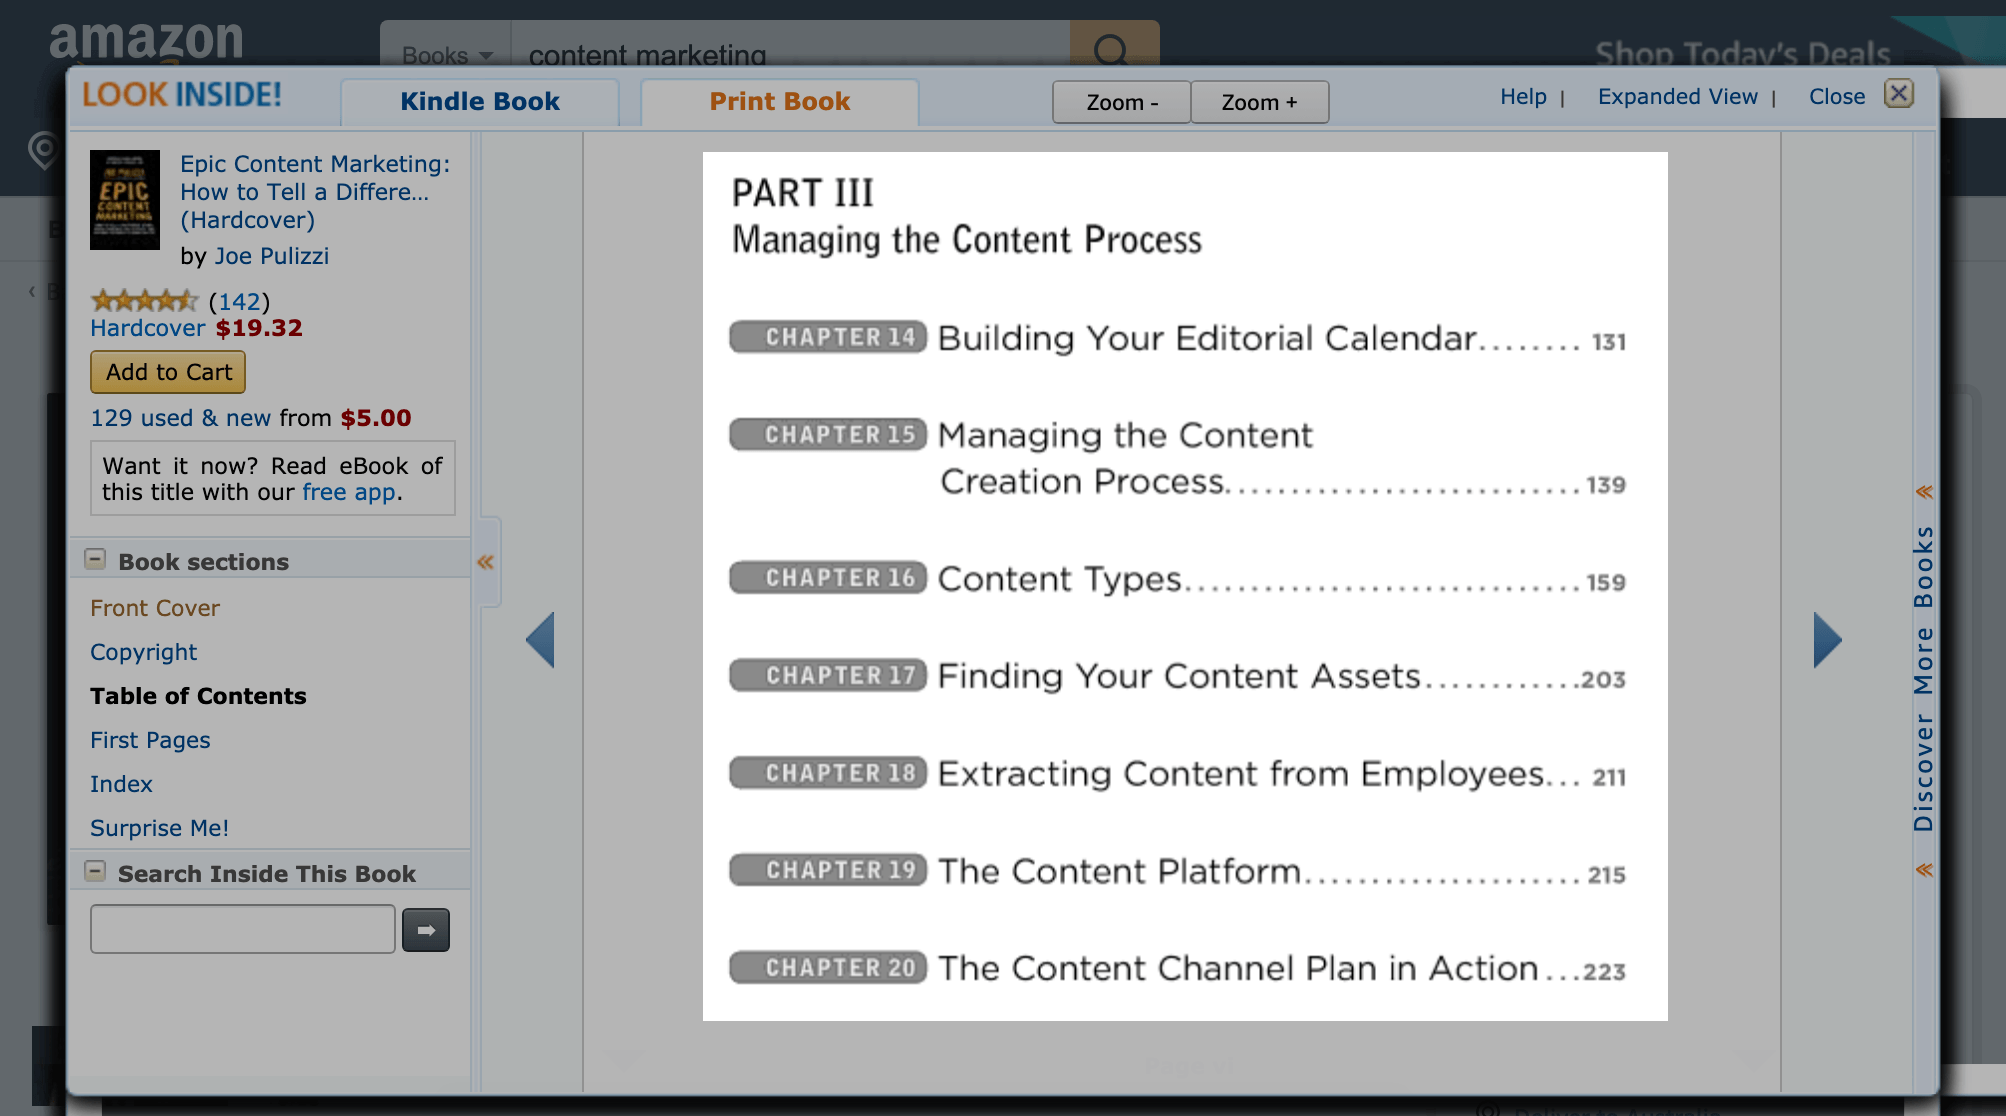
This will give you a list of topics you can write about.
Note: You can also do this with Udemy courses, Skillshare classes, conference agendas, or anywhere people are buying content.
But you can’t stop there.
Install the Keywords Everywhere browser extension.
Then, check if the topic has search engine traffic potential on Google.
For example, for Chapter 14 in the book above, I’d do a search for the keyword “editorial calendar” and see it has 4,400 monthly searches.

Niiiiiice!
The problem?
26,000+ other sites have optimized for this exact keyword as well:

Although this keyword has traffic potential, it will be hard to win.
To find “easy wins” use keyword modifiers, like:
- [topic] for [target customer]
- [topic] template
- [topic] tools
- [topic] examples
- [topic] strategy
- best [topic]
- how to X [topic]
- what X [topic]
- why X [topic]
- [topic X] vs [topic Y]
Plug your topic and keyword modifier into Google.
And you’ll see Google autocomplete predictions with search volume.

Look for a topic that has search volume AND less than 500 results when using an intitle: search on Google.

Boom!
Low competition content topic with organic traffic potential.
Note: The intitle search will filter all content on the internet that has been optimized to have that exact phrase in the title.
I find topics with <500 results are easiest to get organic traffic for (without link building), because few people have optimized their content for that topic.
(even in high competition industries).
Hat tip to Dan Shure from Evolving SEO who first discovered this little “intitle” optimization trick.
Which leads us to:
Step #2: Write Killer Content Using AIDA
There’s one simple writing formula from 1898 I use to write all my content.
AIDA.
(it stands for: Attention-Interest-Desire-Action).
Copywriters have been using it for over a hundred years.
Because it works.
Here’s how you can use it to write content that converts:
Attention (Amazon MTurk Headline Testing)
If people don’t click on your search result over someone else’s.
Your ranking on Google is going to tank.
(no matter how good your content is)
That’s why you need a strong headline that captures people’s attention instantly.
To do it, take a look at the first three Google results for your topic.
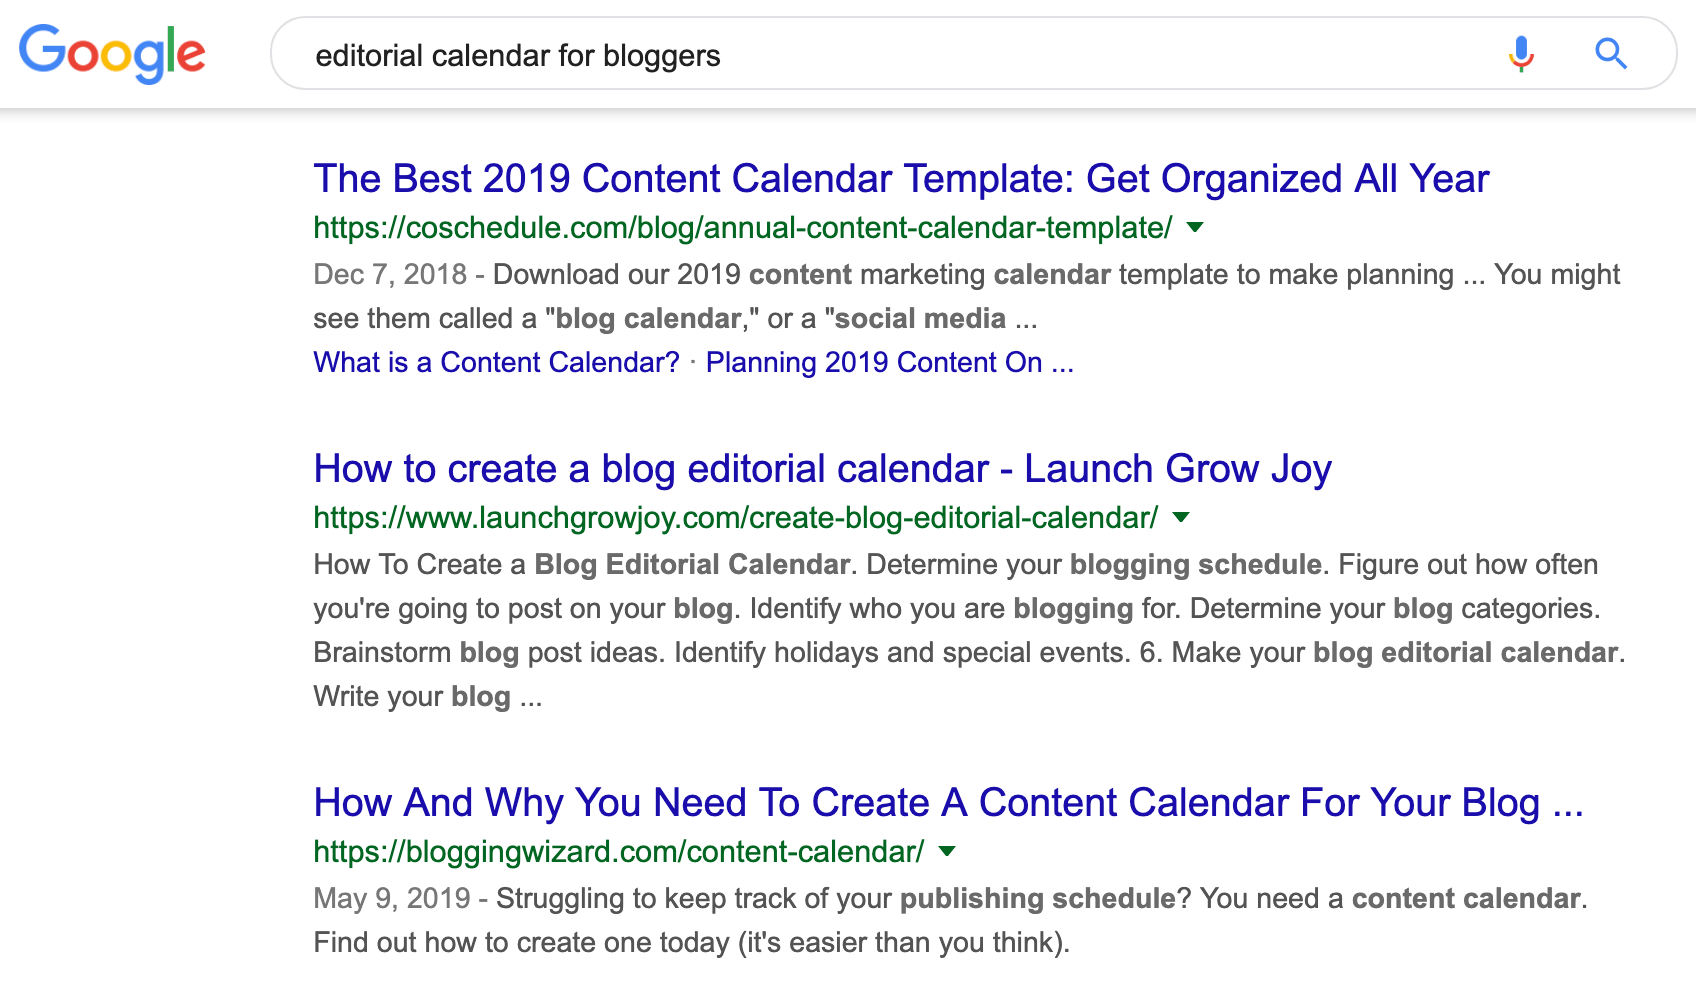
Then write out five headlines you think can beat them.
When I write headlines, there are three main things I think about:
- What specific result can someone get from reading? (e.g. 100k+ traffic, 100 hyper-targeted leads, 1,000 visitors).
- What power words will arouse the readers curiosity to click? (e.g. free, step-by-step, best).
- What emotional triggers will make the reader stop and read now? (e.g. 1M traffic without SEO, 10 clients in 30 days or less, 10 content hacks under $100).
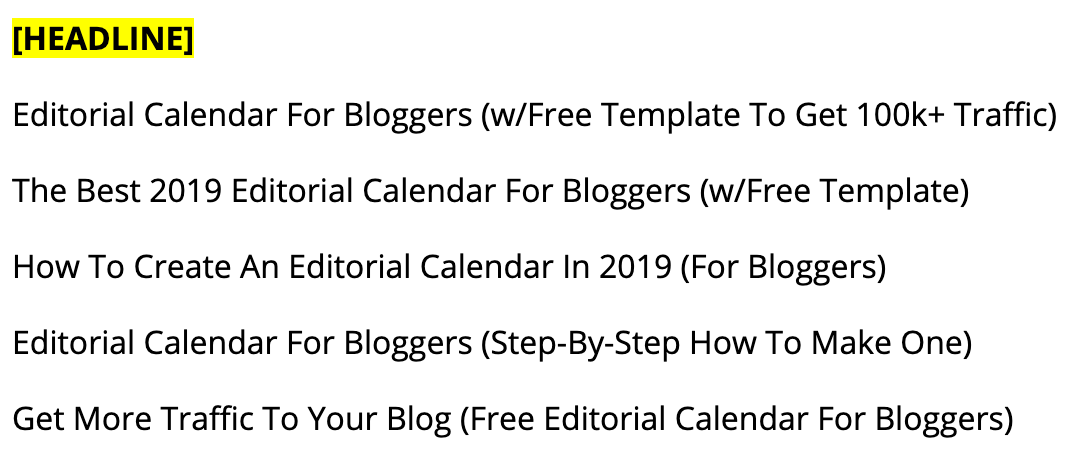
When you write your headlines, also remember to:
- Put your keyword in the headline.
- Add one strong benefit the other headlines don’t have.
- Make sure they’re an accurate description of your page’s content.
- Use parentheses “()” to stand out on the search results page.
- Check for length.
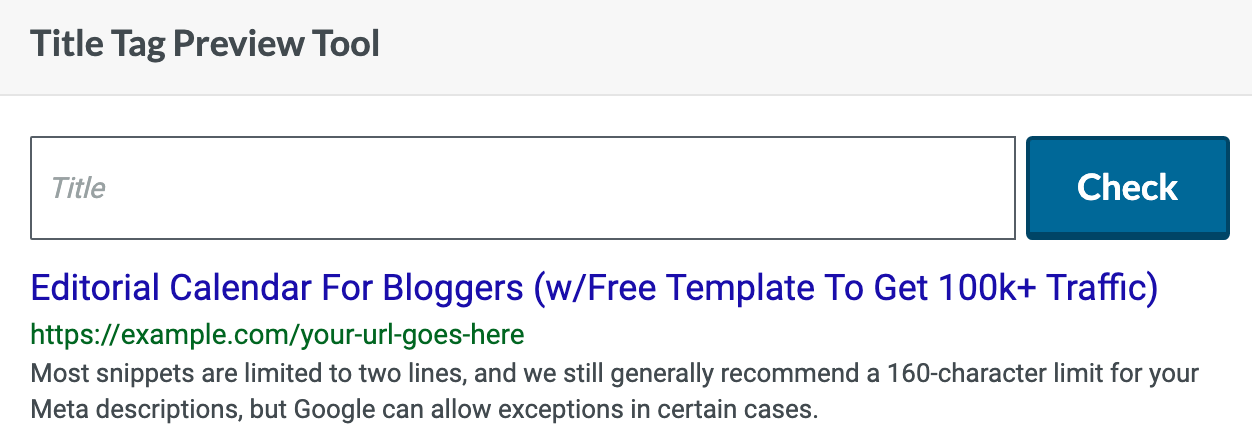
The last thing you want is your headline getting cut-off on Google, like this:

To avoid that, use Moz’s free title tag preview tool.
It’s a quick check to see if your headline is optimized to fit inside Google’s character limit for titles.
Not all five of your headlines are going to be GREAT.
So pick the two headlines you think are the best.
Then go over to Amazon Mechanical Turk and a/b test them over 7 days.
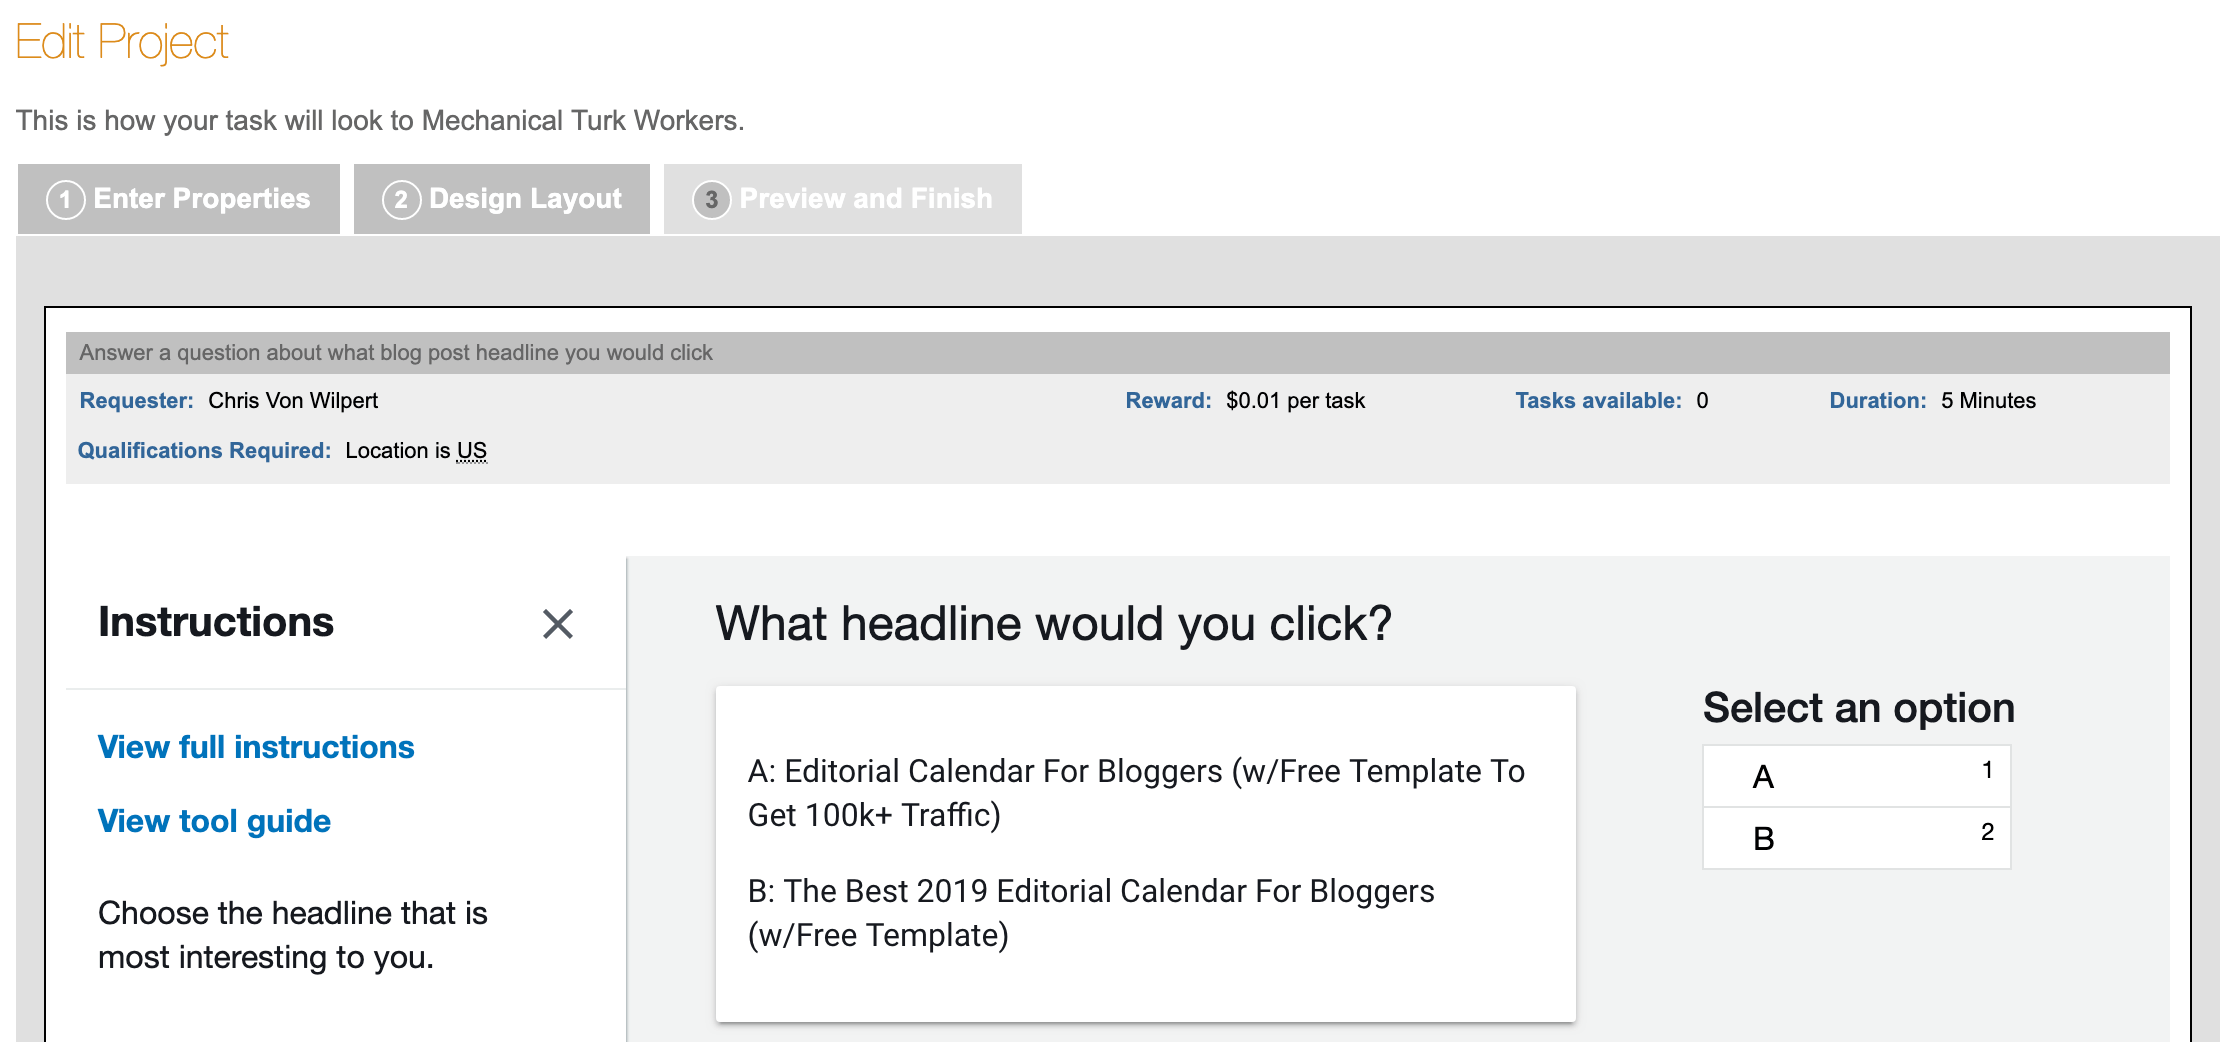
For $20 you can get 1,000 responses from real people in a week.
On Facebook you could spend that much (or more).
And only get 100-300 responses per variation:

Getting 100-300 clicks isn’t enough data for statistical validity and significance.
Ideally you want 500 conversions per variation on your test within 7-30 days.
That's why I recommend Amazon MTurk for headline testing.
However if you use WordPress, then use my WordPress Headline Hack.
Once you’ve found your attention-grabbing headline:
You’re going to need an introduction that will hook your readers in.
Interest (RPT Formula)
In three sentences you need to spark enough interest that your reader is saying:
“This is exactly what I’m looking for.”
Then goes on to read your full post.
To do it, use my RPT intro formula:
(“RPT” stands for: Result, Proof, Teaser)
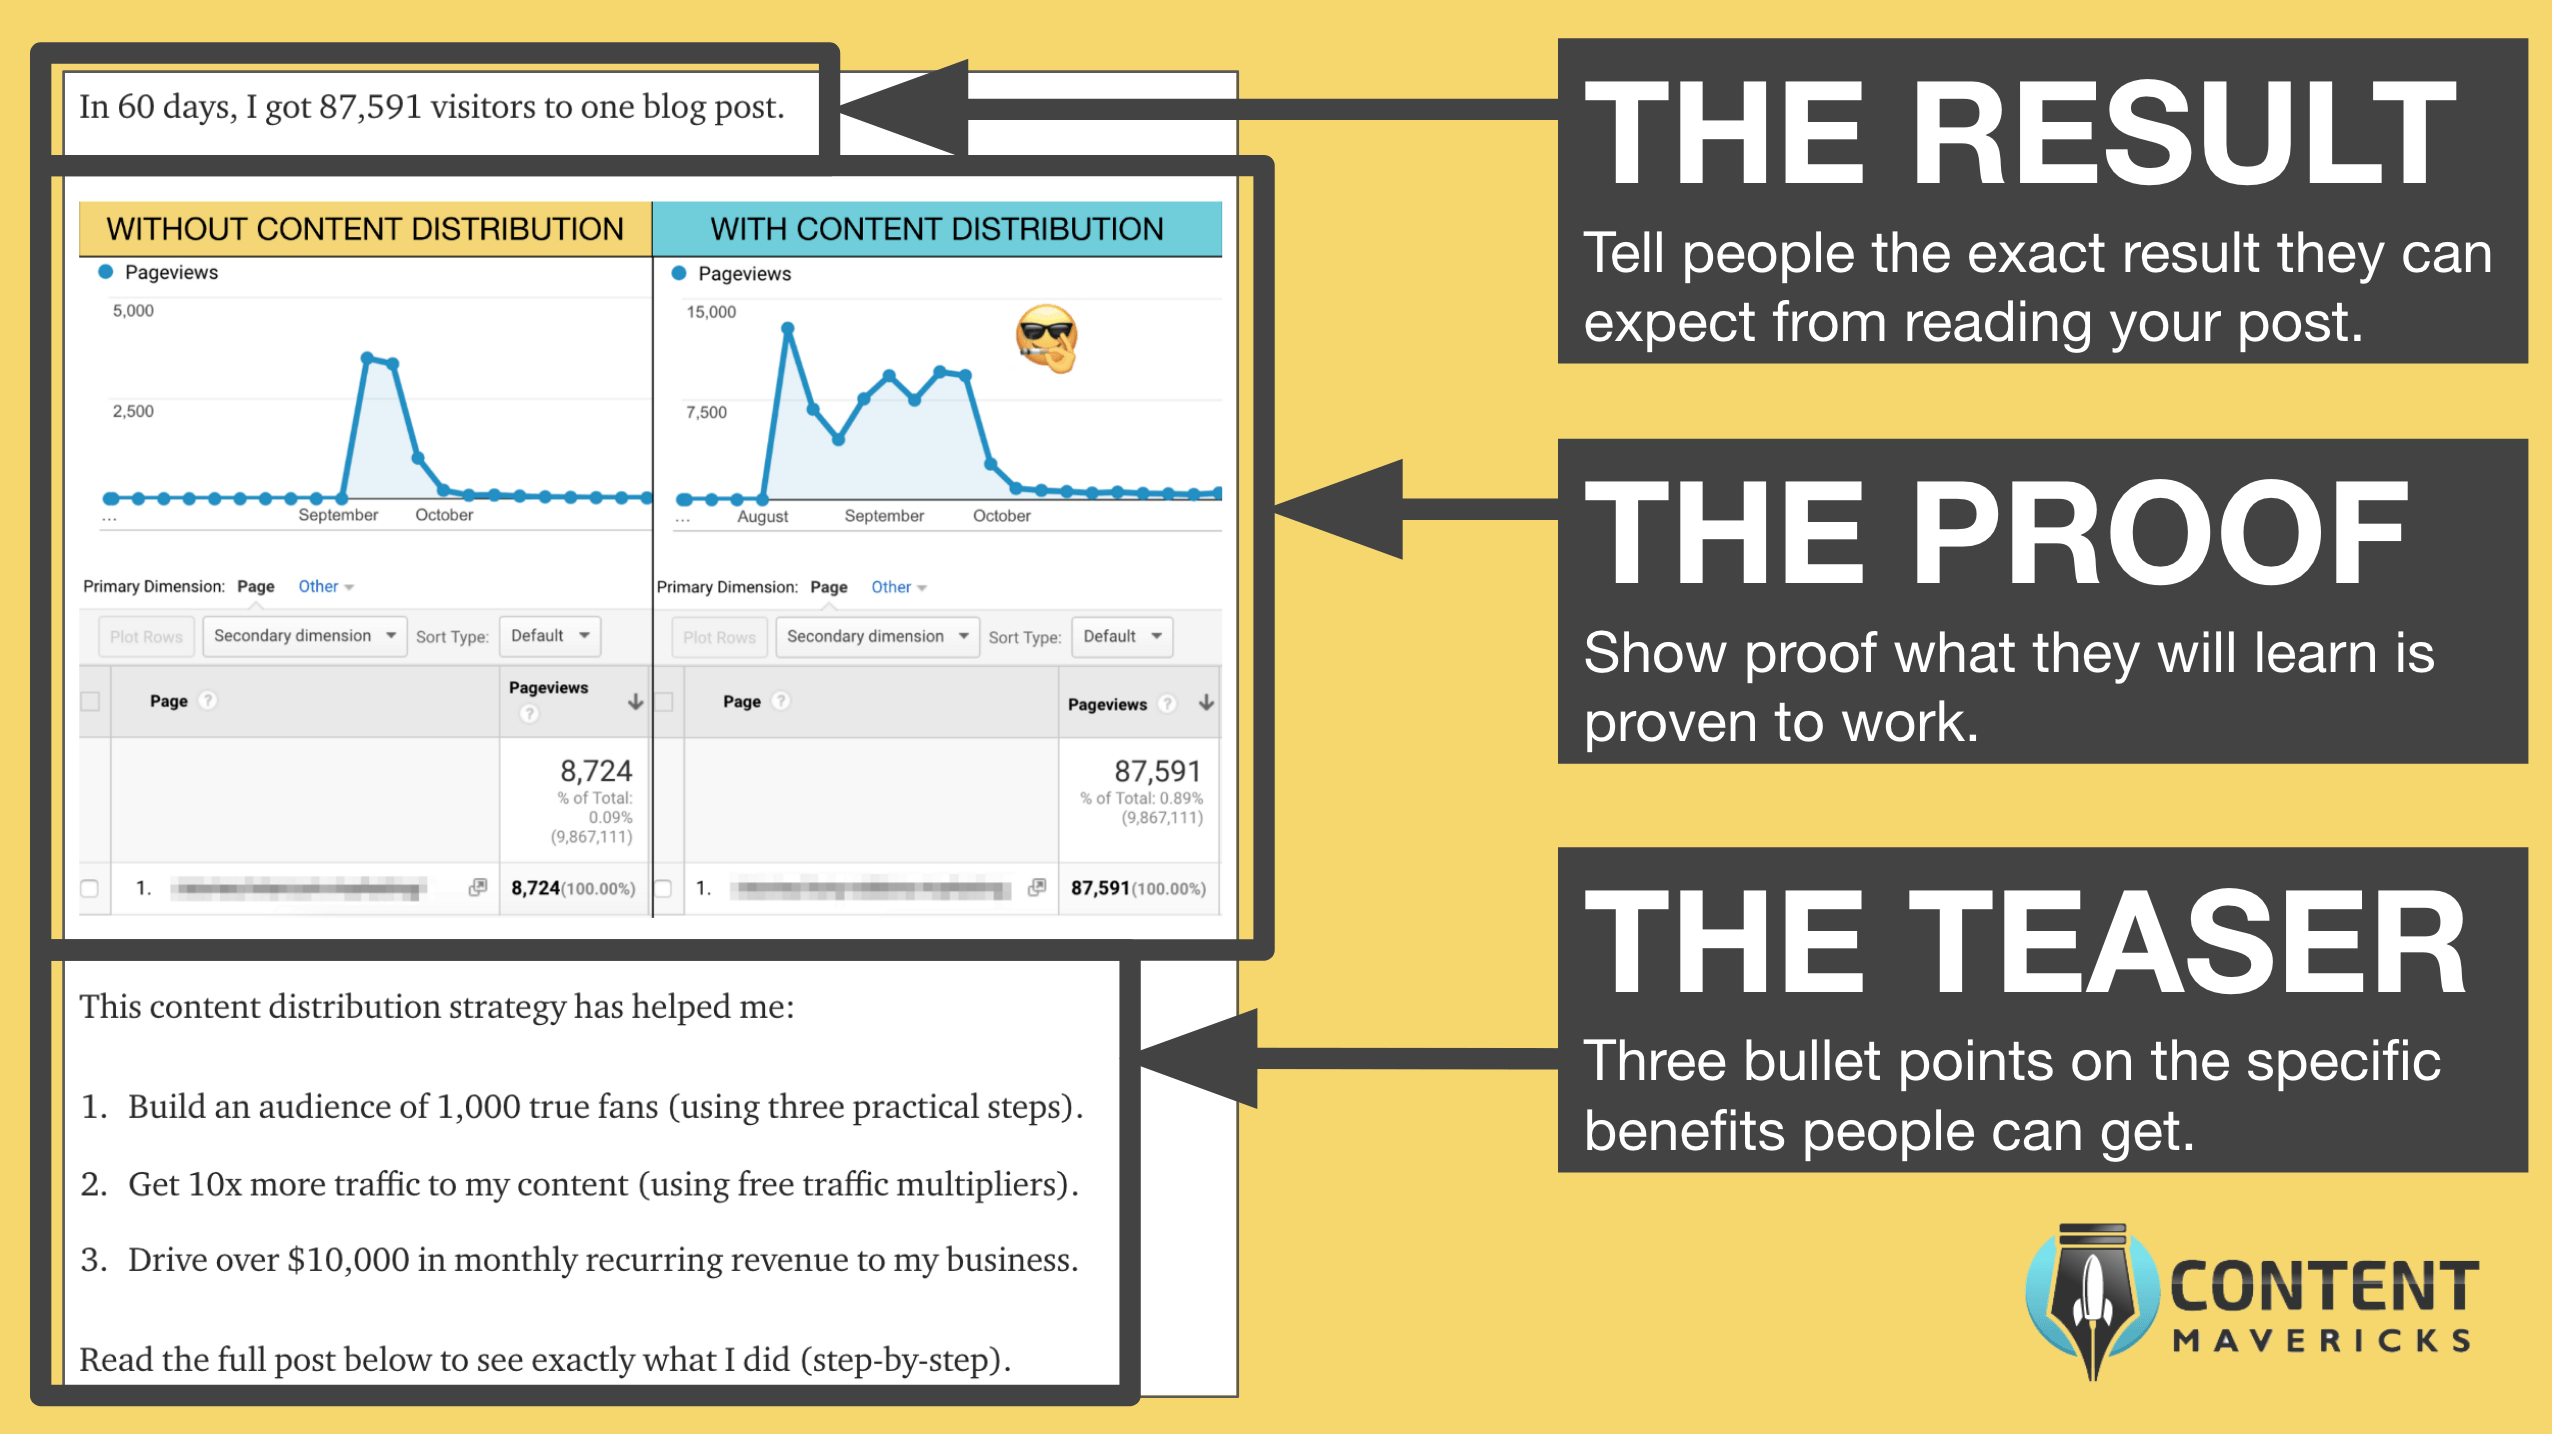
Simple!
Desire (Comment Harvesting)
If you’re not writing about what people want to read.
They’re going to bounce off your content like a pogo-stick.
To prevent that:
Look at what people desire from comments on similar posts on your topic:

Then incorporate it into the outline for your post:
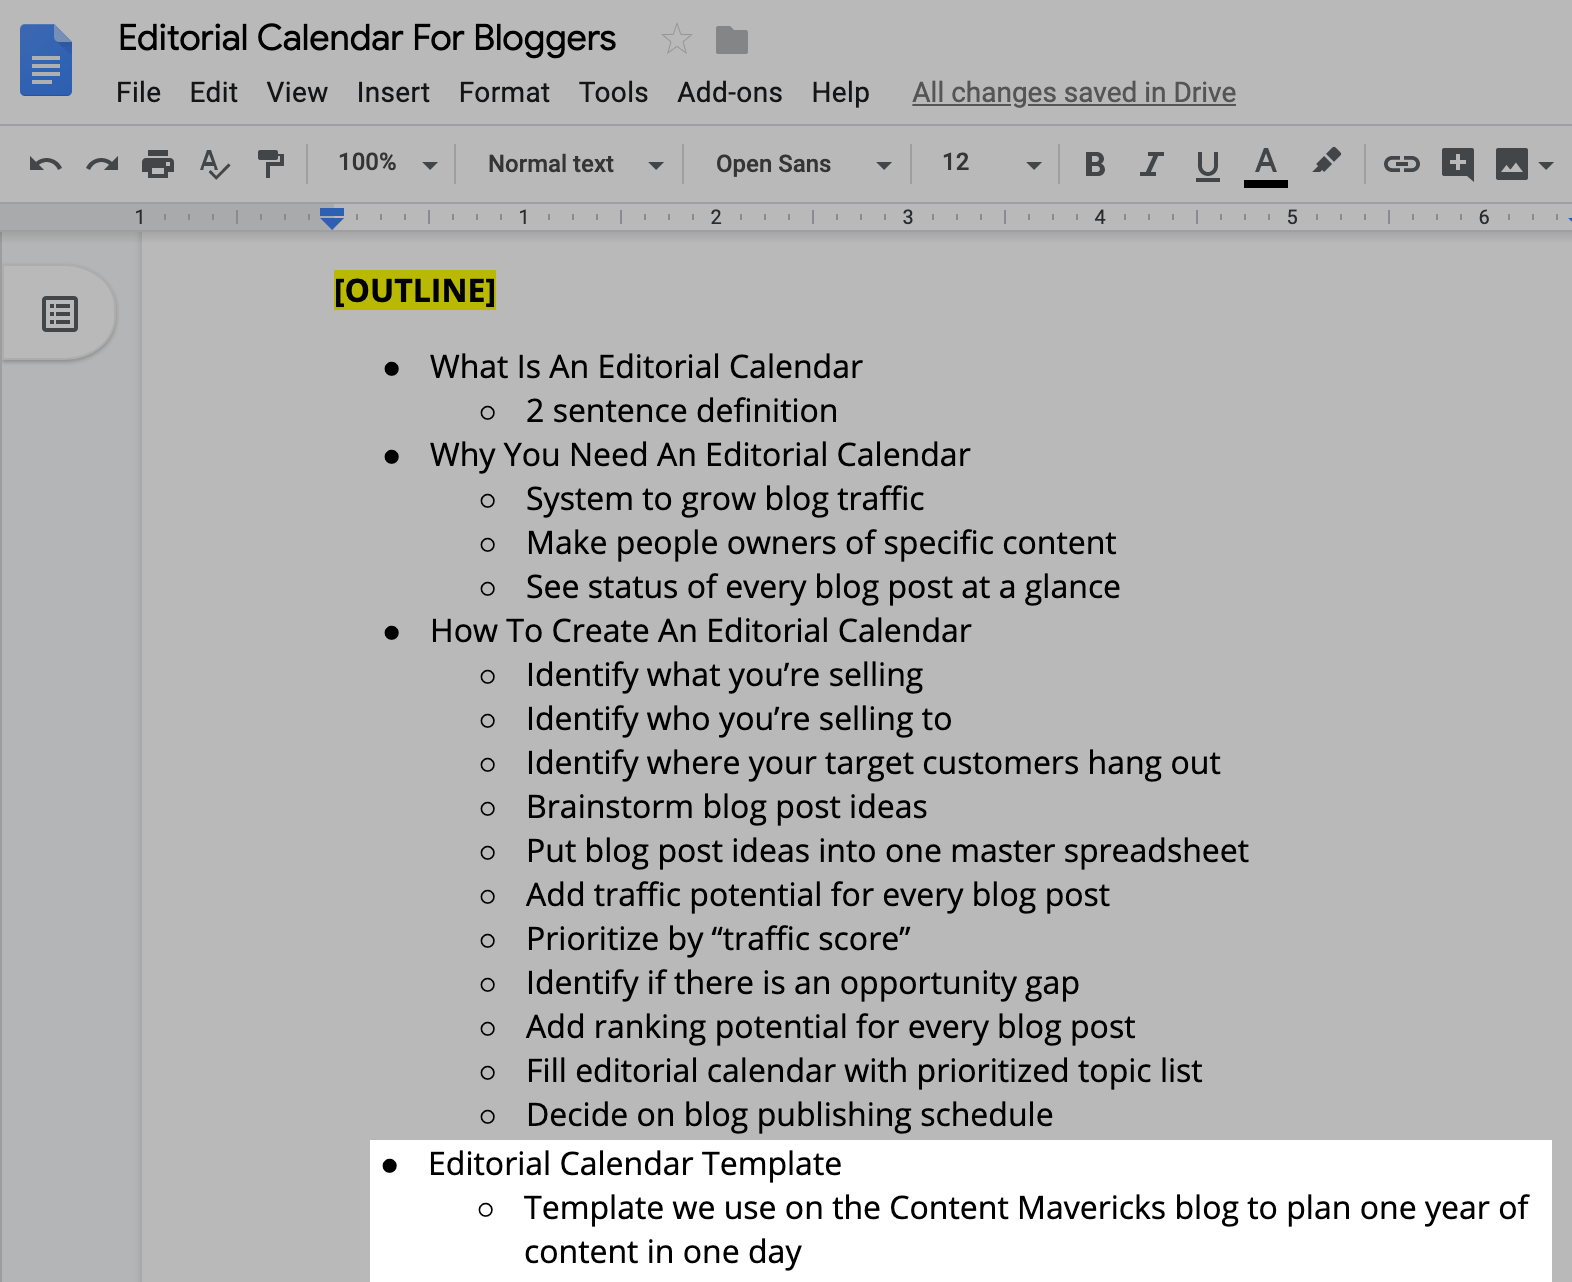
That way you’re creating unique content.
And filling desire that other content on the topic doesn’t.
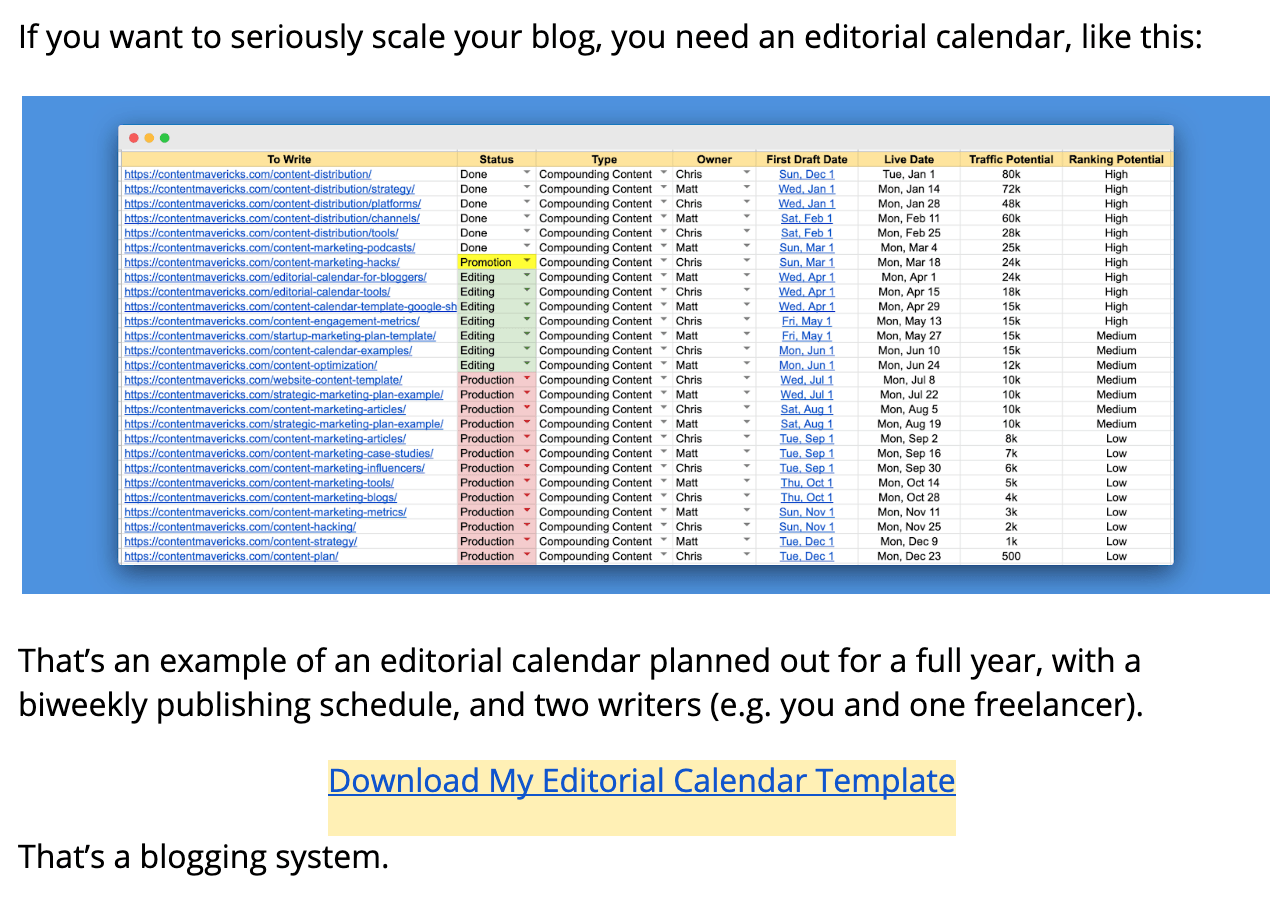
For example, here’s where I added a template for an editorial calendar in my post about building an editorial calendar to get 100k+ blog visitors (this idea came from “comment harvesting”):
The only thing left now is to call your reader to action.
Action (Next-Step Call To Action)
It’s not rocket science.
If you don’t tell people what to do, they probably won’t do it.
That’s why at the end of every post (and within context inside your post), you need to make one clear next-step call to action, like this:
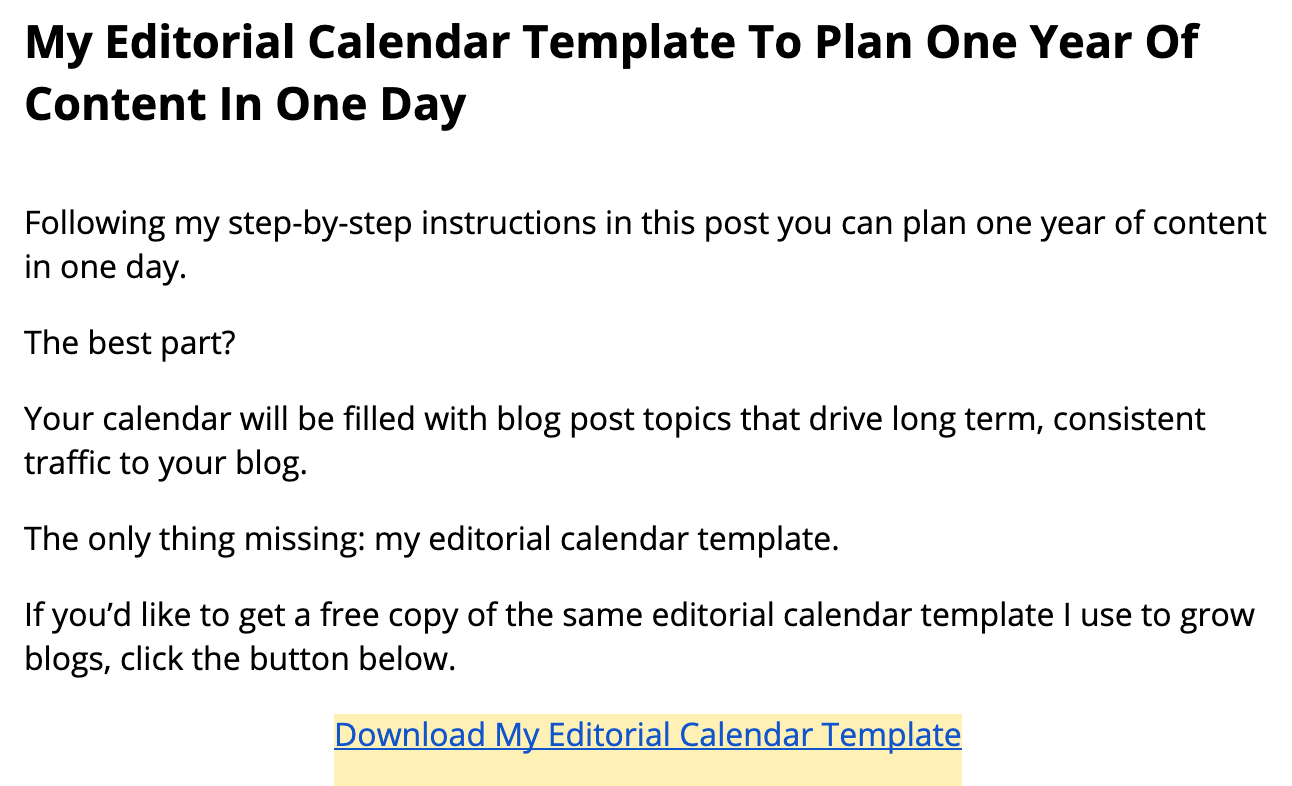
Personally I know the value of an email list to a business is HUGE.
So my one call to action is to download a content upgrade.
However, you can make yours to:
- Buy a product.
- Apply to work with you.
- Get a free trial or demo of your software tool.
It’s up to you.
The content upgrade for this post is a Content Optimization Checklist. It has a list of all the tactics taught in this post so you can tick off each one as you write your next blog post.
Click the button below to see how it works:
Just remember:
The more relevant your call to action is to your content, the better it will convert.
My call to action on this post is to download a Content Optimization Checklist. Why?
Because it’s the logical next-step for someone to take if they want to easily take action on this content for their own blog posts.
Step #3: Optimize Your Content For SEO
If you want to rank:
You need to make it easy for Google (and readers) to understand your content.
Here are five things you need to do (based on Google’s official SEO guide):
Keyword In URL
Your URL helps Google understand your page’s topic.
Google have officially said to use URLs with words relevant to your site’s content.
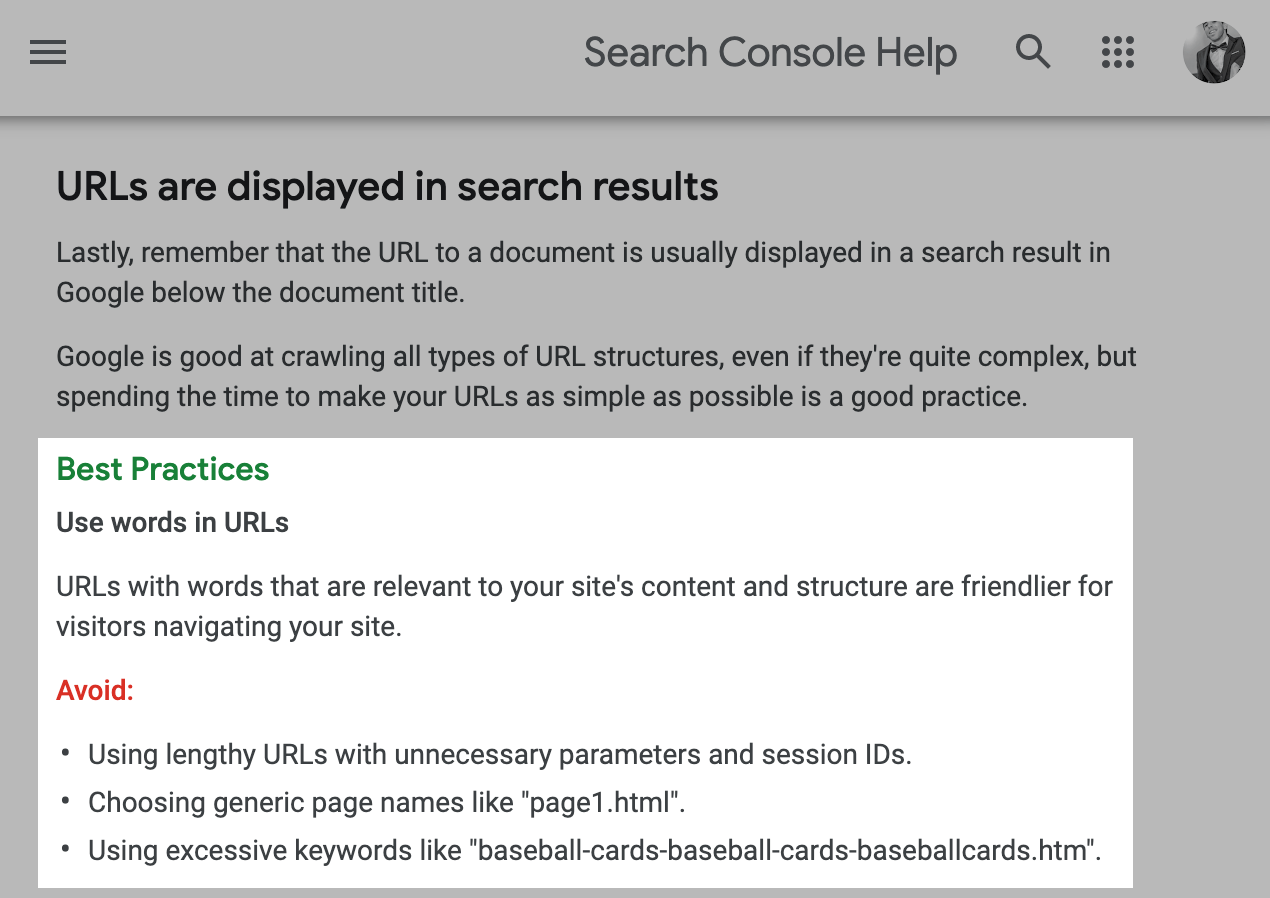
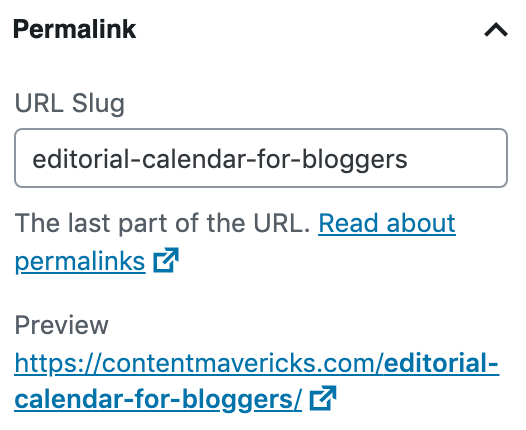
To do it, make the exact topic you researched in step #1 your URL, like this:
Easy.
Keyword In Title
Your title is the first thing people see on the Google search results page.
So you want to make it stand out, while still being relevant to people’s search.
Google have officially said to choose a title that reads naturally and effectively communicates the topic of your page's content.
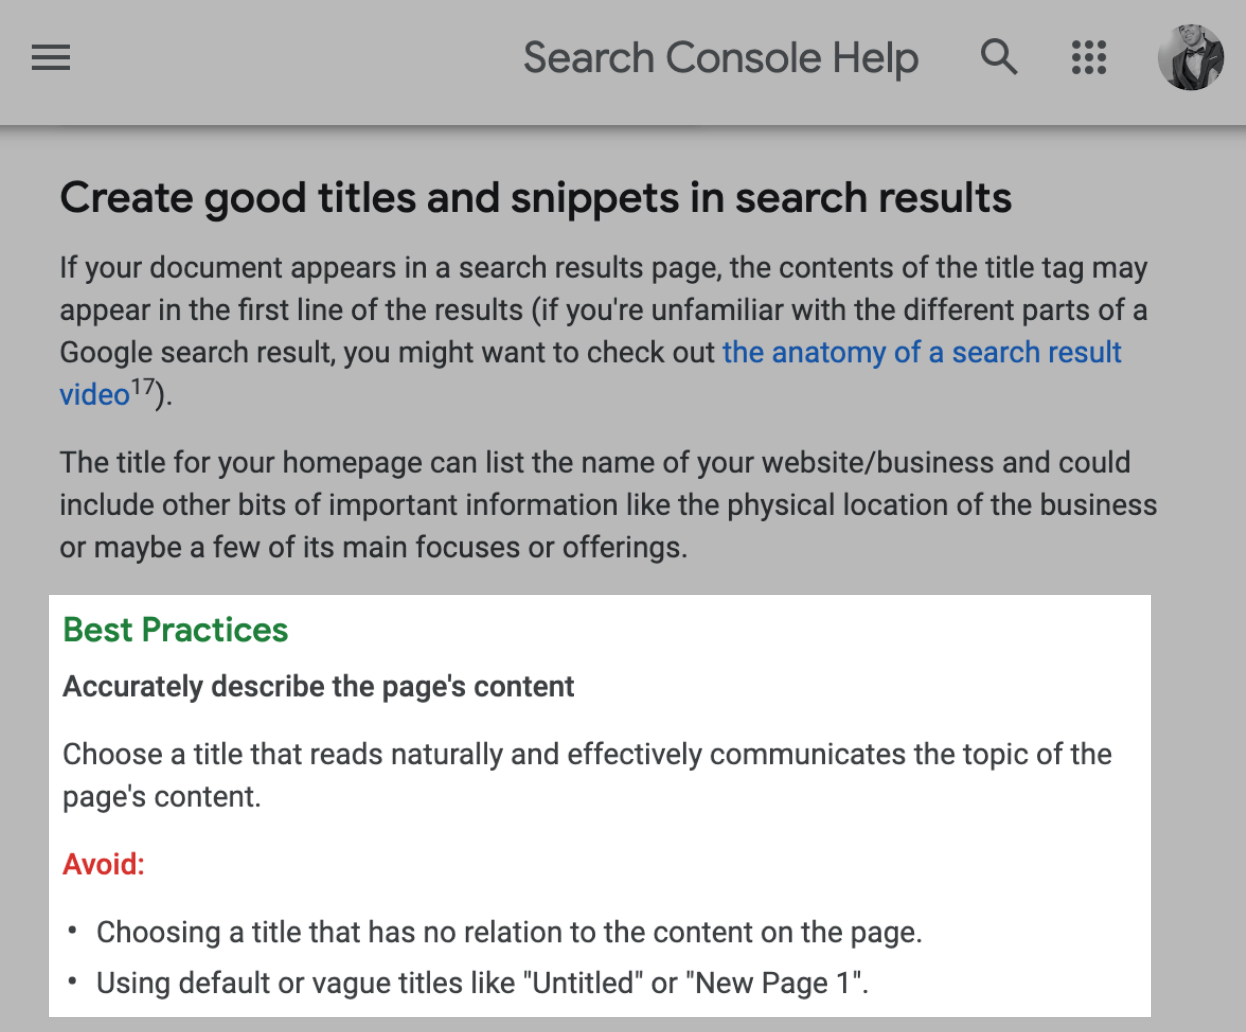
To do it, write a headline that includes your keyword in the title.
Plus include one unique benefit no other title in the top three search results has.
For example, here are the top three search results for my one of my blog post topics:

To stand out, I added the benefit w/Free Template To Get 100k Traffic.

Because my title has a unique benefit and effectively communicates the topic of the page:
It’s easily read by Google, will stand out over the others (once it hits the first page of Google), and get clicked more.
Awesome sauce!
Meta Description w/Truncated Teaser
Your meta description won’t have any impact on your SEO.
But it will help boost your click-through rate on search results pages.
Google have officially said that you should write a description that will inform and interest users who see it.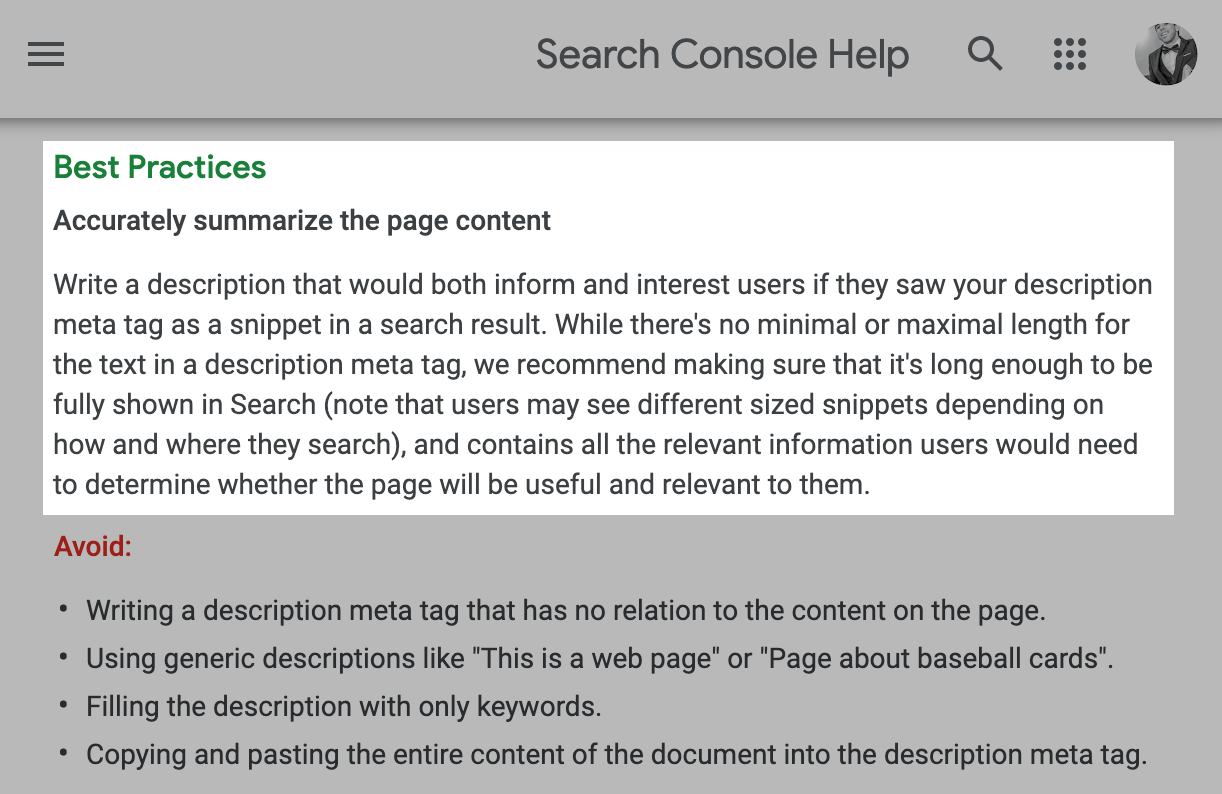
To do it write a short teaser with the biggest takeaway from your post.
Then end it with an ellipsis “...” artificially added on to the end of the description.
Like this:
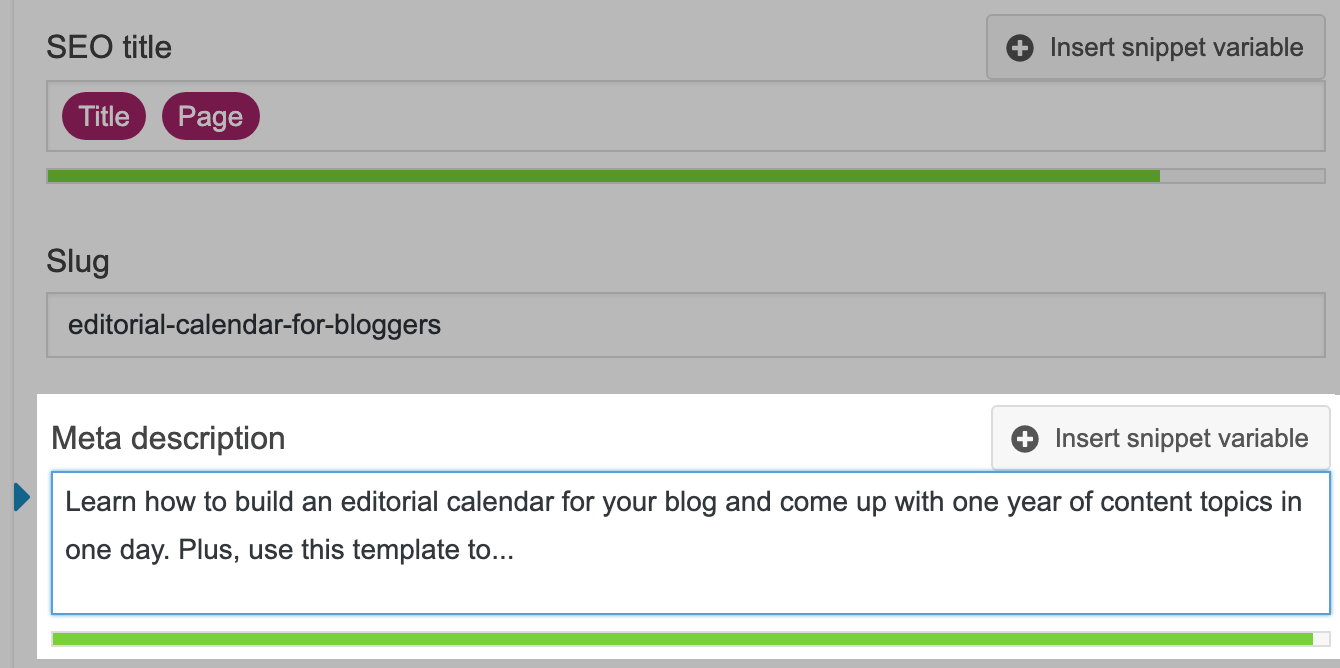
This creates an open loop, arousing interest, and getting more people to click.
Wowzers!
Image Alt Text
According to data from Jumpshot, over 20% of all U.S. web searches happen on Google Images.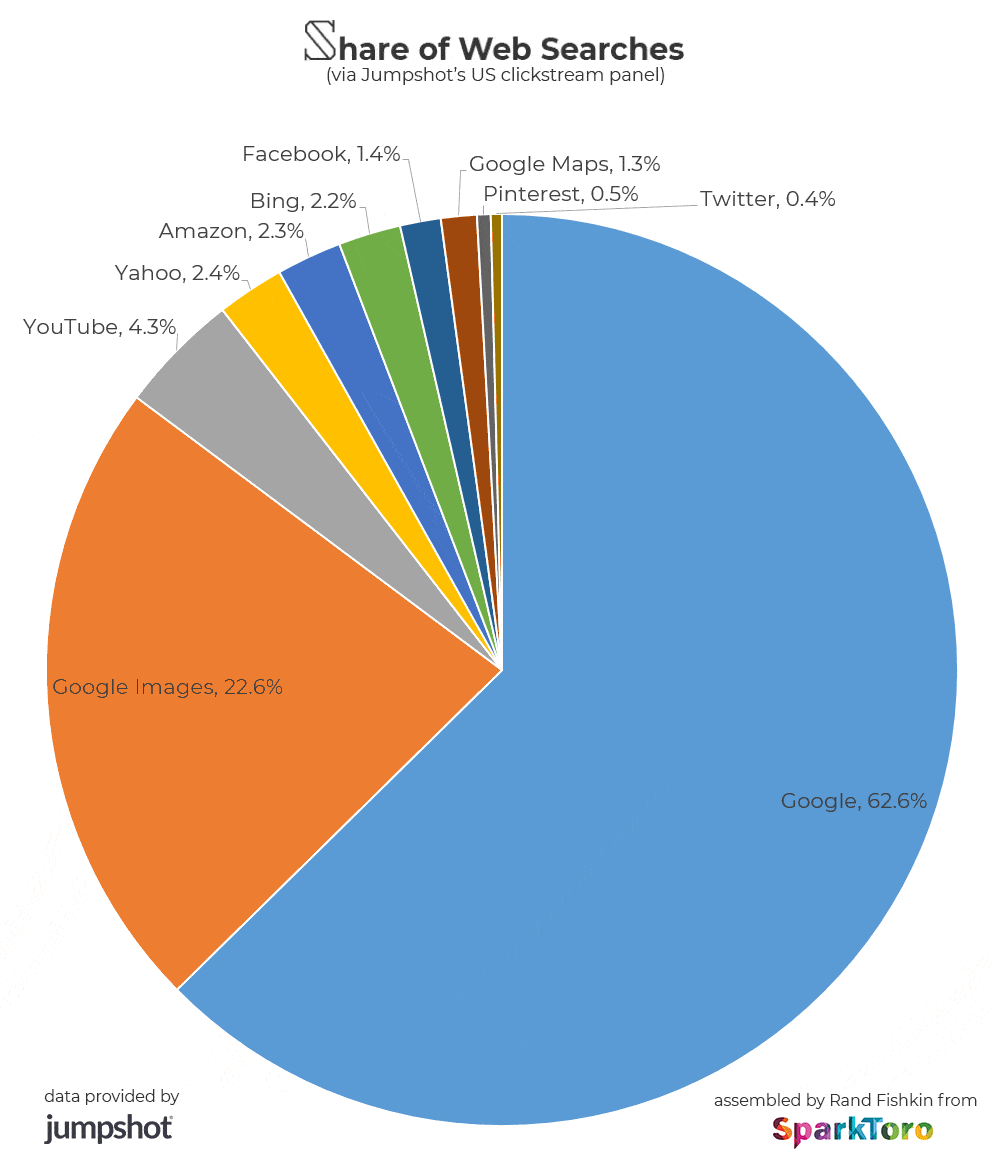
That’s more than on YouTube, Amazon, and Facebook combined.
Re-read that last line again. That's insane!
To get found, you need to optimize the alt text on all your images.
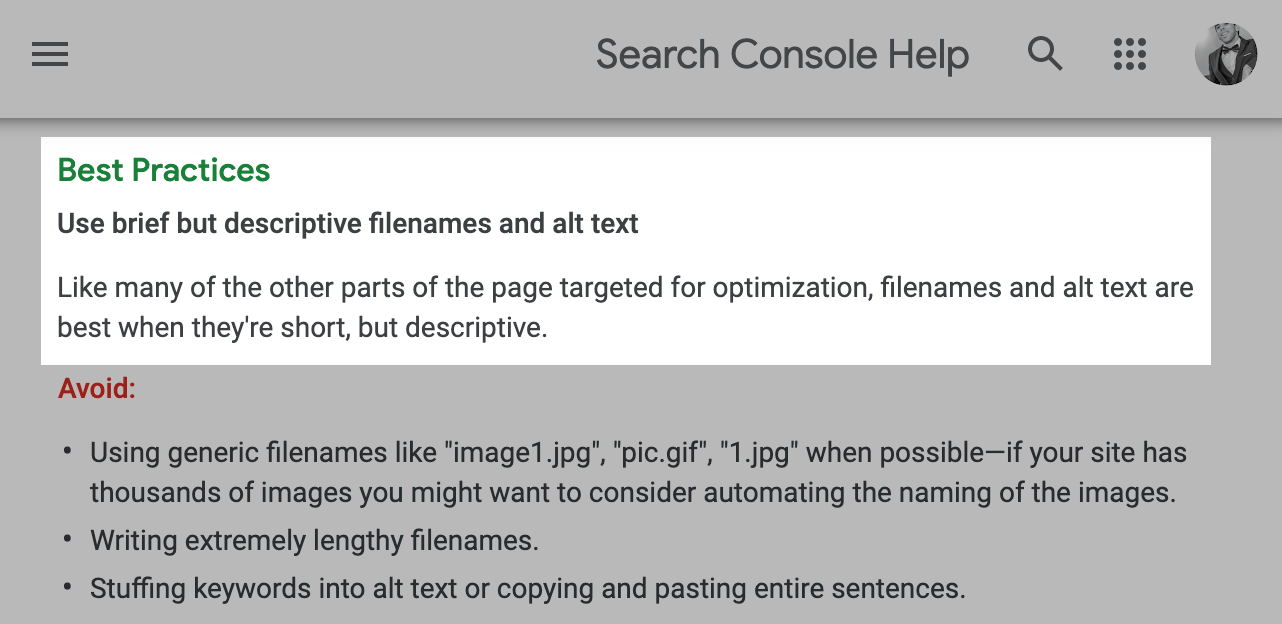
Google have officially said to use short, descriptive image filenames and alt text.
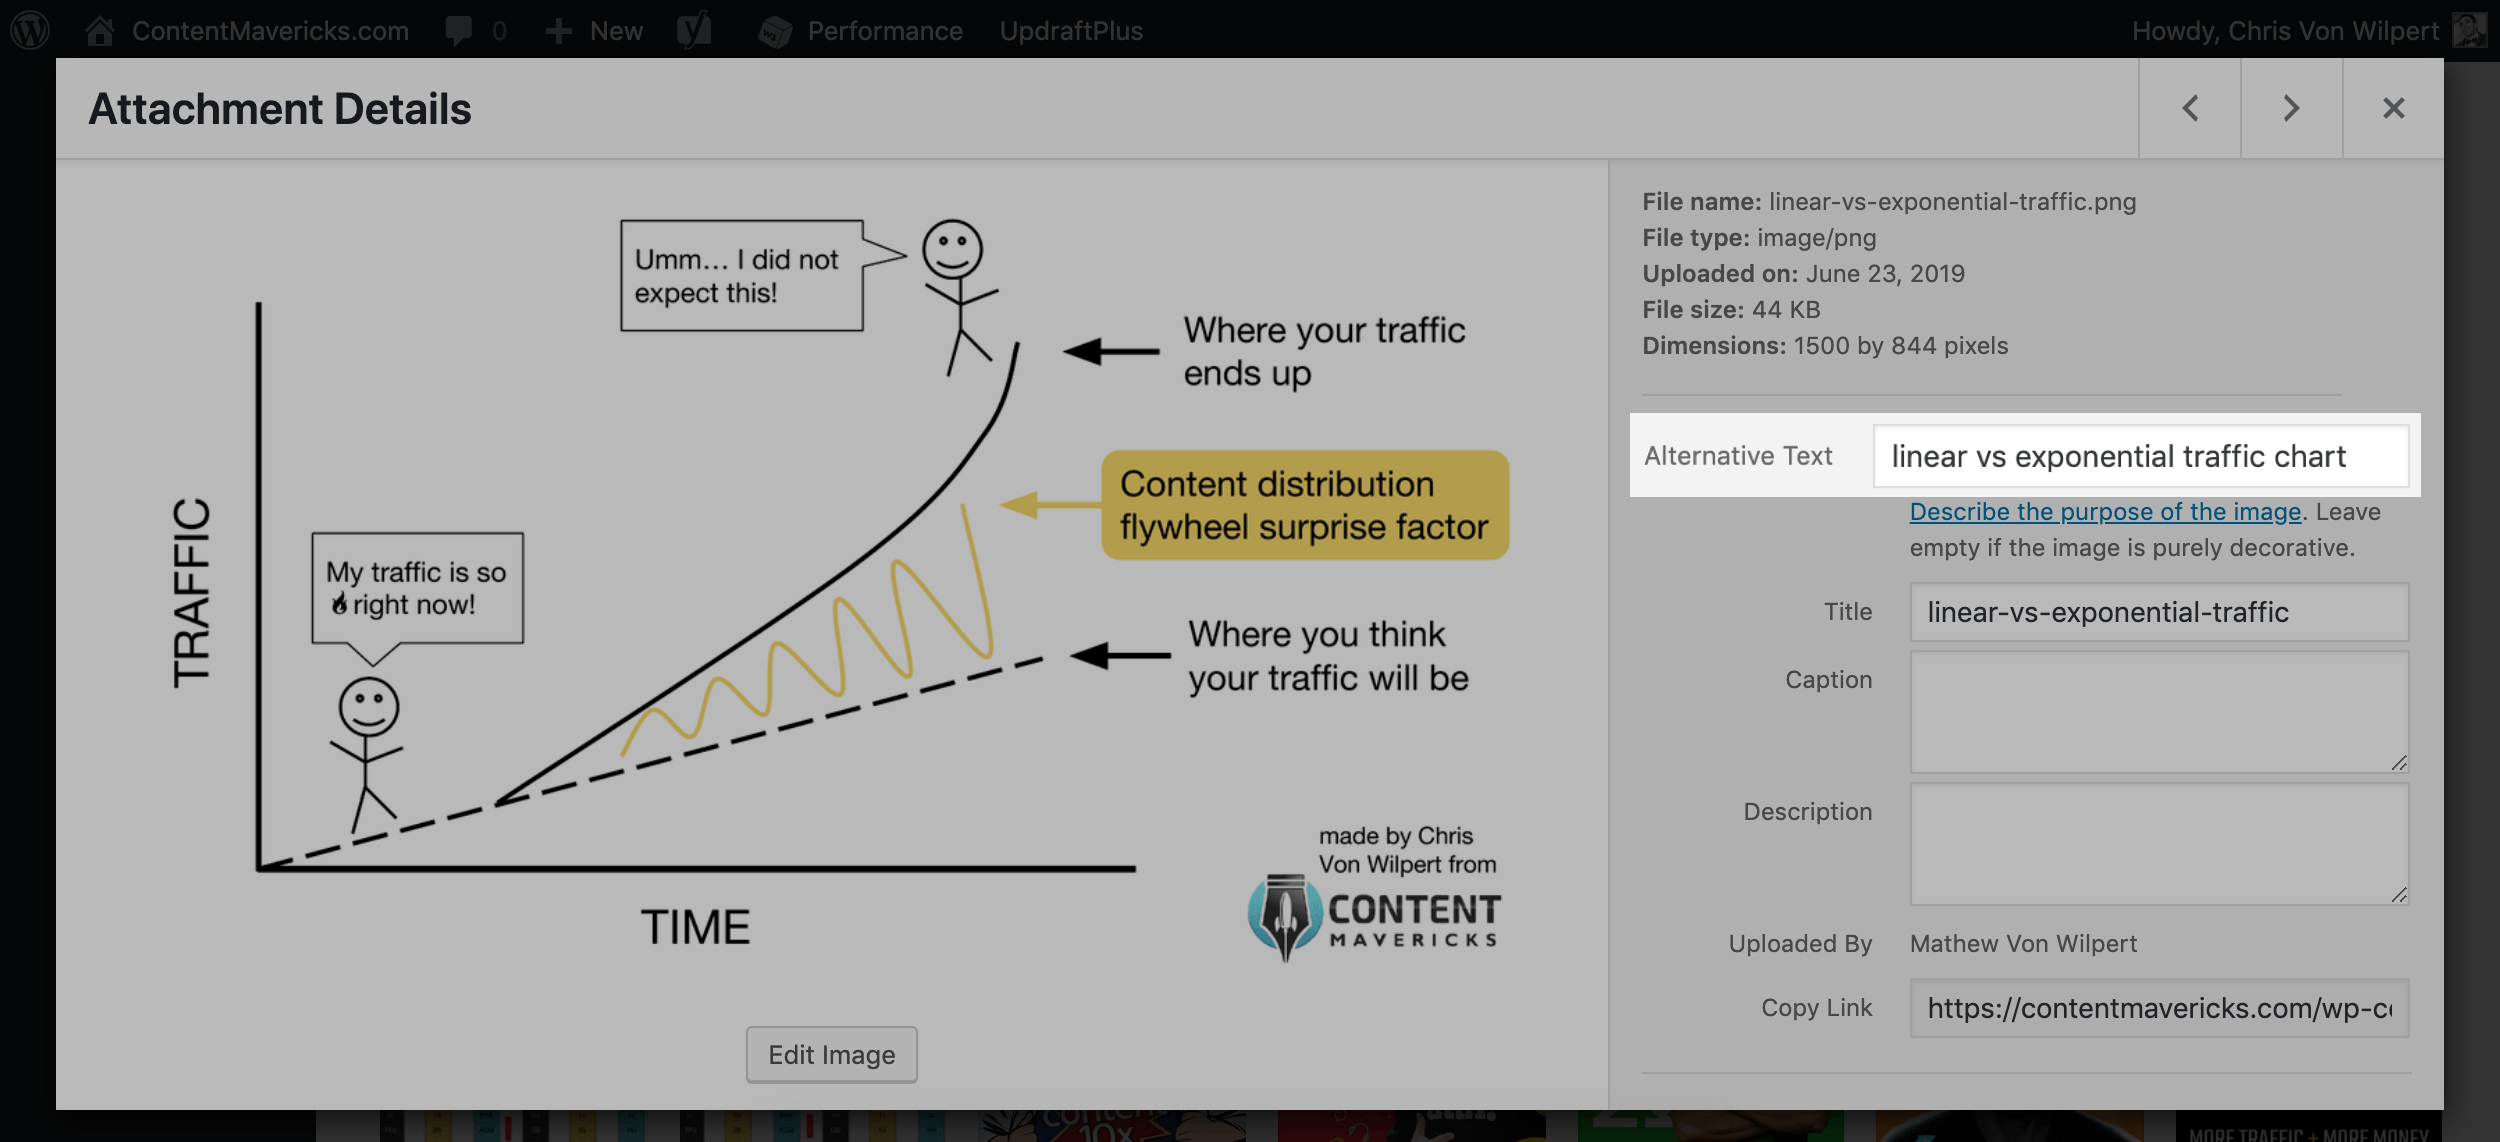
To write good alt text imagine you're writing anchor text for a text link.
Then write a short, accurate description of exactly what people see in the image.
Like this:
Off to the races!
Satisfy Search Intent
It doesn’t matter how good your content is.
Or how well you optimize your URL, title, meta description or alt text:
If your content doesn’t satisfy search intent.
For example, here’s what I see when I look at the top Google results for the topic “content distribution tools”:
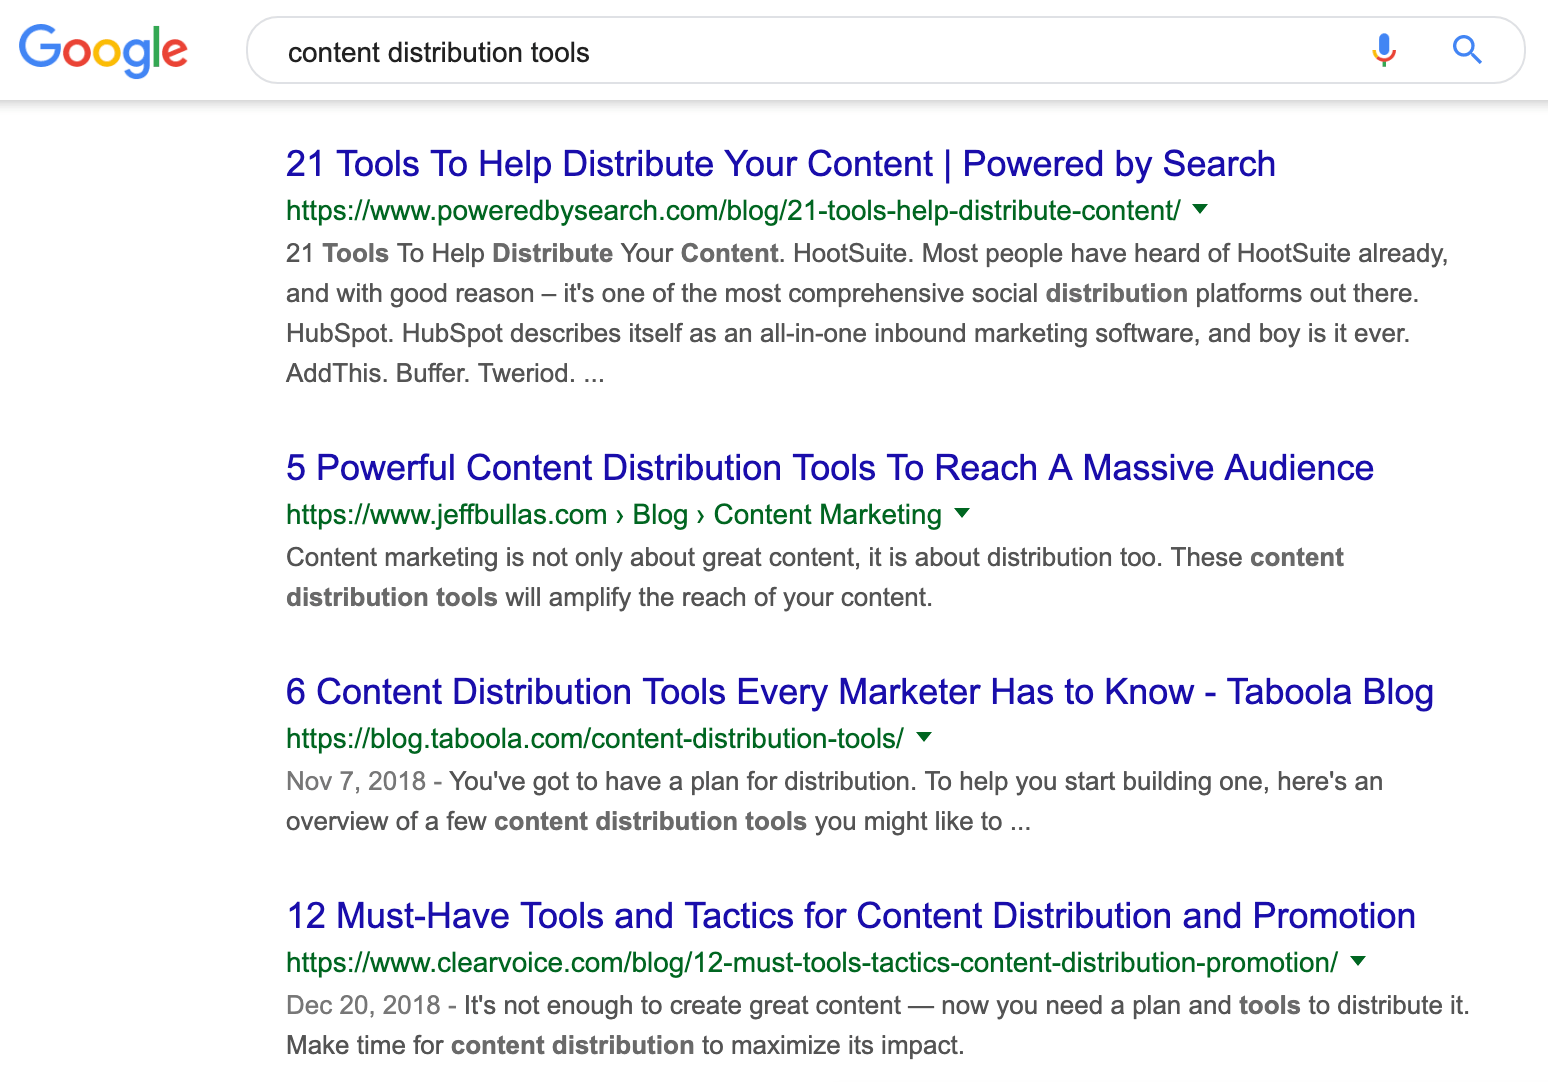
It’s pretty obvious from looking at this, that people are looking for:
A list of tools.
To satisfy search intent for this search I need to make my list of tools THE best.
I could do that by:
- Making a bigger list.
- Making a highly curated list of tools proven to drive 10,000+ traffic.
- Making an easily filterable list by tool type and price (my favorite!)
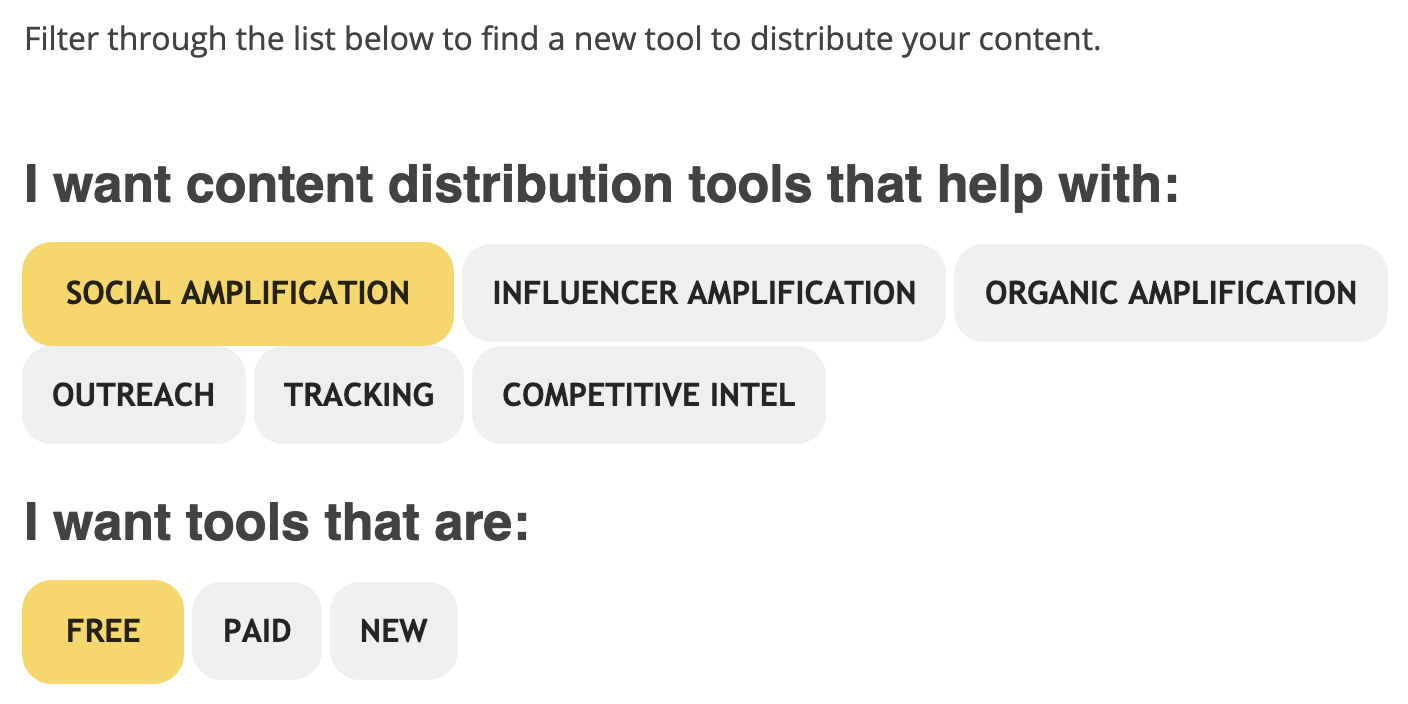
It’s up to you to come up with your own unique angle.
There’s only one thing you can’t deviate from: your post MUST be a list.
Otherwise it won’t satisfy user intent, and you won’t ever win.
Let me give you another example.
Because understanding this concept is CRITICAL to your SEO success.
Here are the top search results for my topic “editorial calendar for bloggers”:

It’s a bit less obvious what the search intent is on this one.
- Post #1 is a template relevant for the current year.
- Post #2 is a “how-to” piece on how to create a content calendar.
- Post #3 is also a “how-to” piece, plus answers “why” you need one.
To satisfy search intent for this you need to write an ultimate guide.
It needs to cover the why, how-to, and templates on one page.
Here’s the table of contents I came up with:

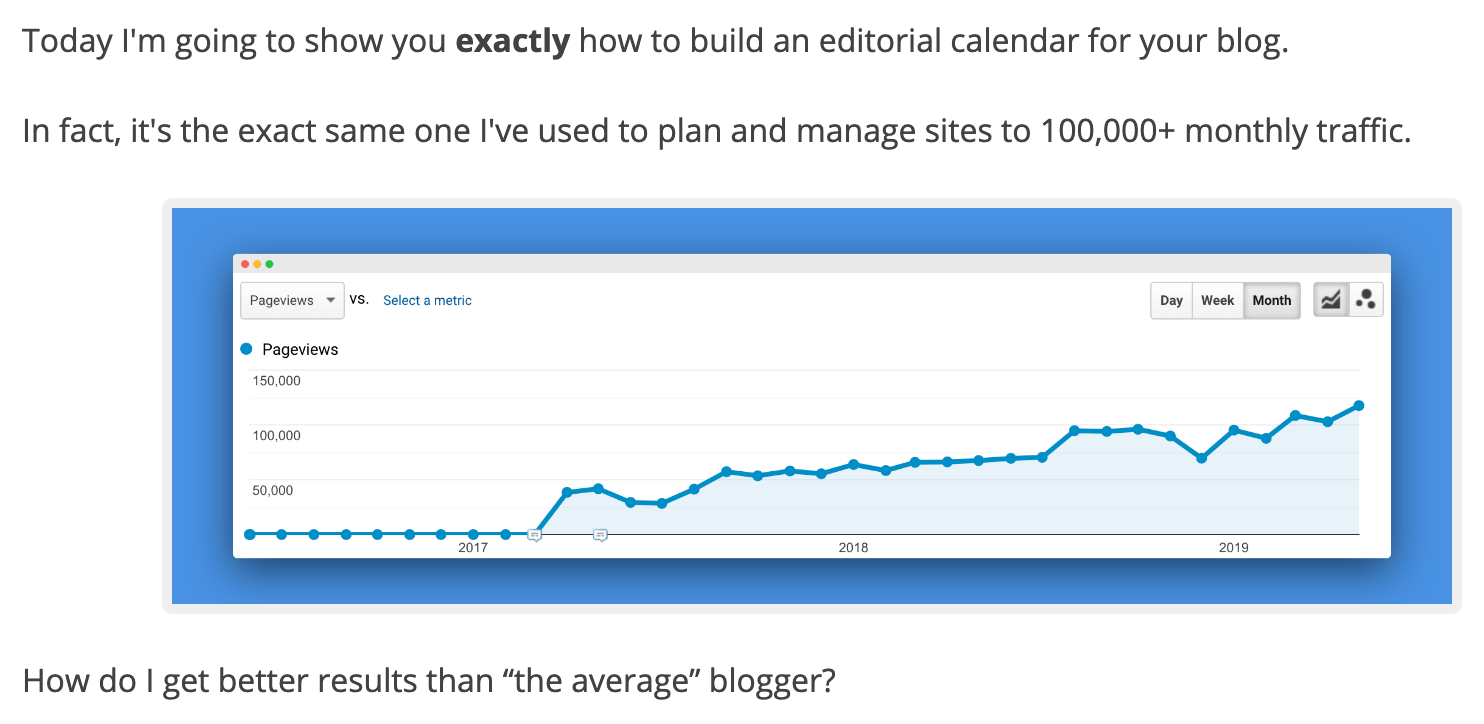
My unique angle was:
The calendar I used to grow a blog to 100k+ organic traffic.
Because it’s an ultimate guide based on my own experience.
It’s hard for anyone else to copy.
That’s how you win!
Step #4: Optimize Your Content For Authority
People want to connect with other PEOPLE who are experts.
And they want to know the content they’re reading is fresh, and up-to-date.
To do that, you need to optimize for three things:
Author Name
Want readers (and Google) to trust your content?
On every post add the author’s name.
Like this:

It may not seem like much.
But this one small piece of information adds more credibility to your posts.
It tells readers (and Google) “this is written by a real person.”
And if your content is GREAT.
Your writers will get random praise from readers, like this:
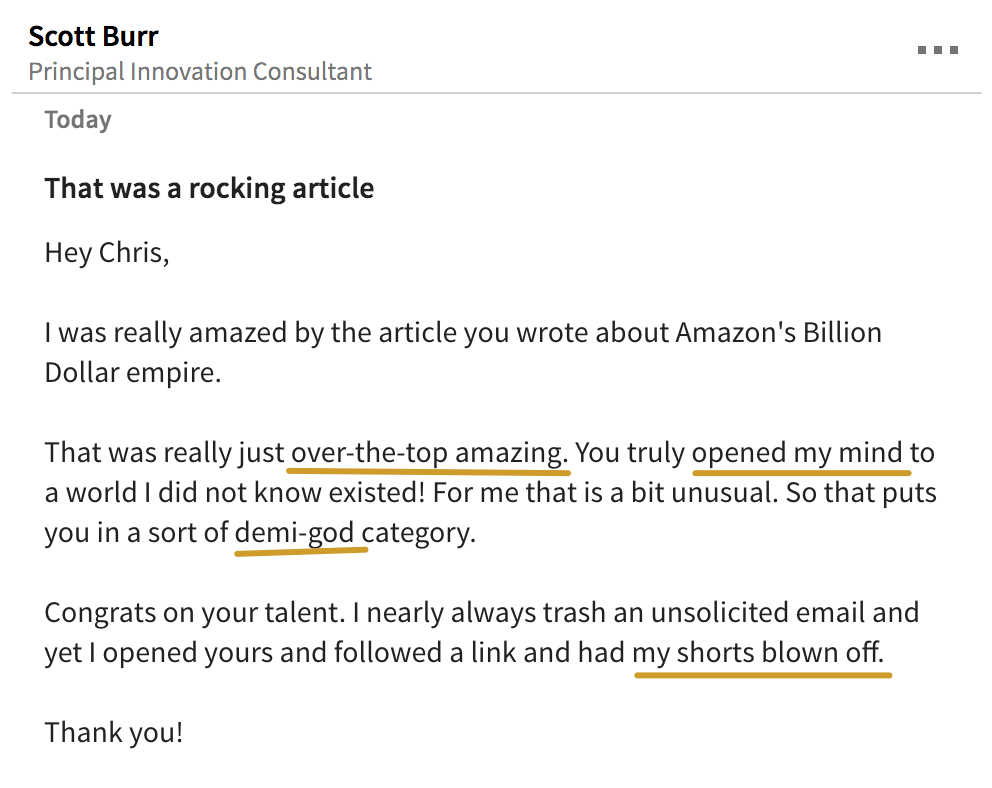
So they’re more motivated to keep writing for you.
Boo-yeah!
Last Updated Date
There’s a secret trick pro content creators use to show readers (and Google) their content is fresh and up-to-date.
It’s called the Last Updated Date.
Here’s what it looks like on my posts:

Once you have it setup, people will start to see your last updated date in Google search results.
This can help your click-through rate.
And the appearance of freshness.
But most importantly, it’s going to show Google (and readers) you’re maintaining and updating your content.
So cool.
Original Publish Date
Most people leave the original publish date off their posts.
That’s a mistake.
People want to know when you originally published your content.
So if you care about providing a good user experience, show it like this:

Simple.
What if you don’t know how to add any of the above (author name, last updated date, and original publish date)?
I recommend you pay a developer (that specializes in your WordPress theme) for one hour to get it set up for you.
You can find them inside official Facebook groups for your website theme, or freelance sites like UpWork or Freelancer.
Step #5: Optimize Your Content For Engagement
Content First
If there’s one thing that’s guaranteed to kill your engagement, it’s this:
Putting big useless stock photos at the top of your blog posts that push down your content.
I used to write blog posts that started like this:
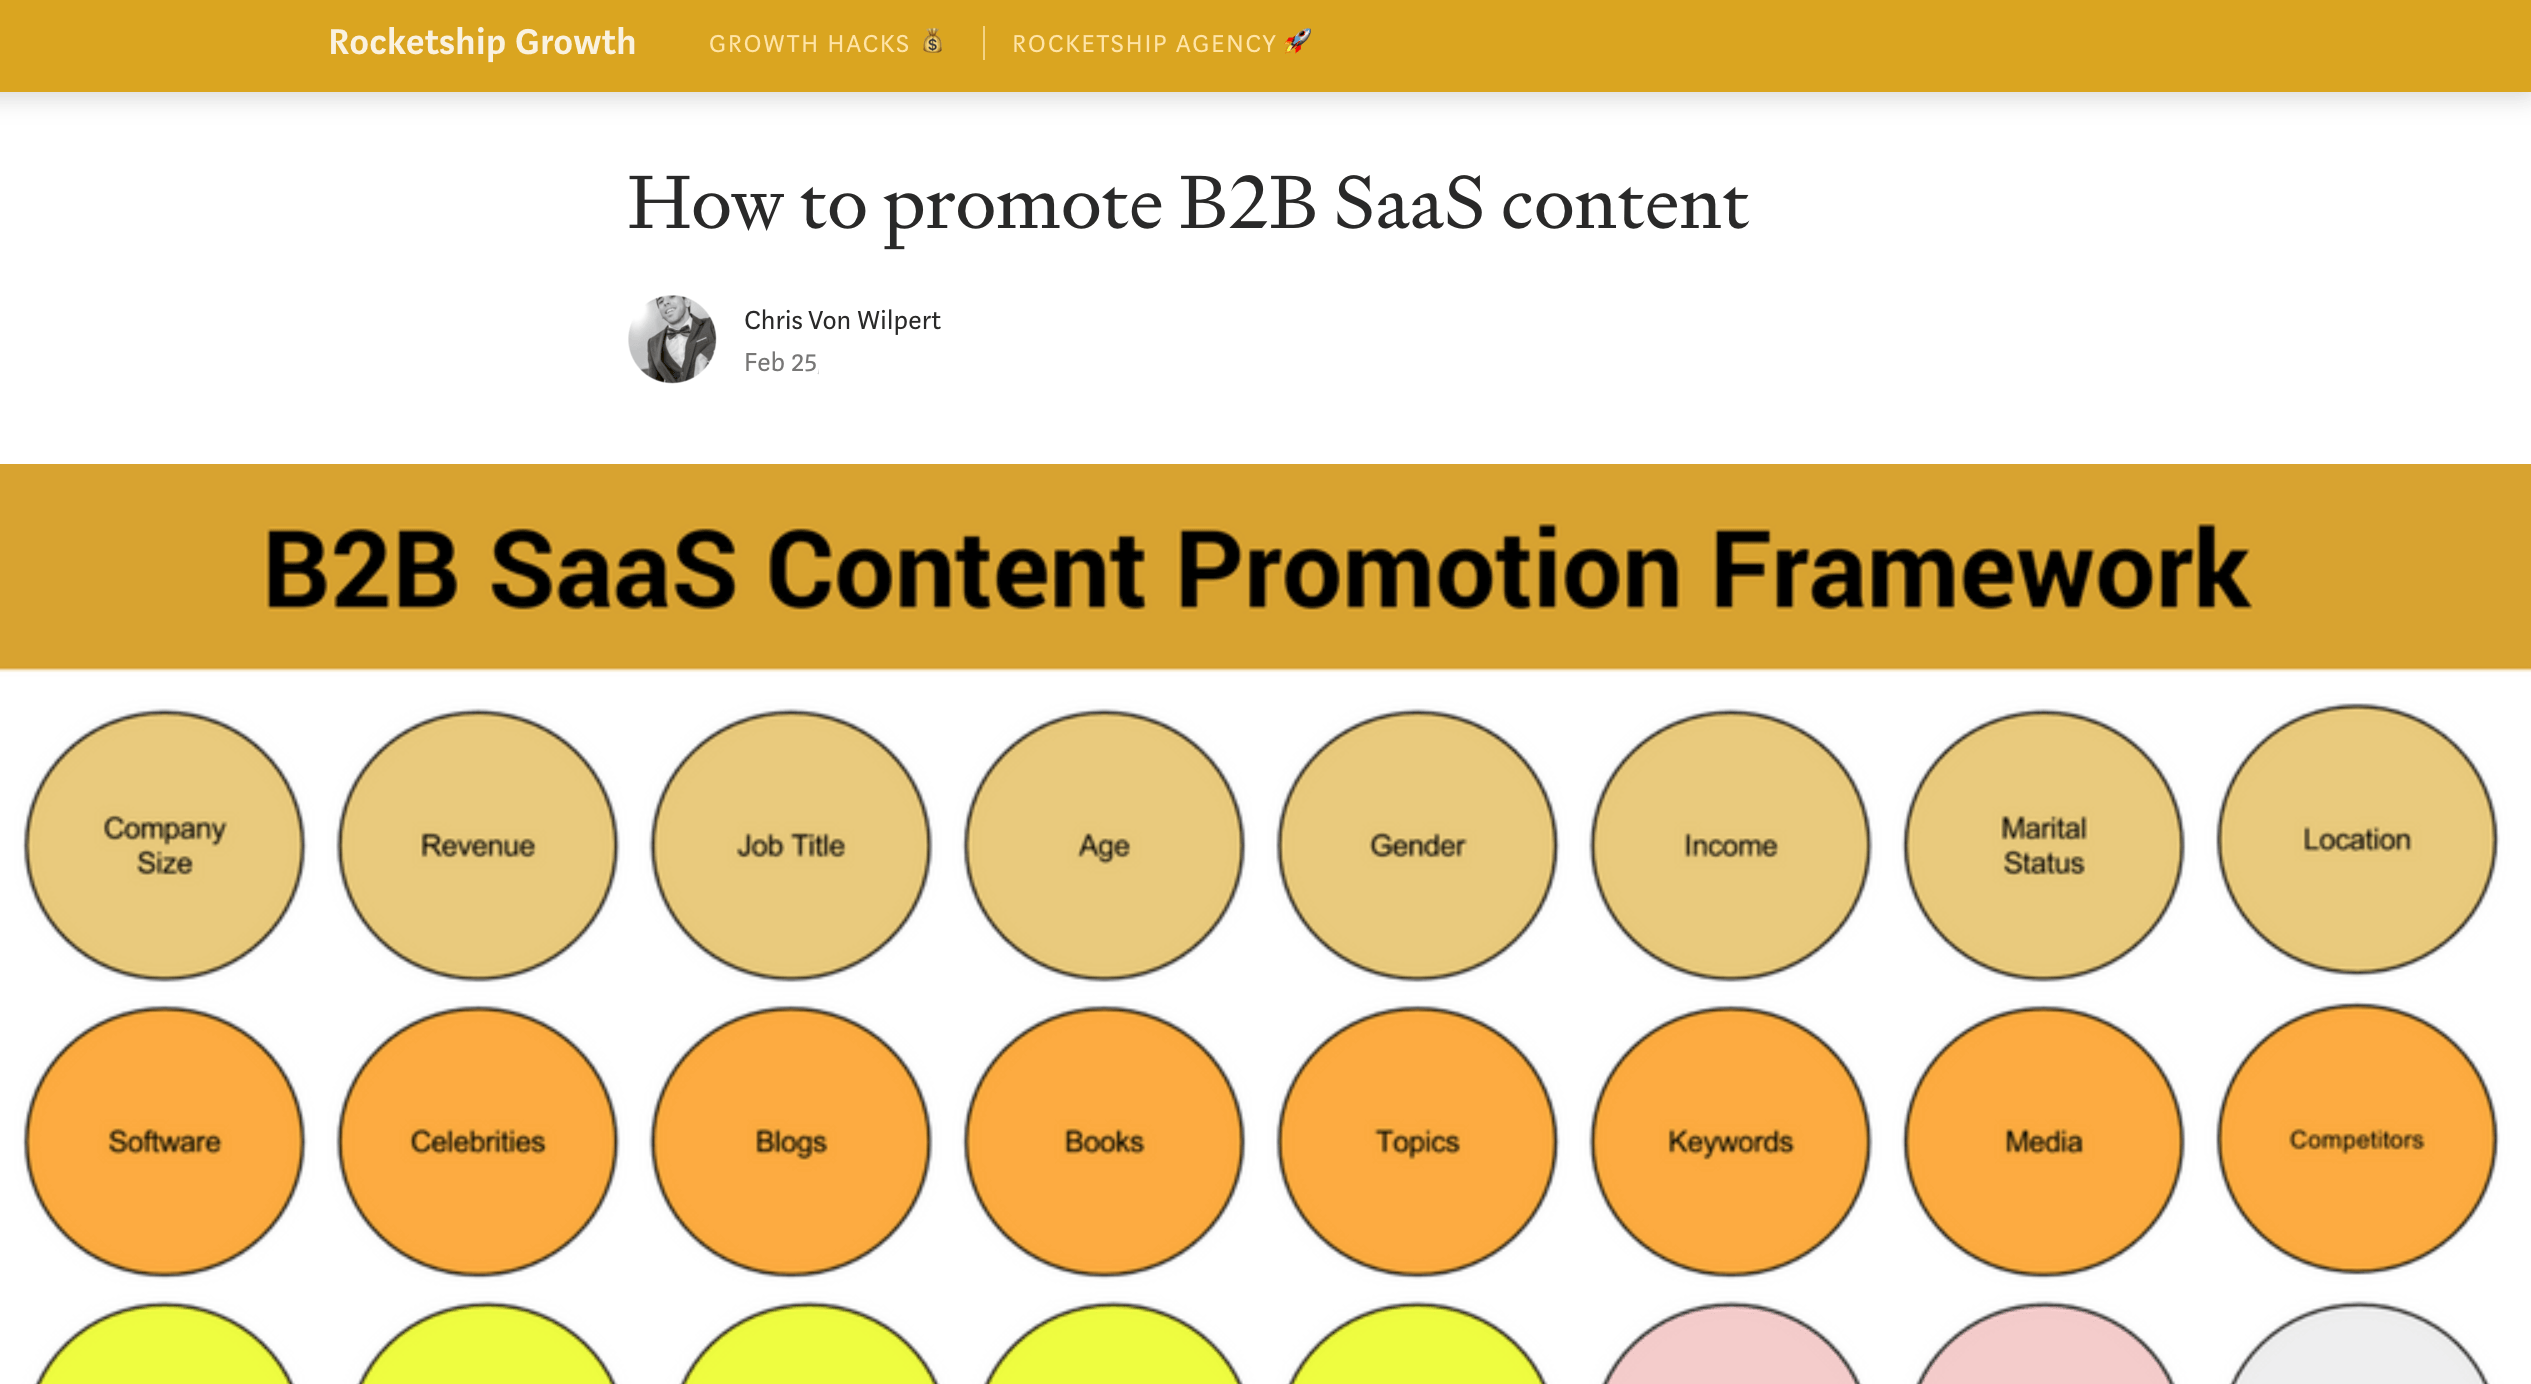
Until I looked at my read ratio stats.
And saw only 21% of people who viewed the post actually read it.

When people land on your page:
They’re looking for an immediate answer to their question.
Not that unique, creative image you spent three hours whipping up in Photoshop.
That’s why I now start every post like this:

No more random pictures of coffee mugs on desks, pleeeease.
If it’s not getting your reader curious to read more, it’s gotta go.
Comment Gamification
Blog comments are a visible sign of:
- User-generated content.
- A thriving community.
- Content quality (a Google ranking signal).
Receiving comments that are real and positive WILL improve your SEO.
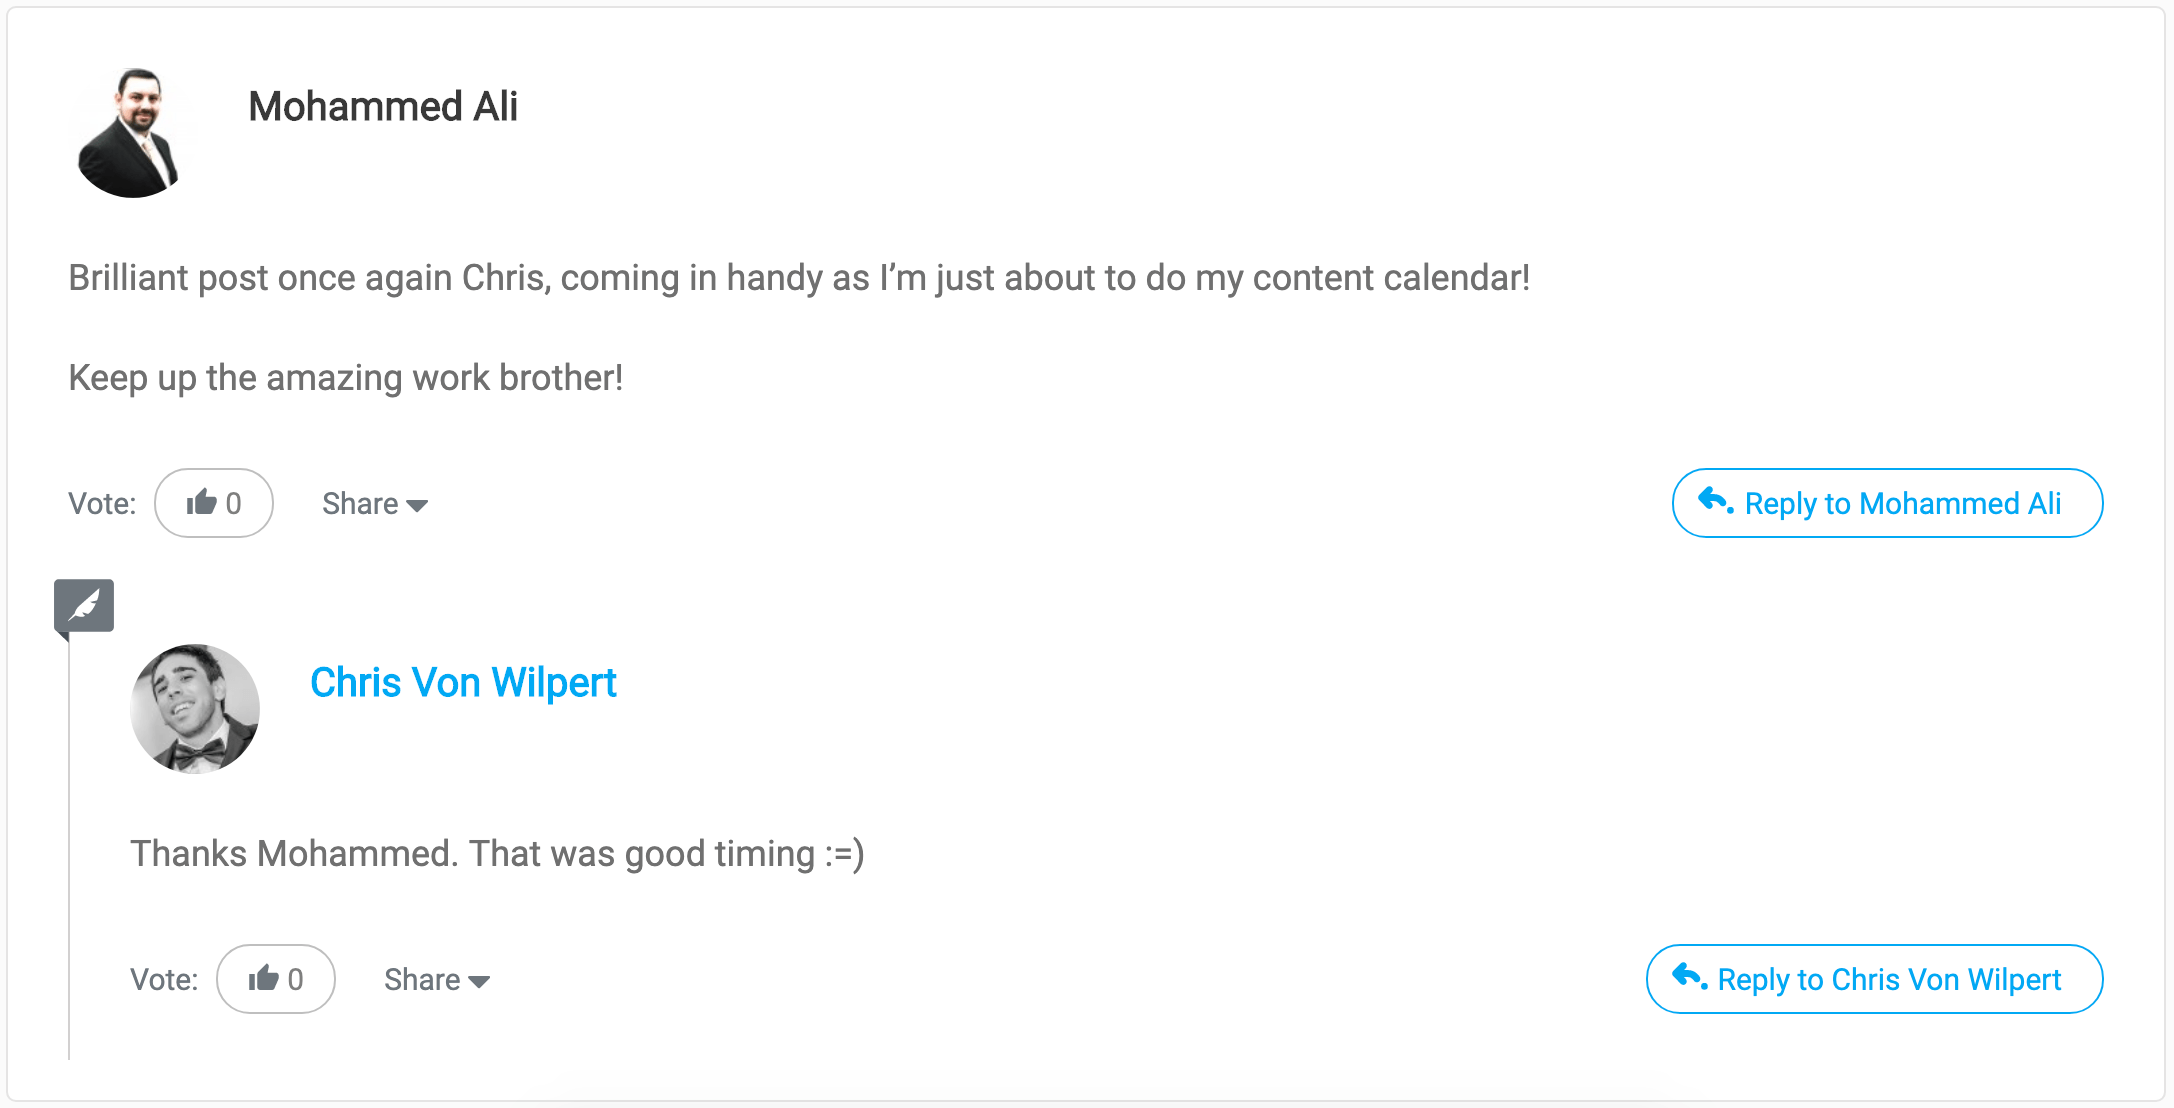
Personally I like WordPress’s default comment system.
Inside WordPress go to Settings > Discussion.
Then tick the option to “Allow people to post comments on new articles.”

Or if you only want to show comments on specific posts:
You can tick “Allow Comments” in the Discussion section of an individual post: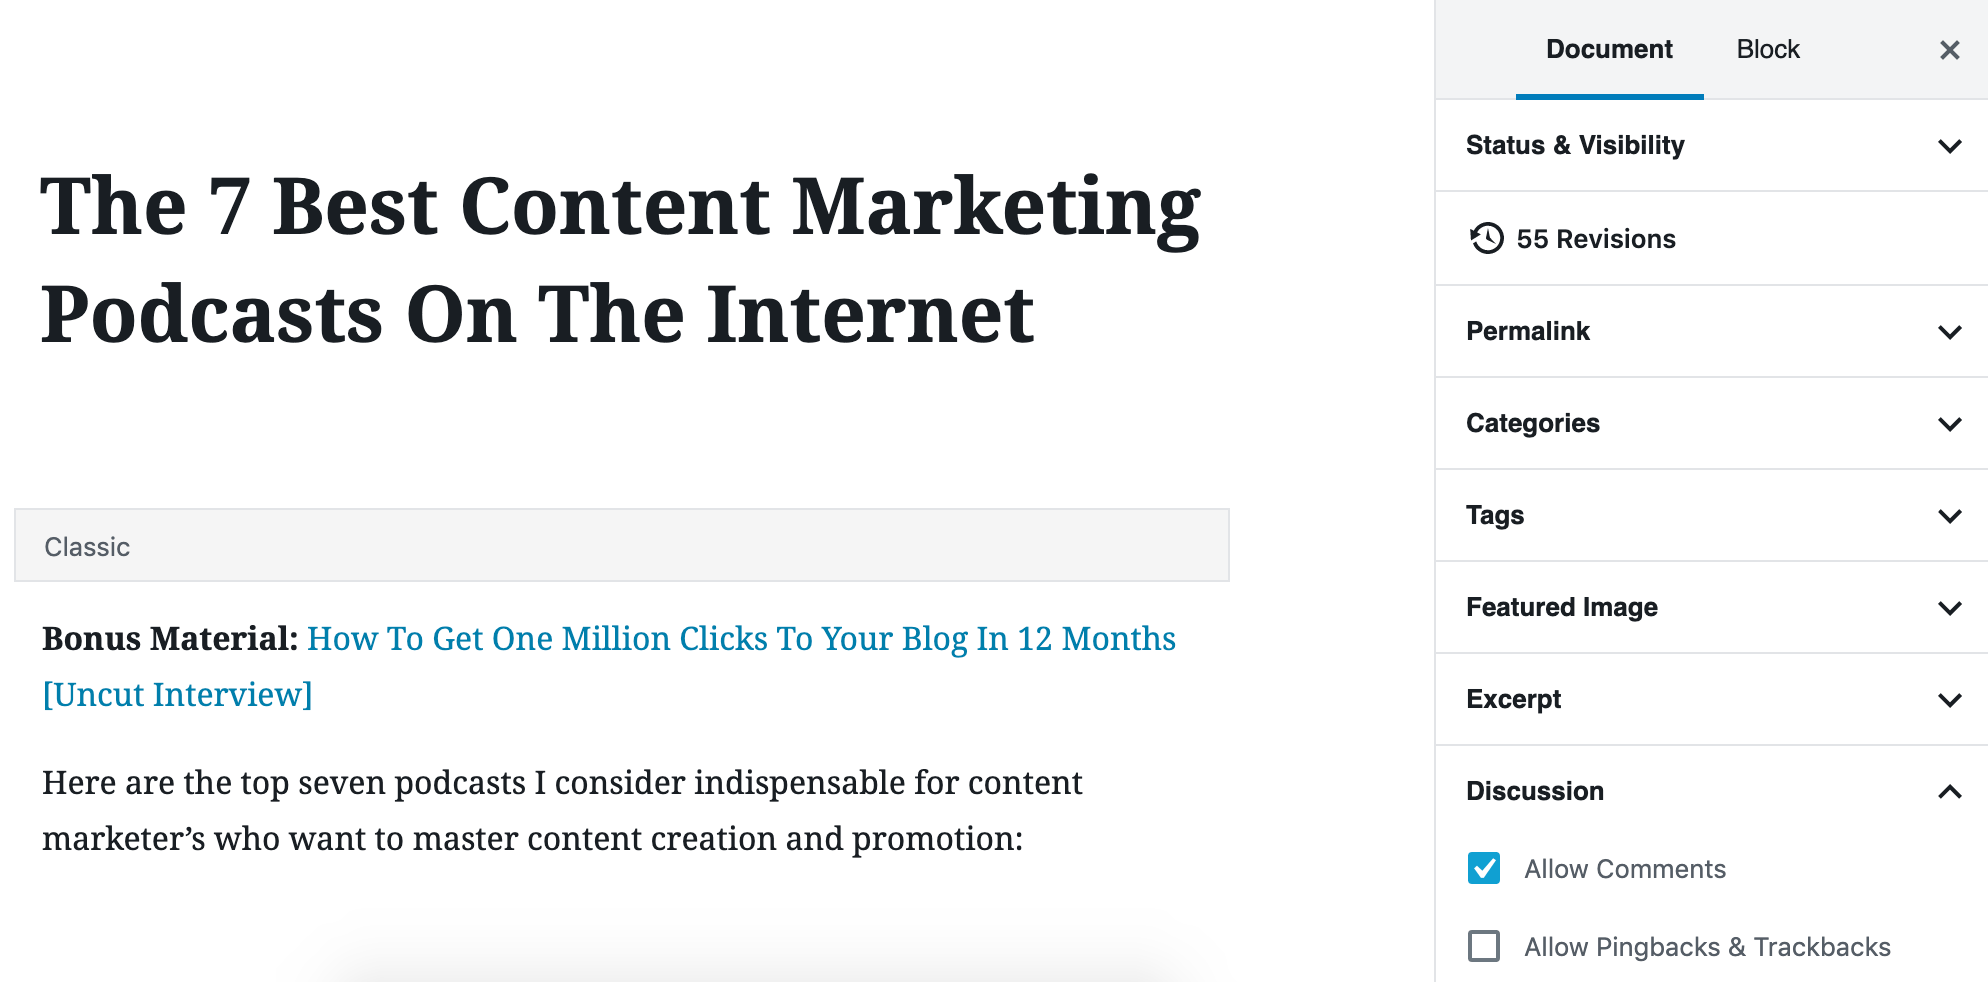
To optimize for comments it’s simple:
End your post with a question that’s easy to answer.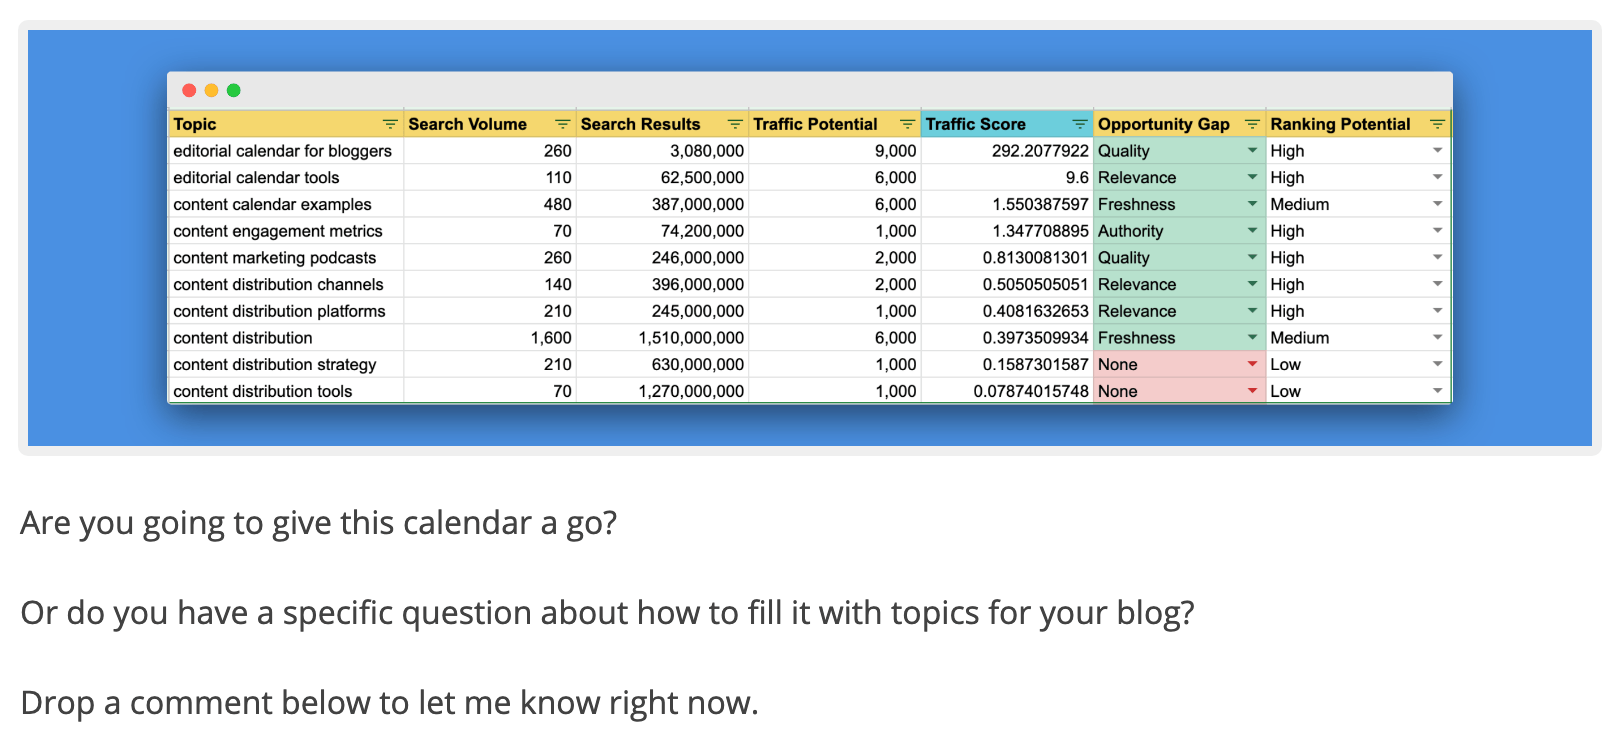
Don’t make it hard by asking your readers “what did I miss?.”
That requires too much thinking.
And will turn your comments section into a ghost town.
To optimize your comments for even more engagement:
Turn your comments into a game!
When people leave a comment on the Content Mavericks blog, here’s what I do:
- Give them a bonus traffic case study.
- Ask nicely for a social share.
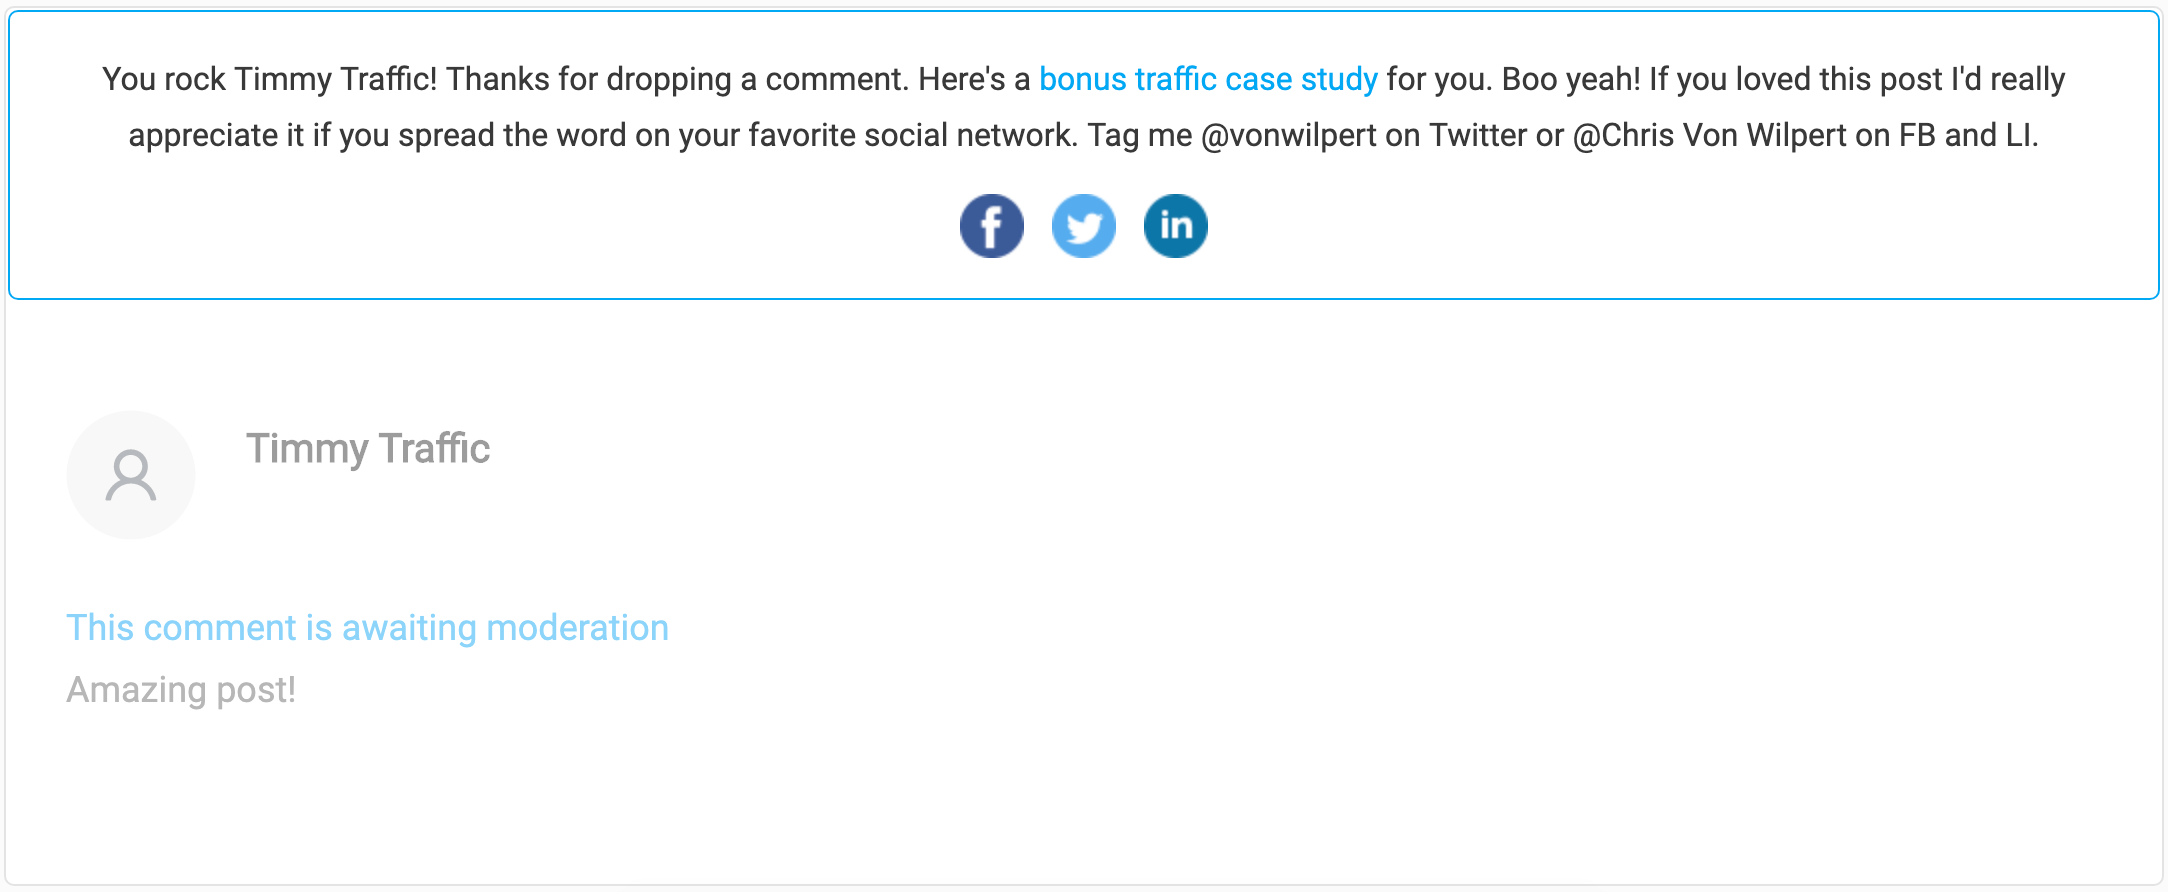
My readers love it!
To do it, I use a cool little comments plugin called Thrive Comments.
And set it up to optimize for social shares with a custom message.
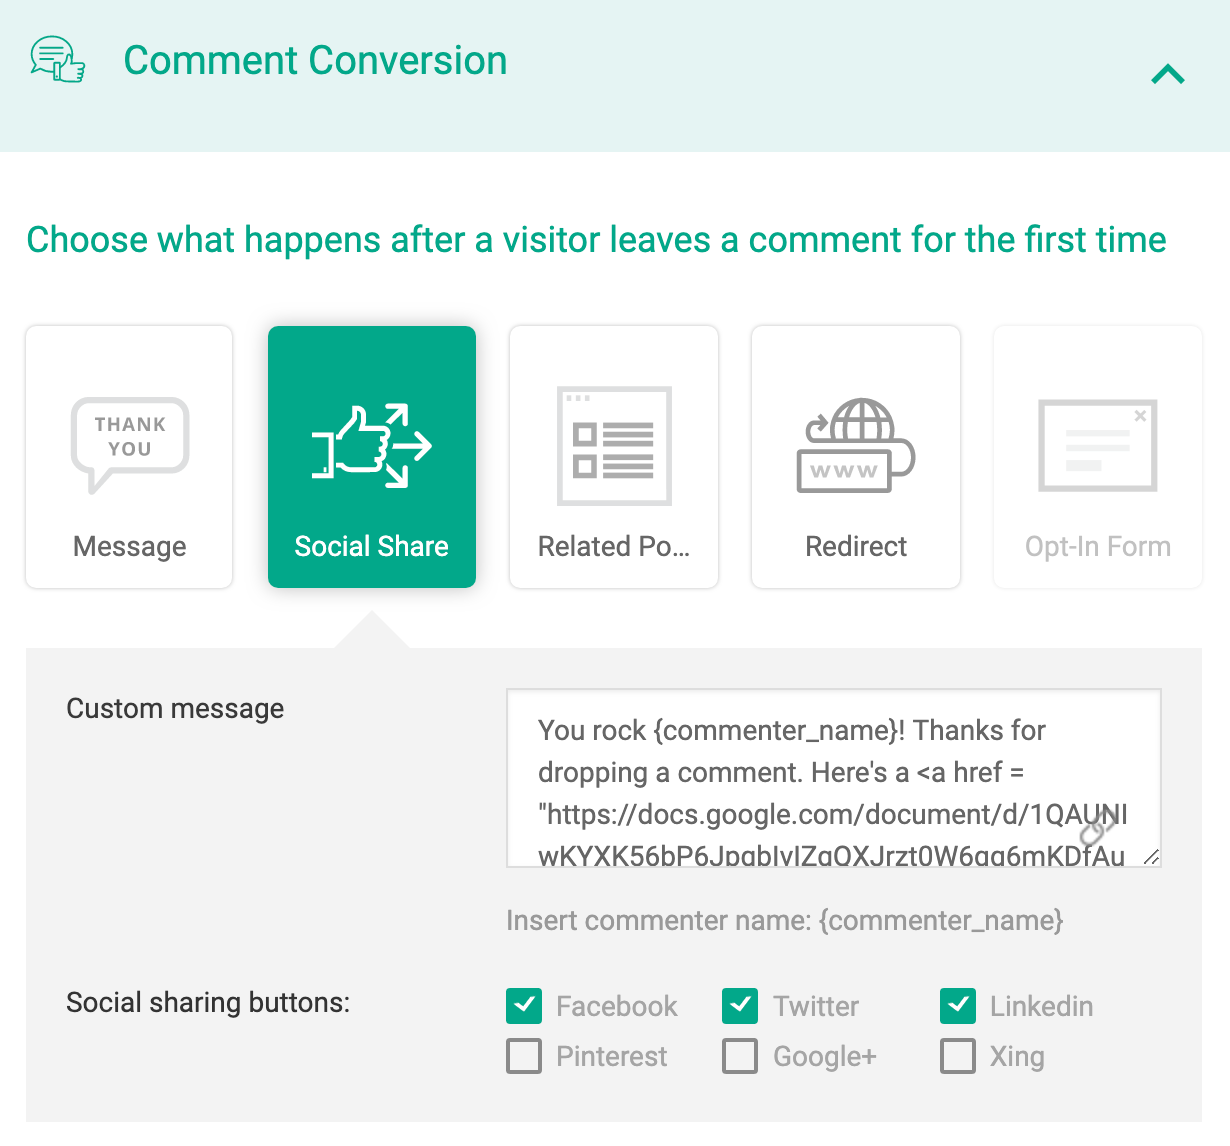
That’s how you turn the most overlooked feature on your website into your most valuable asset.
Boom!
Image Optimization
Want to know the one thing that will slow down your pages more than anything else?
Images.
Unfortunately there is no way around it.
If you want to create GREAT content with lots of custom images, your page load time is going to suffer.
However there are two steps you can take:
- Adjust the size of your images BEFORE you upload them to your website, like this:
2. Compress images to their smallest size without affecting image quality by using an image compression tool like Smush.
Using Smush, on average my images get reduced by 24% their original size:
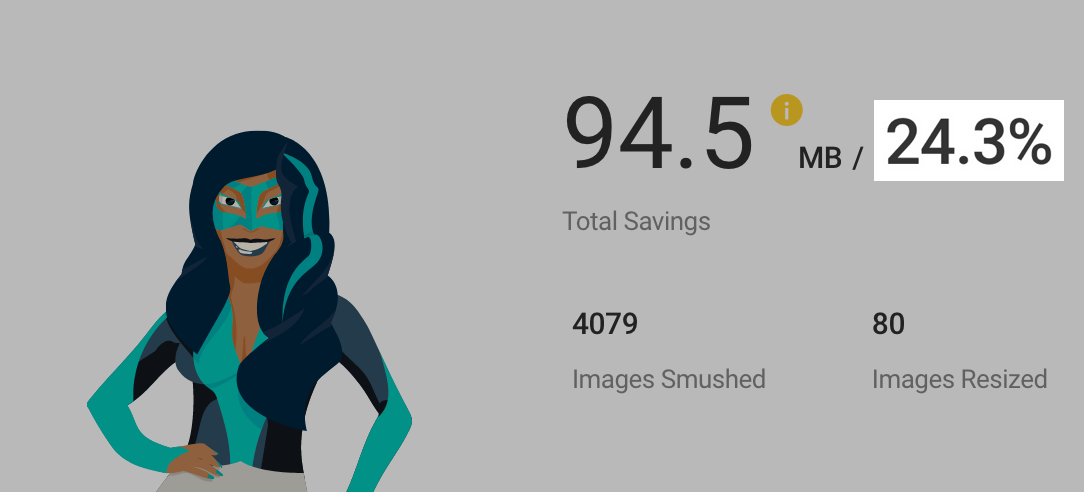
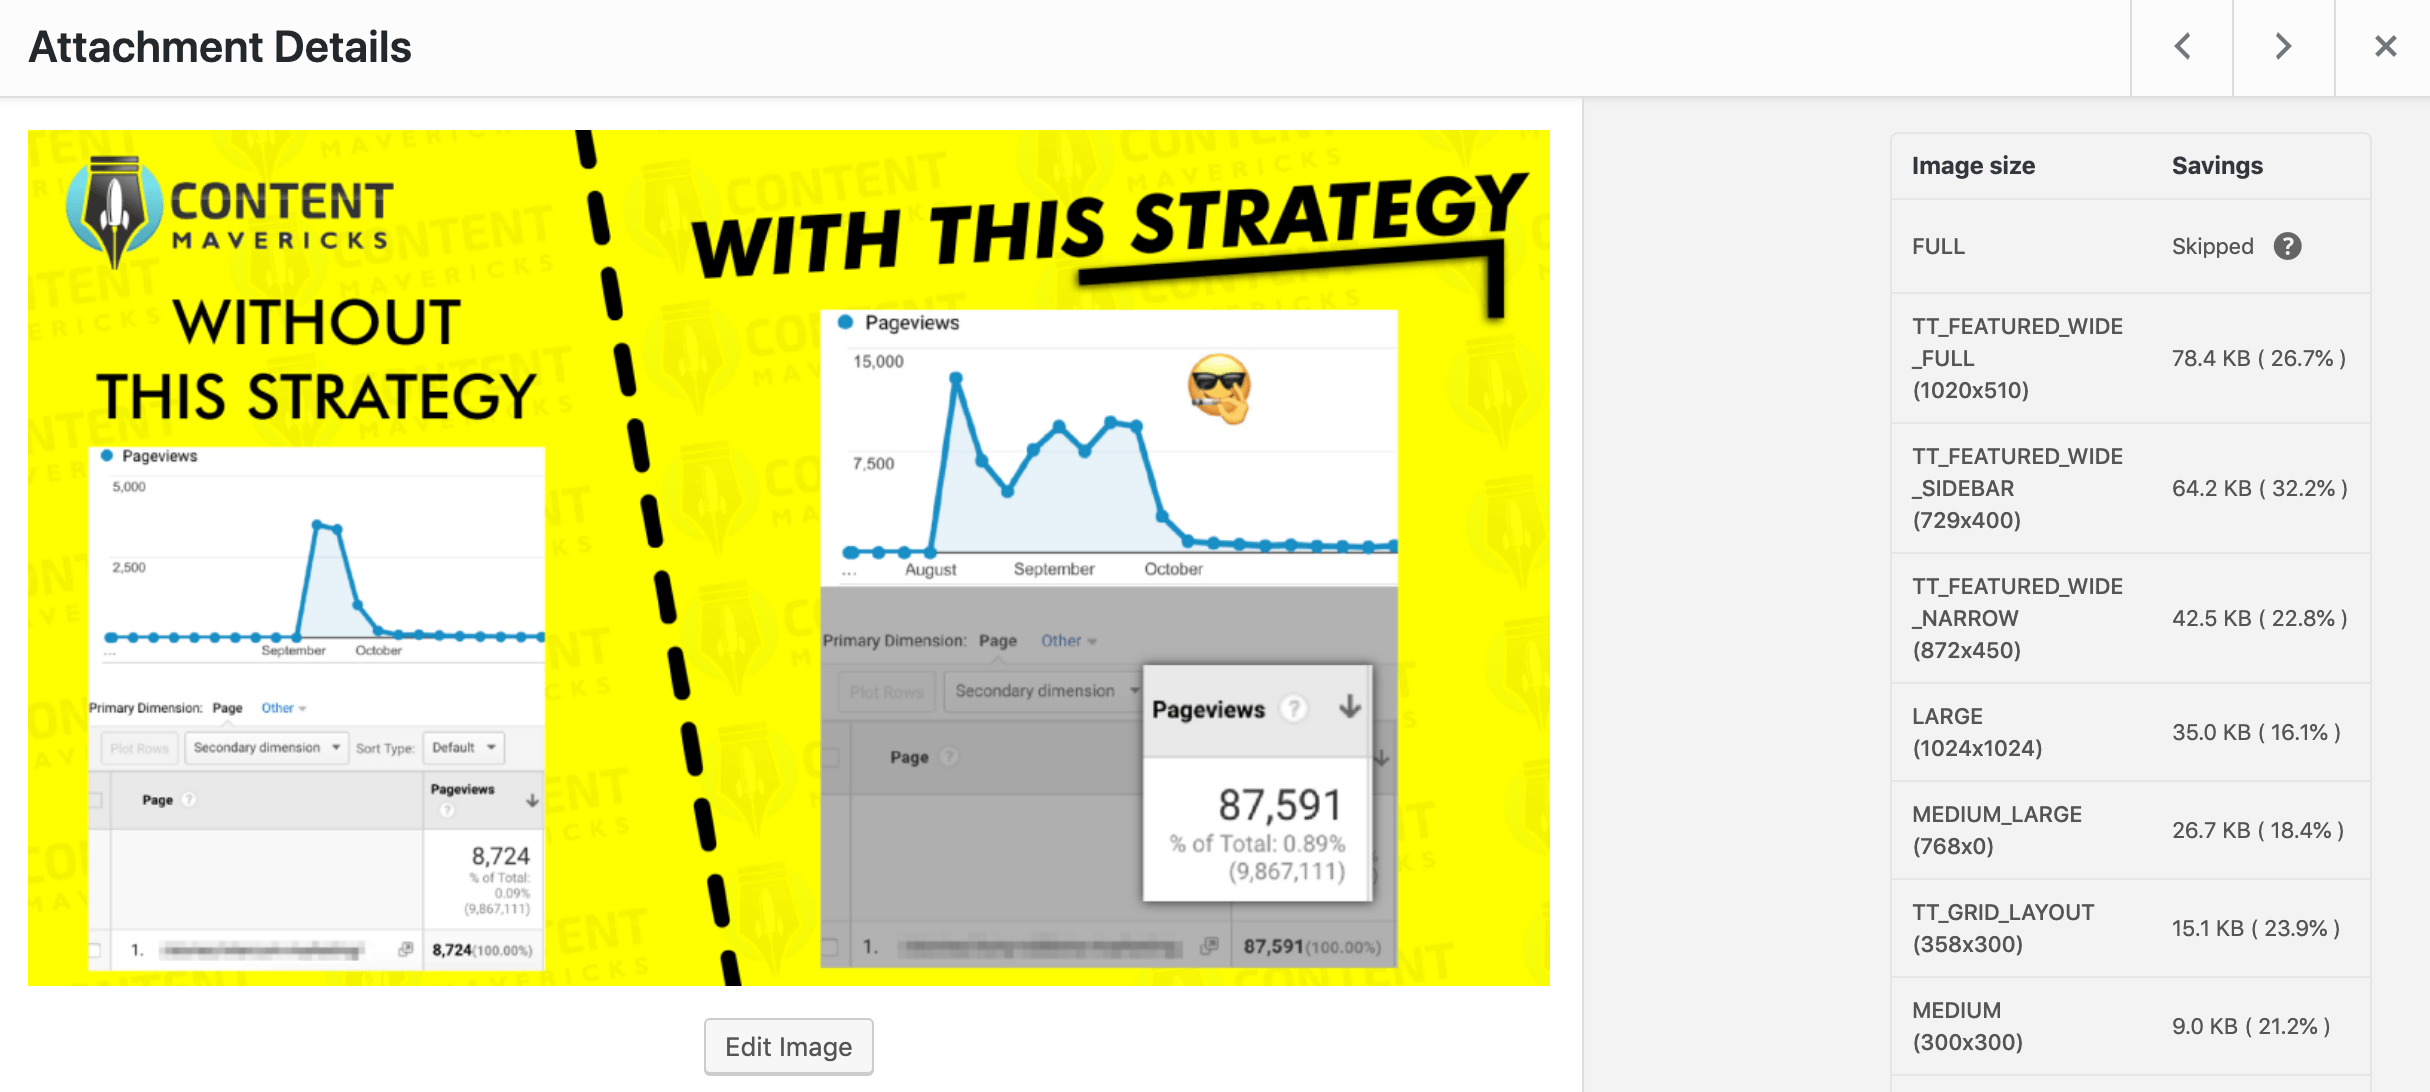
When you upload an image to WordPress, Smush automatically compresses it for all 12 thumbnail sizes commonly used in WordPress pages.
It’s a great free tool for lossless compression.
However if you want to truly optimize your images to the smallest file size possible, then you need to use lossy compression.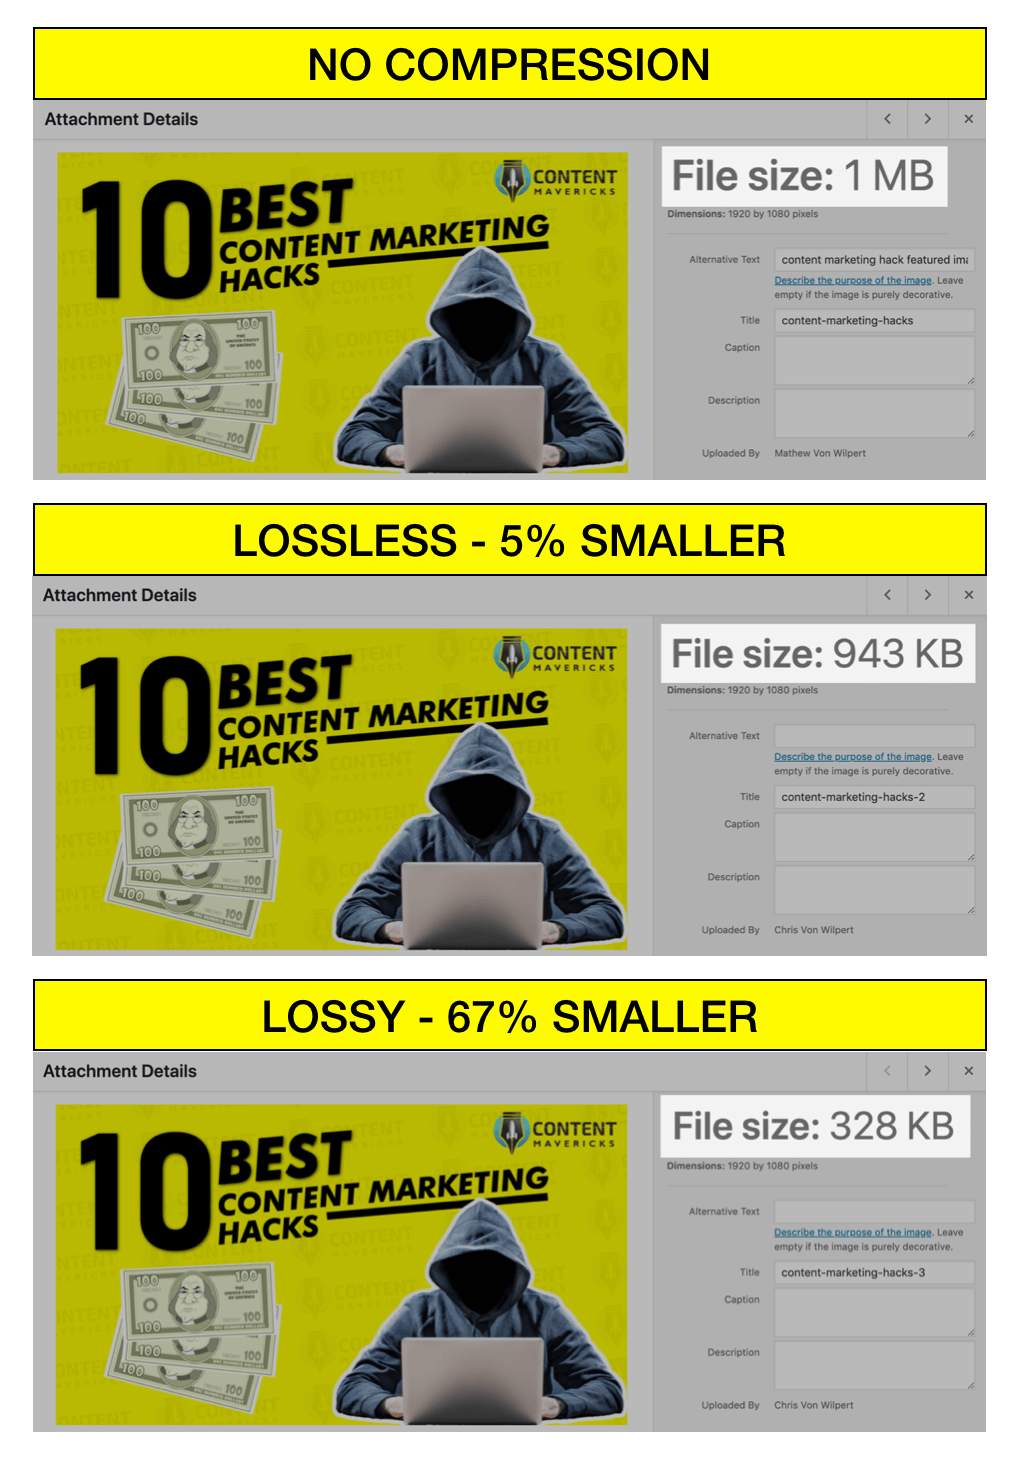
It can literally be the difference between a 1MB image and a 328KB image.
You can use the paid version of Smush to get lossy compression.
But personally I like to tick the Lossy Compression option inside the Performance settings of on my Thrive Themes FocusBlog WordPress theme.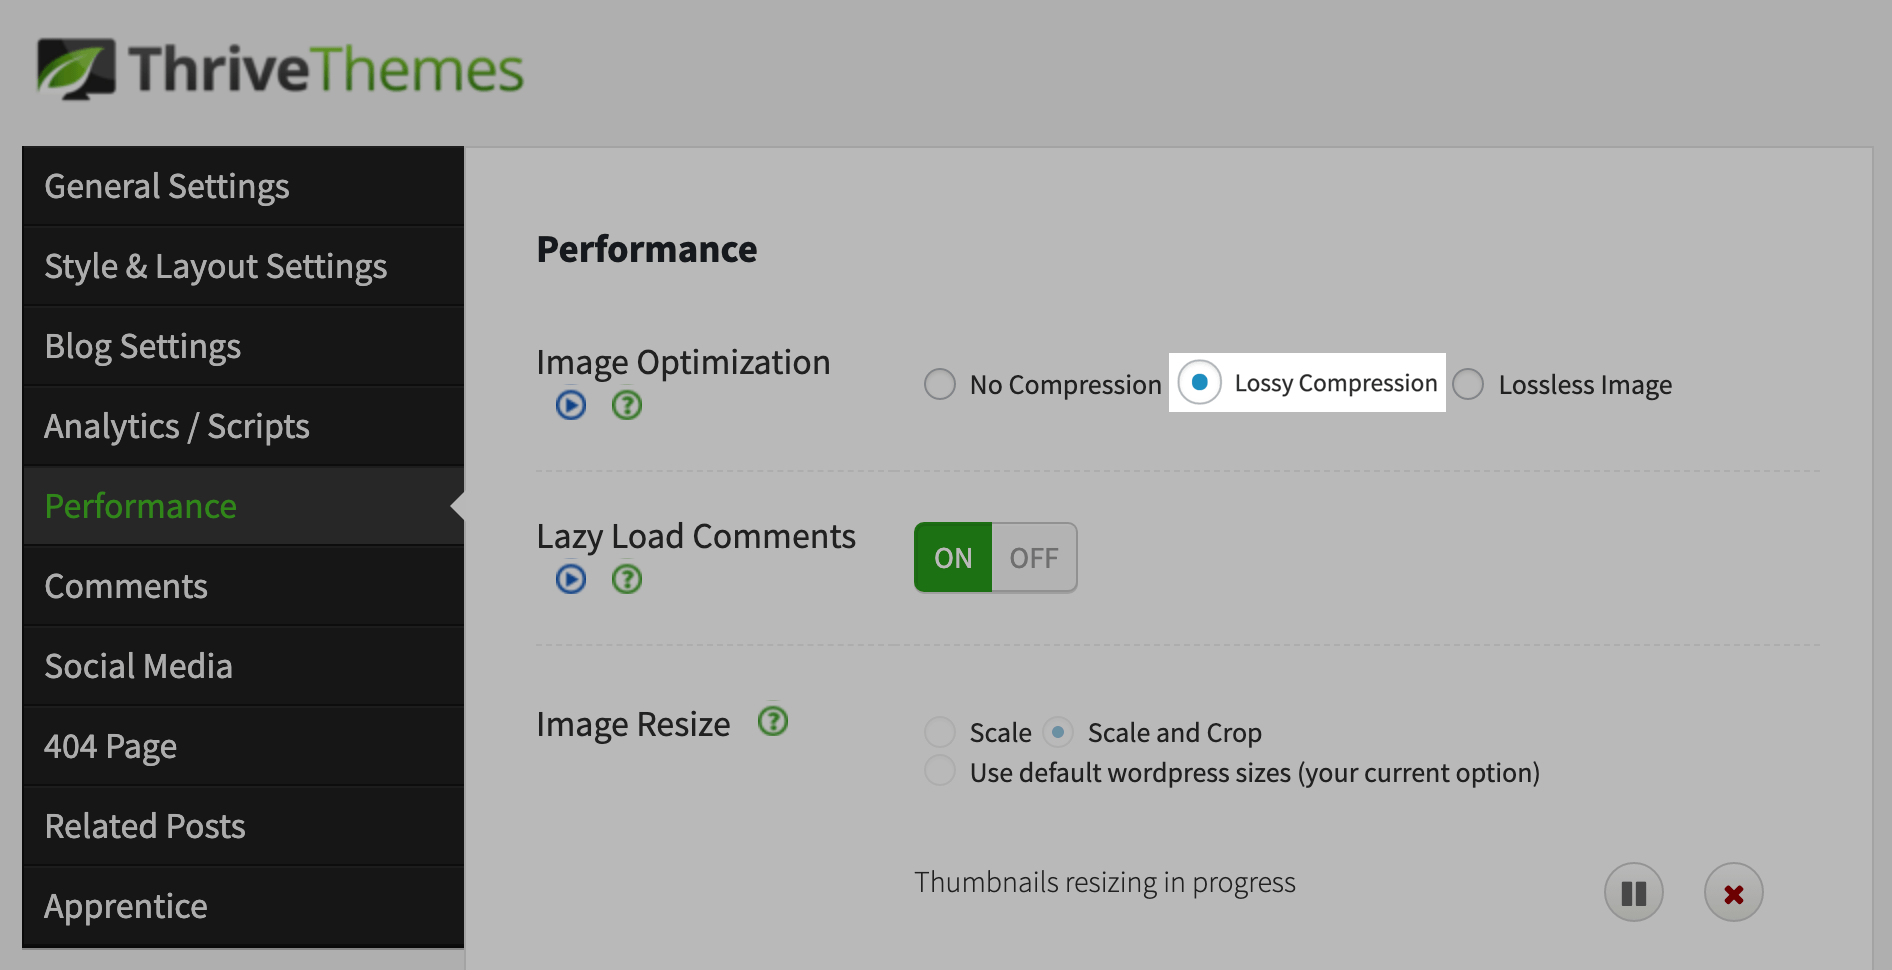
Thrive uses the paid version of Kraken to optimize your images for you.
Kraken’s lossy image optimization is one of the best on the web.
You can often see 60-90% reduced image file sizes.
Even if you look under a magnifying glass, it’s hard to tell the difference in image quality.
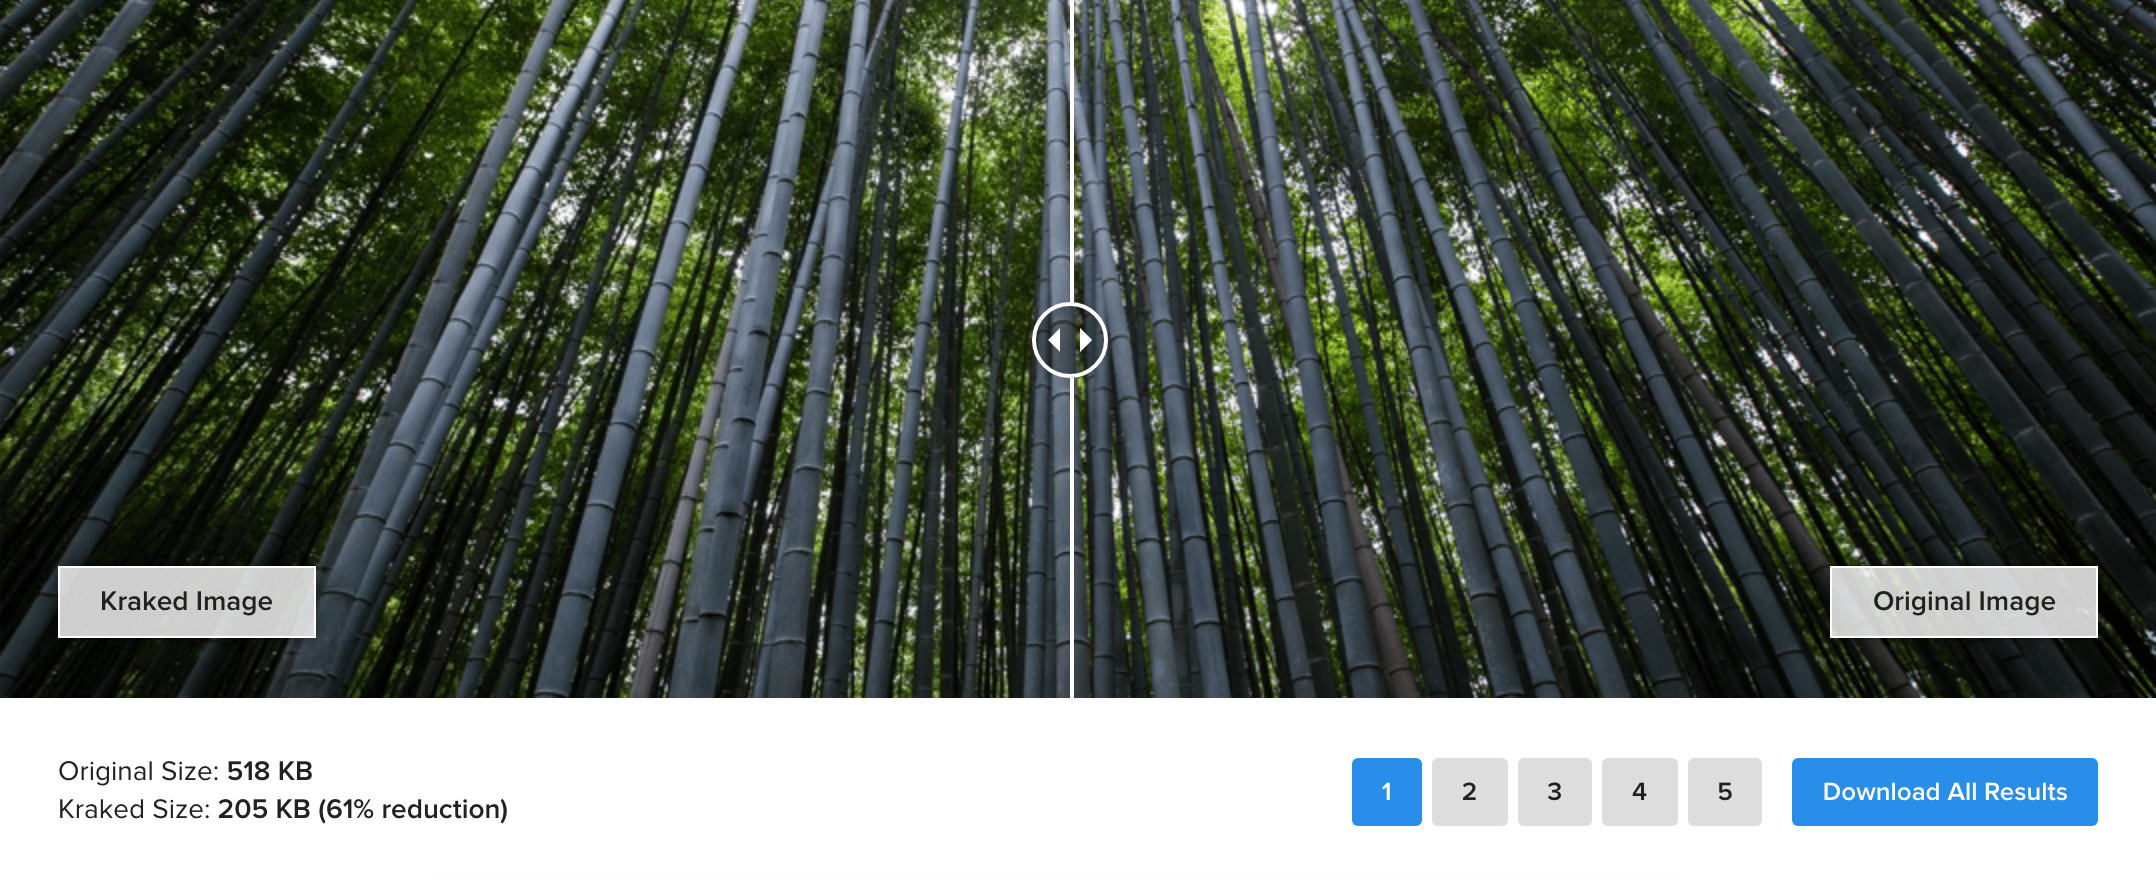
Easy-peasy lemon squeezy.
Step #6: Optimize Your Content For Readability
Grade 6 Readability
There's a reason why almost every child learns to read by reading Dr. Seuss.
It's the easiest writing to read. Ever.
How can you write like Dr. Seuss?
- Choose simple words (for example: many instead of multiple).
- Use short sentences.
- Don’t have big blocks of text.
That's what makes your writing easy to read.
Luckily there’s a tool that can help you do it.
It's called the Hemingway Editor.
Here’s a screenshot from one of my blog posts.
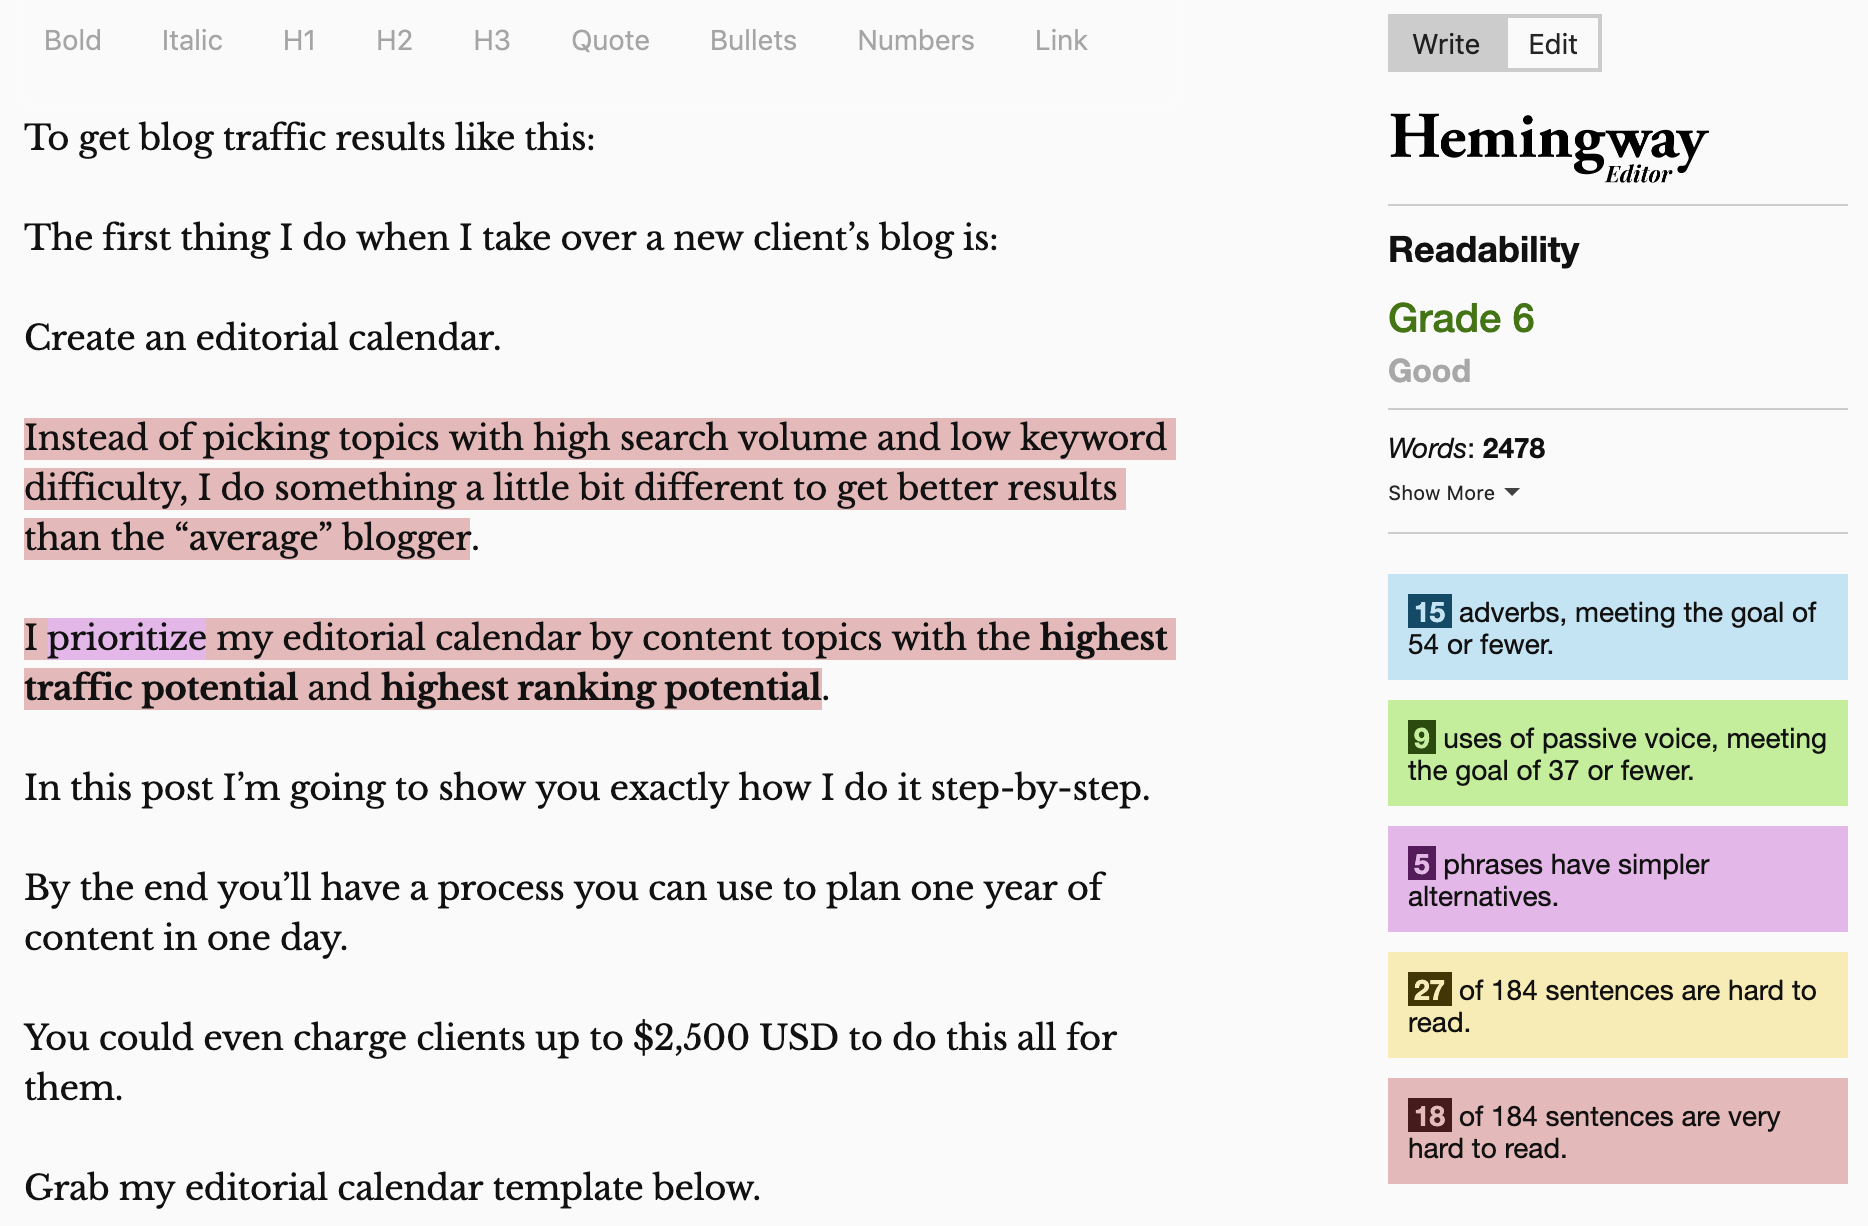
You can see my blog post has a 6th grade reading level.
I find that’s a good balance between simplicity and teaching advanced marketing concepts.
Paste your latest blog post into the Hemingway Editor and see how you score.
Content UX
Maybe you’re like me:
You can easily tell when something “looks really good," but don’t know why.
When I smash Arial 12 with Times New Roman 36 it somehow doesn’t work.
But when I write on Medium, it looks GREAT.
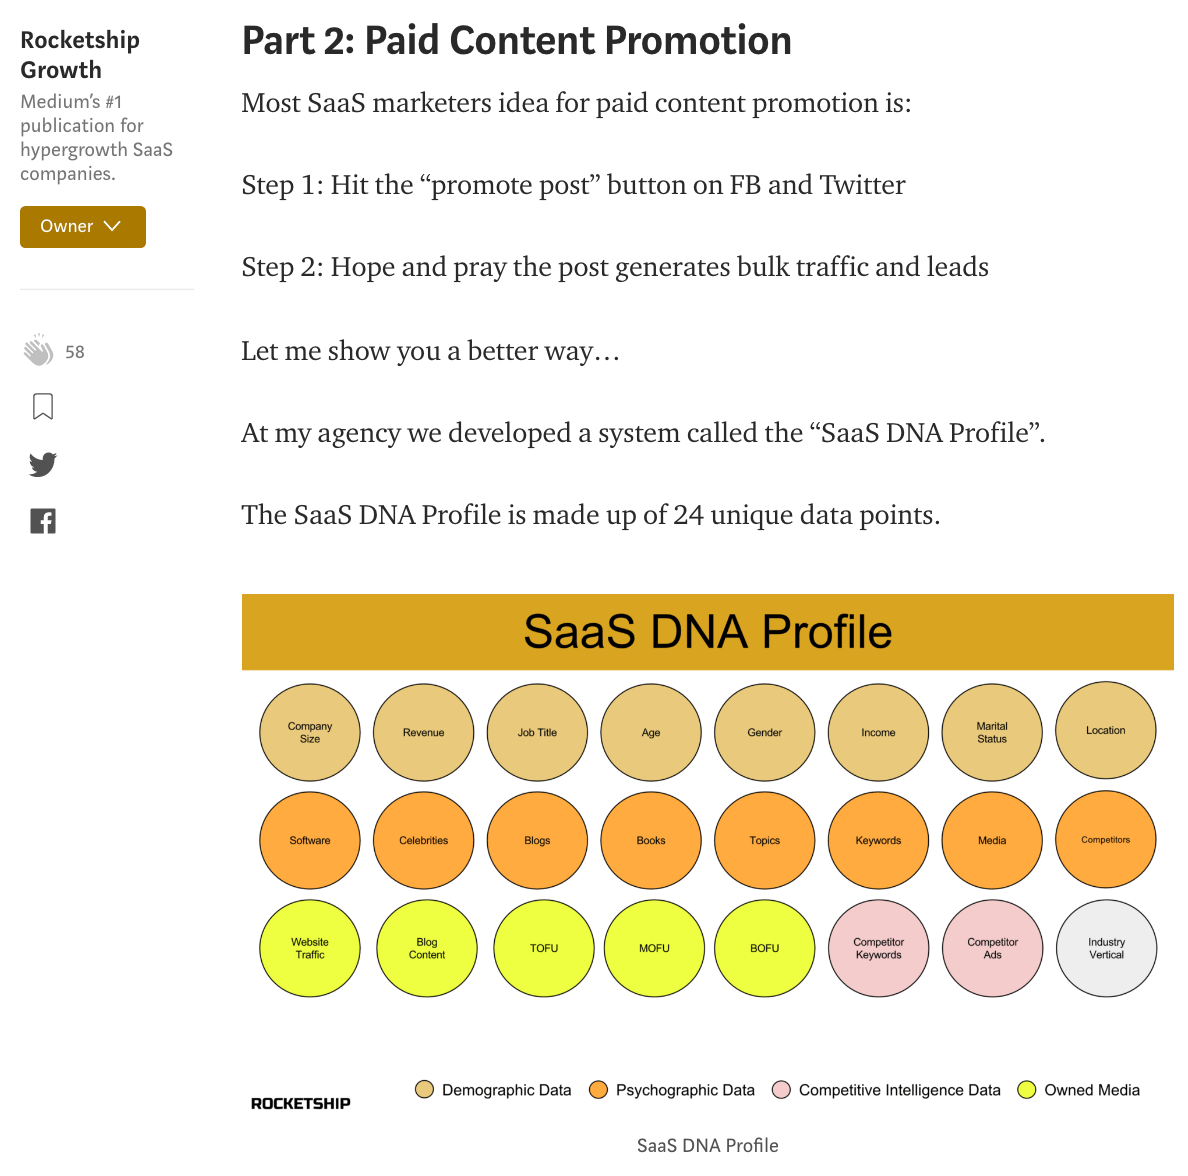
How do the Medium.com typography nerds do it?
They use:
- Marat Sans font.
- 21px font size.
- 1.5 line height.
- 700px content width.
If you want to make your readers knees go weak when they read your content.
Then I suggest you do similar.
Here’s how:
First go to one of your blog posts, right click and select Inspect.
Then click on the Select element tool (located on the top left of the inspect window).
Use it to hover over your body copy and find the font, font size, and content width of your blog content.

Then go to the Golden Ratio Typography Calculator and enter your current font, font size, and content width.
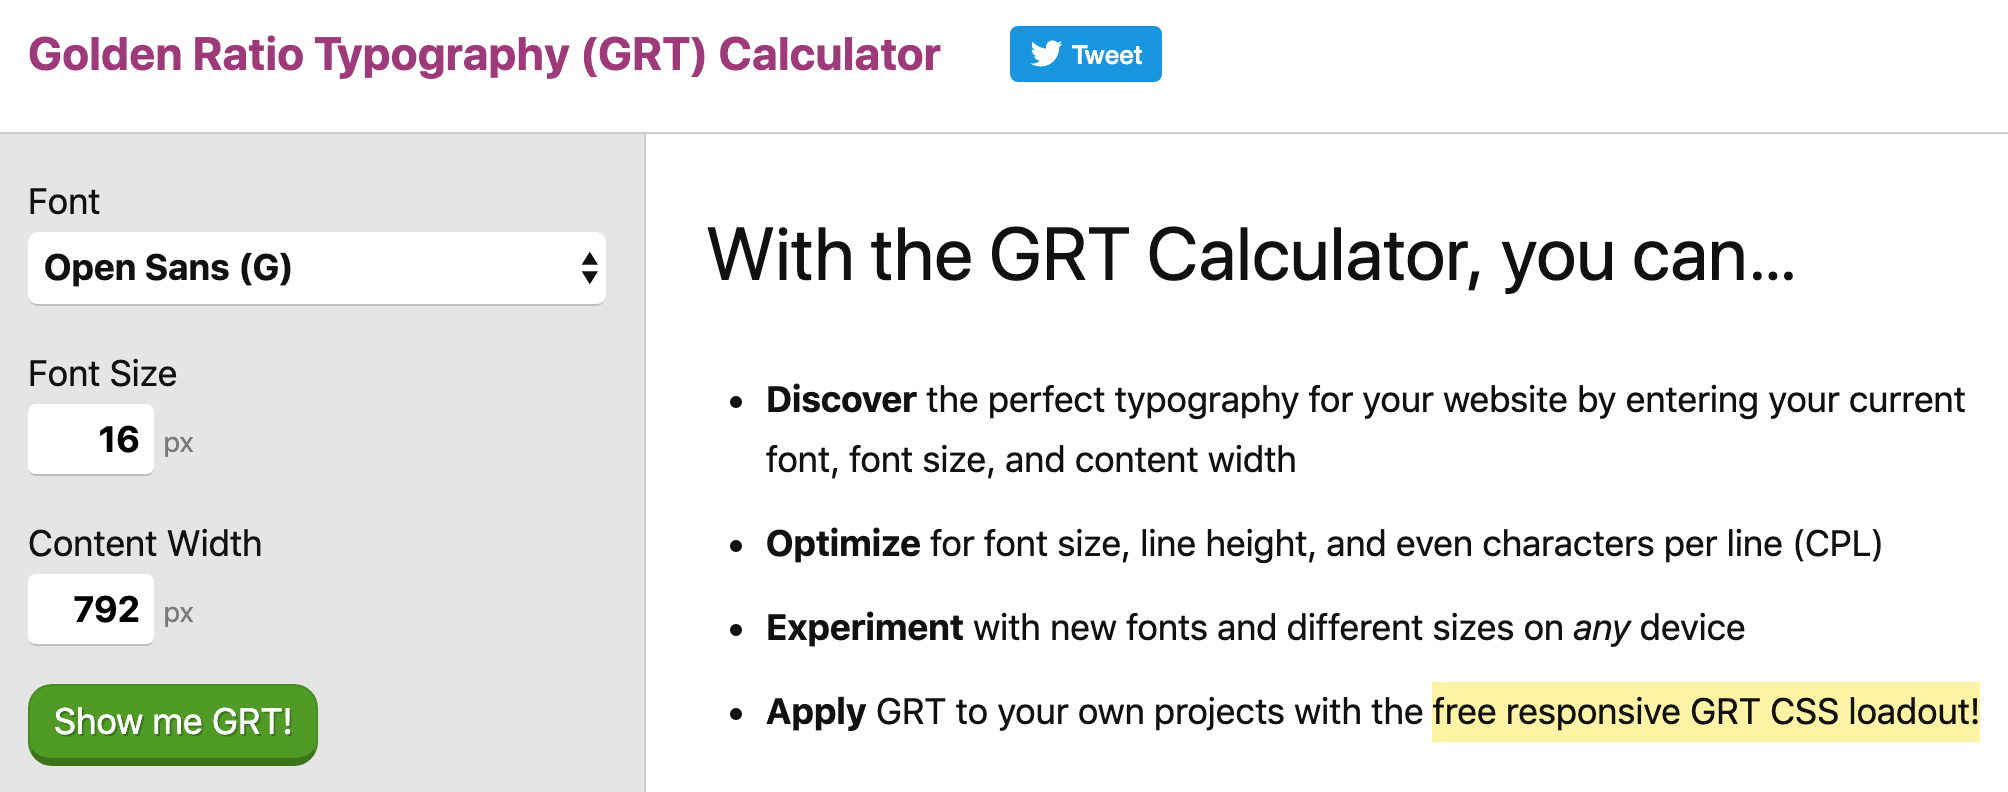
This tool will show you the perfect typography for your website.
For example, with 16px font size the ideal content width for my content is 544px.
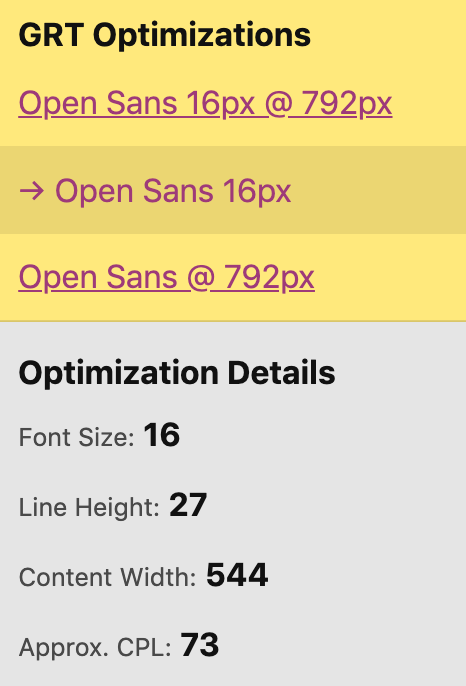
But it gets better.
Let’s say I want a bigger font size (18px), and a narrower content width.
I can:
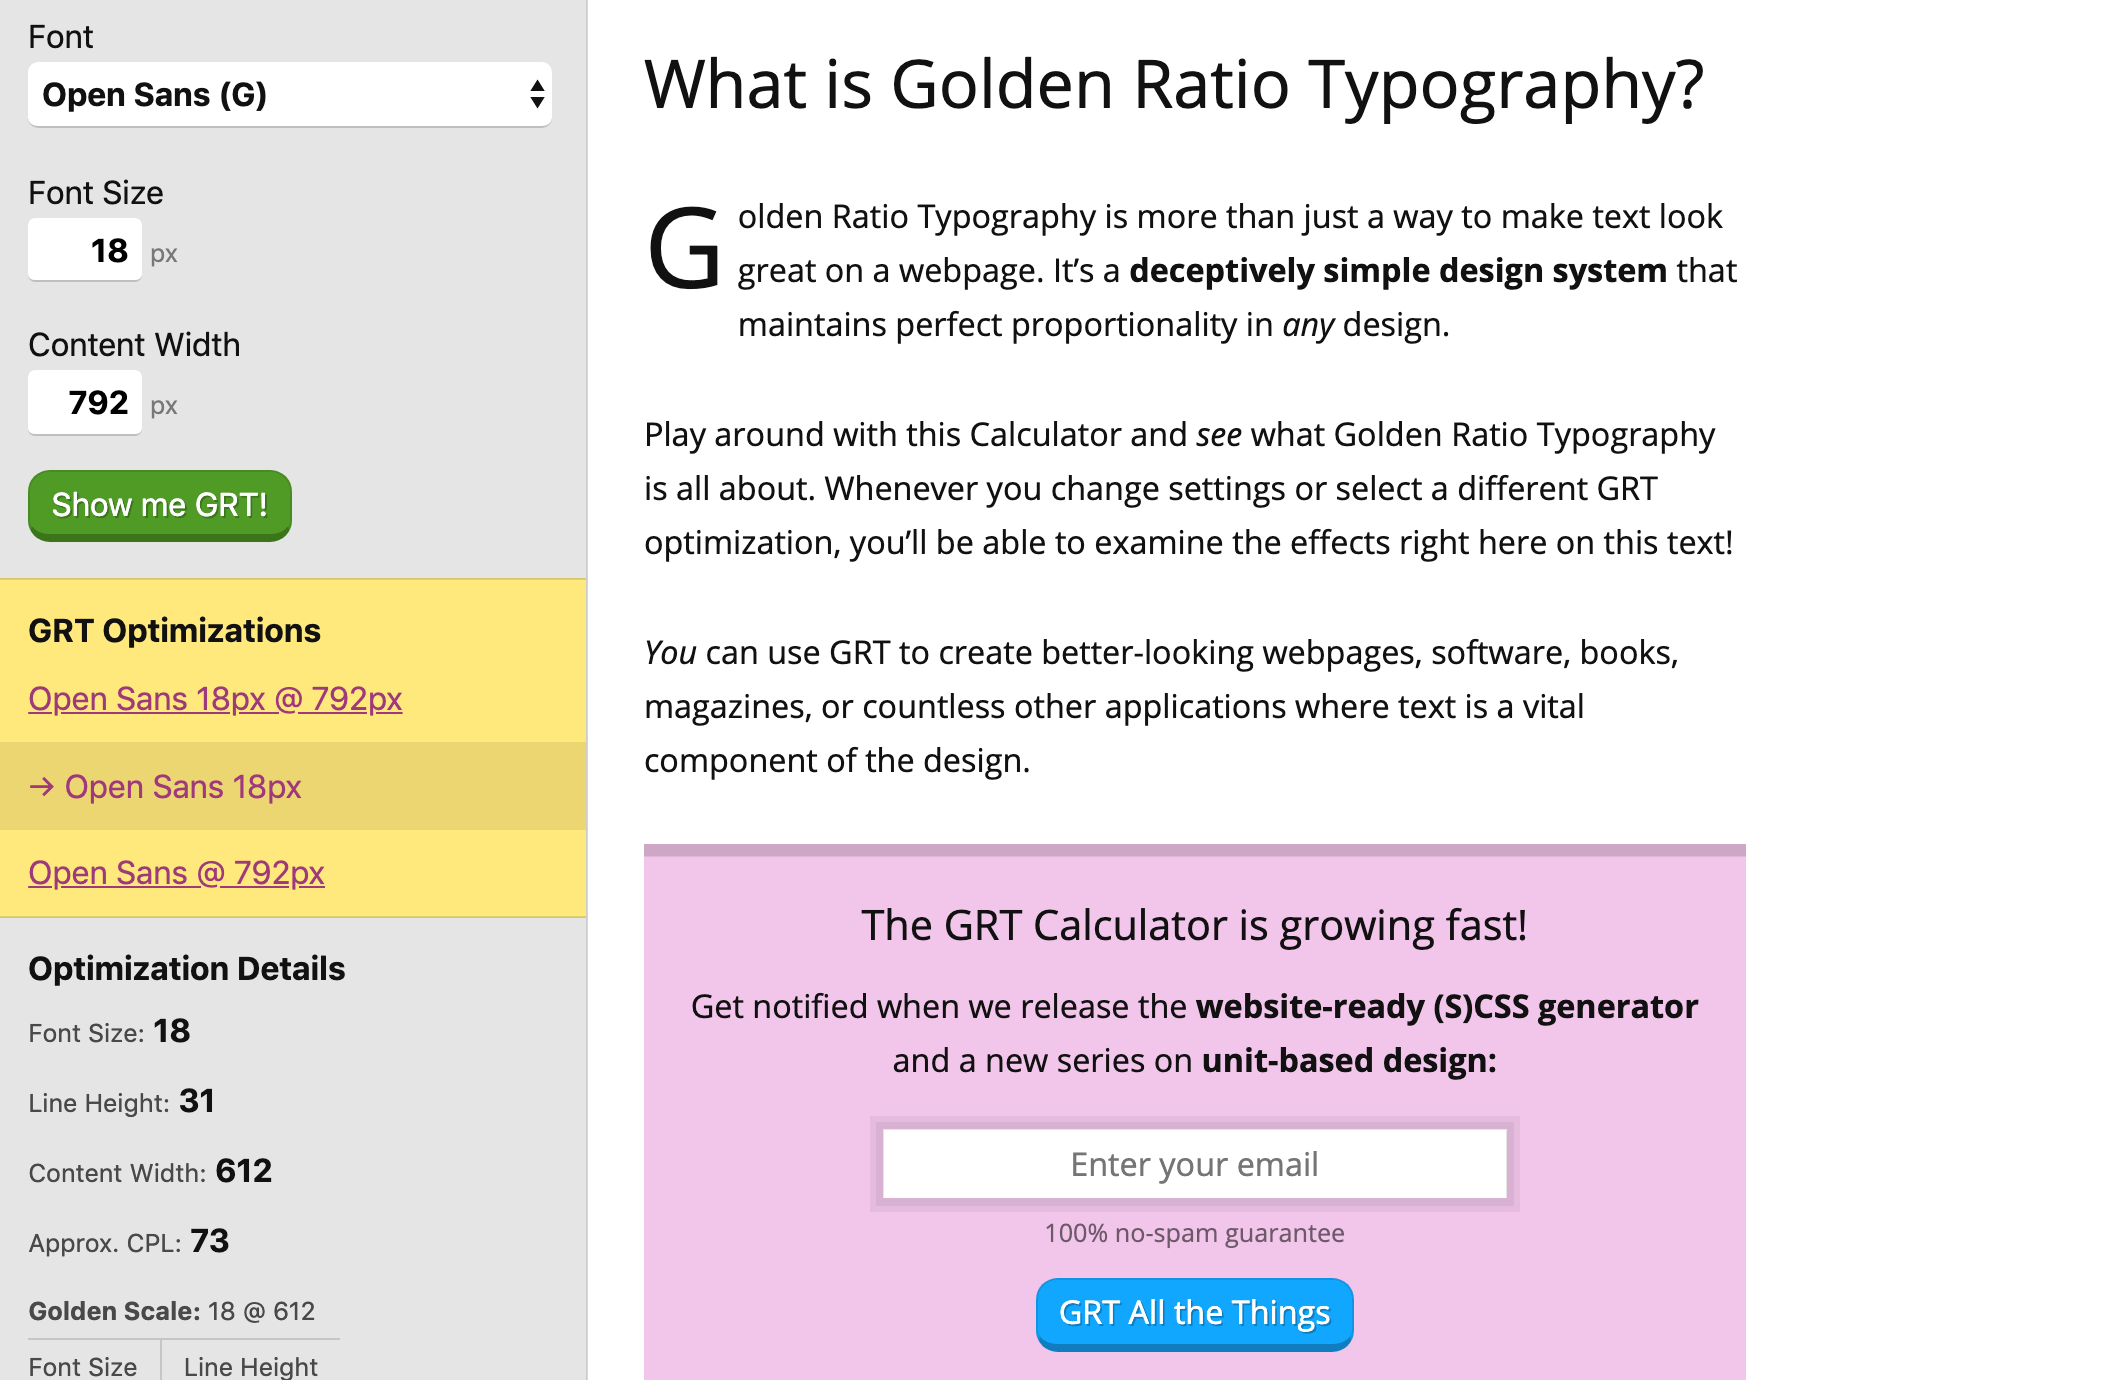
- Update my font size to 18px in the calculator.
- Under GRT Optimizations click on the result with the narrow content width.
- See the golden ratio typography I need (18px font size, 612px content width)
You can see a preview of what it will look like live on your site (on the right-side of the calculator):
Magic!
Now your content UX can rock harder than Medium.com with perfect proportionality (grr, baby!).
Image Markup
You may have noticed that a lot of images we use on the Content Mavericks blog are marked up, like this:
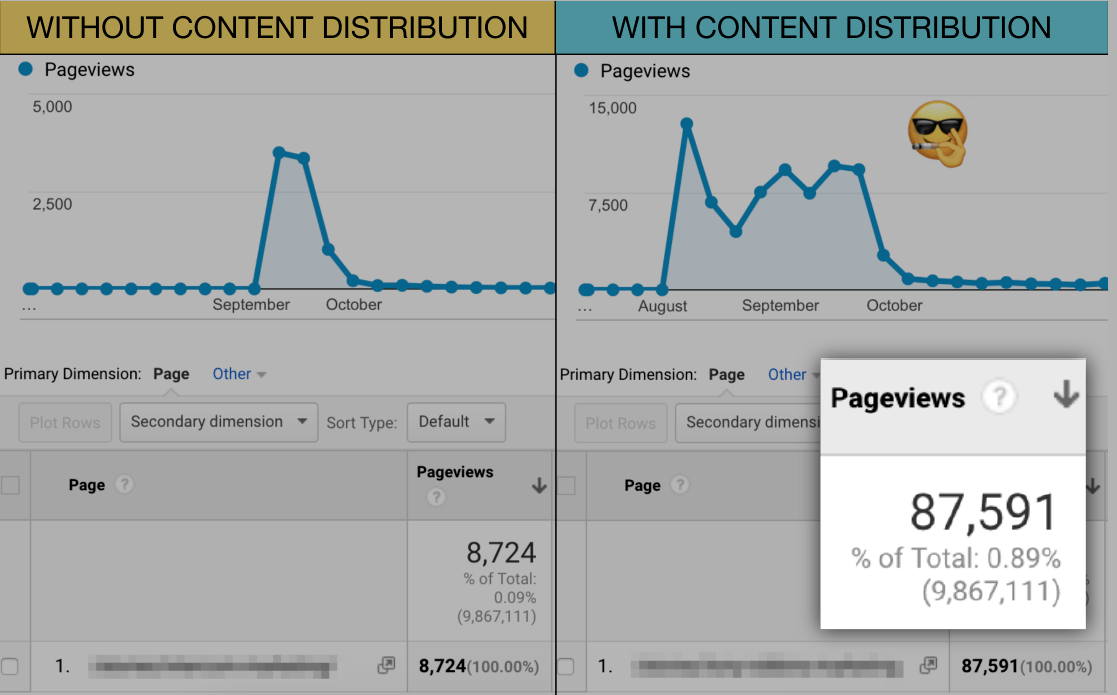
Sexy, right?
In an instant, I’ve focused your attention on the 87,591 visitors I drove to one blog post.
To do it we use a free tool called Pixlr Editor.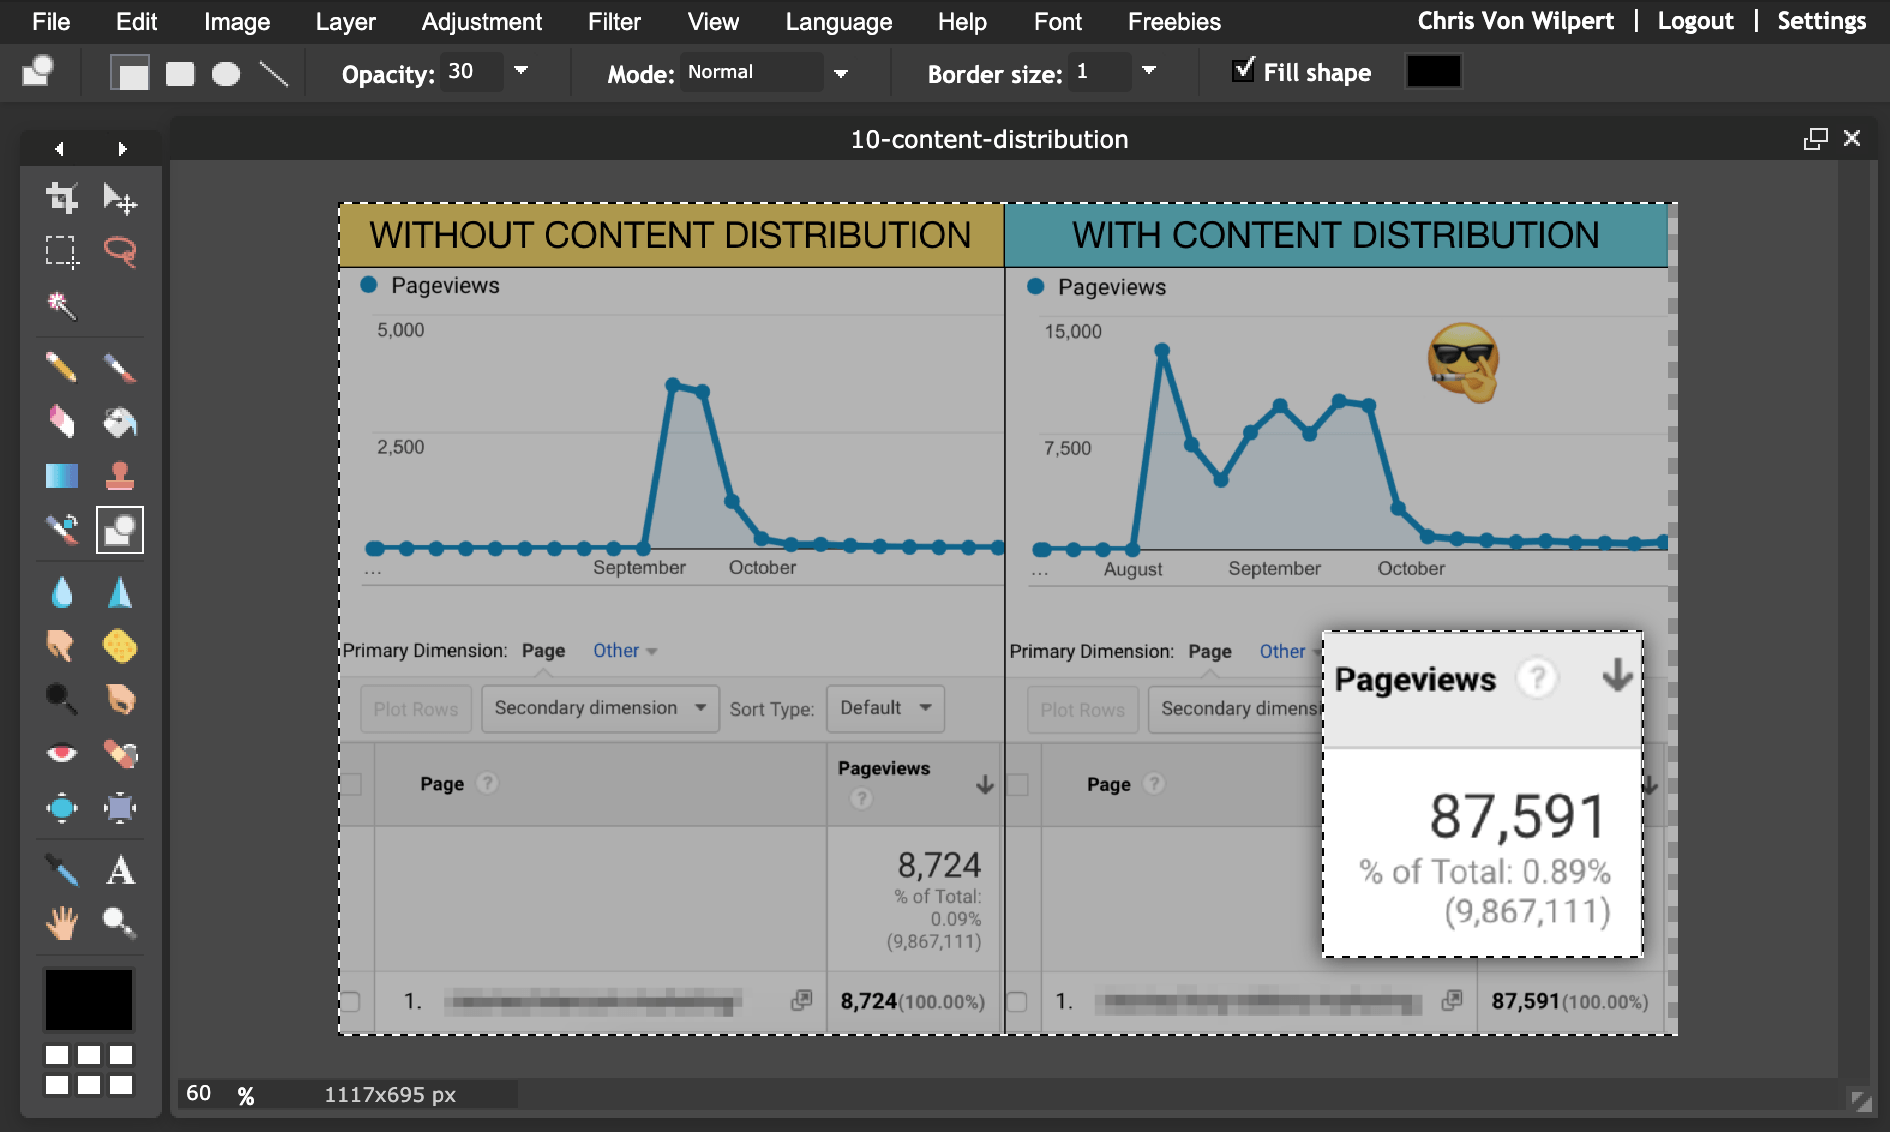
It’s like Photoshop, but easier to use, 100% web-based and free.
To get the same highlight-and-fade effect inside Pixlr:
- Use the Marquee tool, select the part of the image you want to blow up, then right click and select Free transform to adjust the size.
- Use the Marquee tool again to select the part of the image you blew up, then right click and select Invert selection.
- Use the Drawing tool with Opacity: 30 to highlight the entire image and create a lightly shaded background effect.
Here’s a quick one minute video my image editor "Magic Matt" made on exactly how to do it:
Swag it up baby!
Step #7: Optimize Your Content For Social Proof
Share Count
When someone sees your content has 100+ shares, like this:

They’re more likely to read it.
Fact.
The problem?
Getting to 100+ shares on your content can take time.
If you don’t have an audience of raving fans to distribute your content to on day #1, it might take you a few days using my content distribution strategy.
So to avoid “anti-social proof” I use Sumo.
First I turn on Sumo Share by going to Settings > Apps > Share.
Then under Extras > Share > Settings I set my social share count to only show if my post has 100+ shares.

You should try it!
Step #8: Optimize Your Content For Conversion
Content Upgrade
An email list is the best way to promote your content and make sales. Period.
That’s why I always use ConvertBox content upgrades, like this:
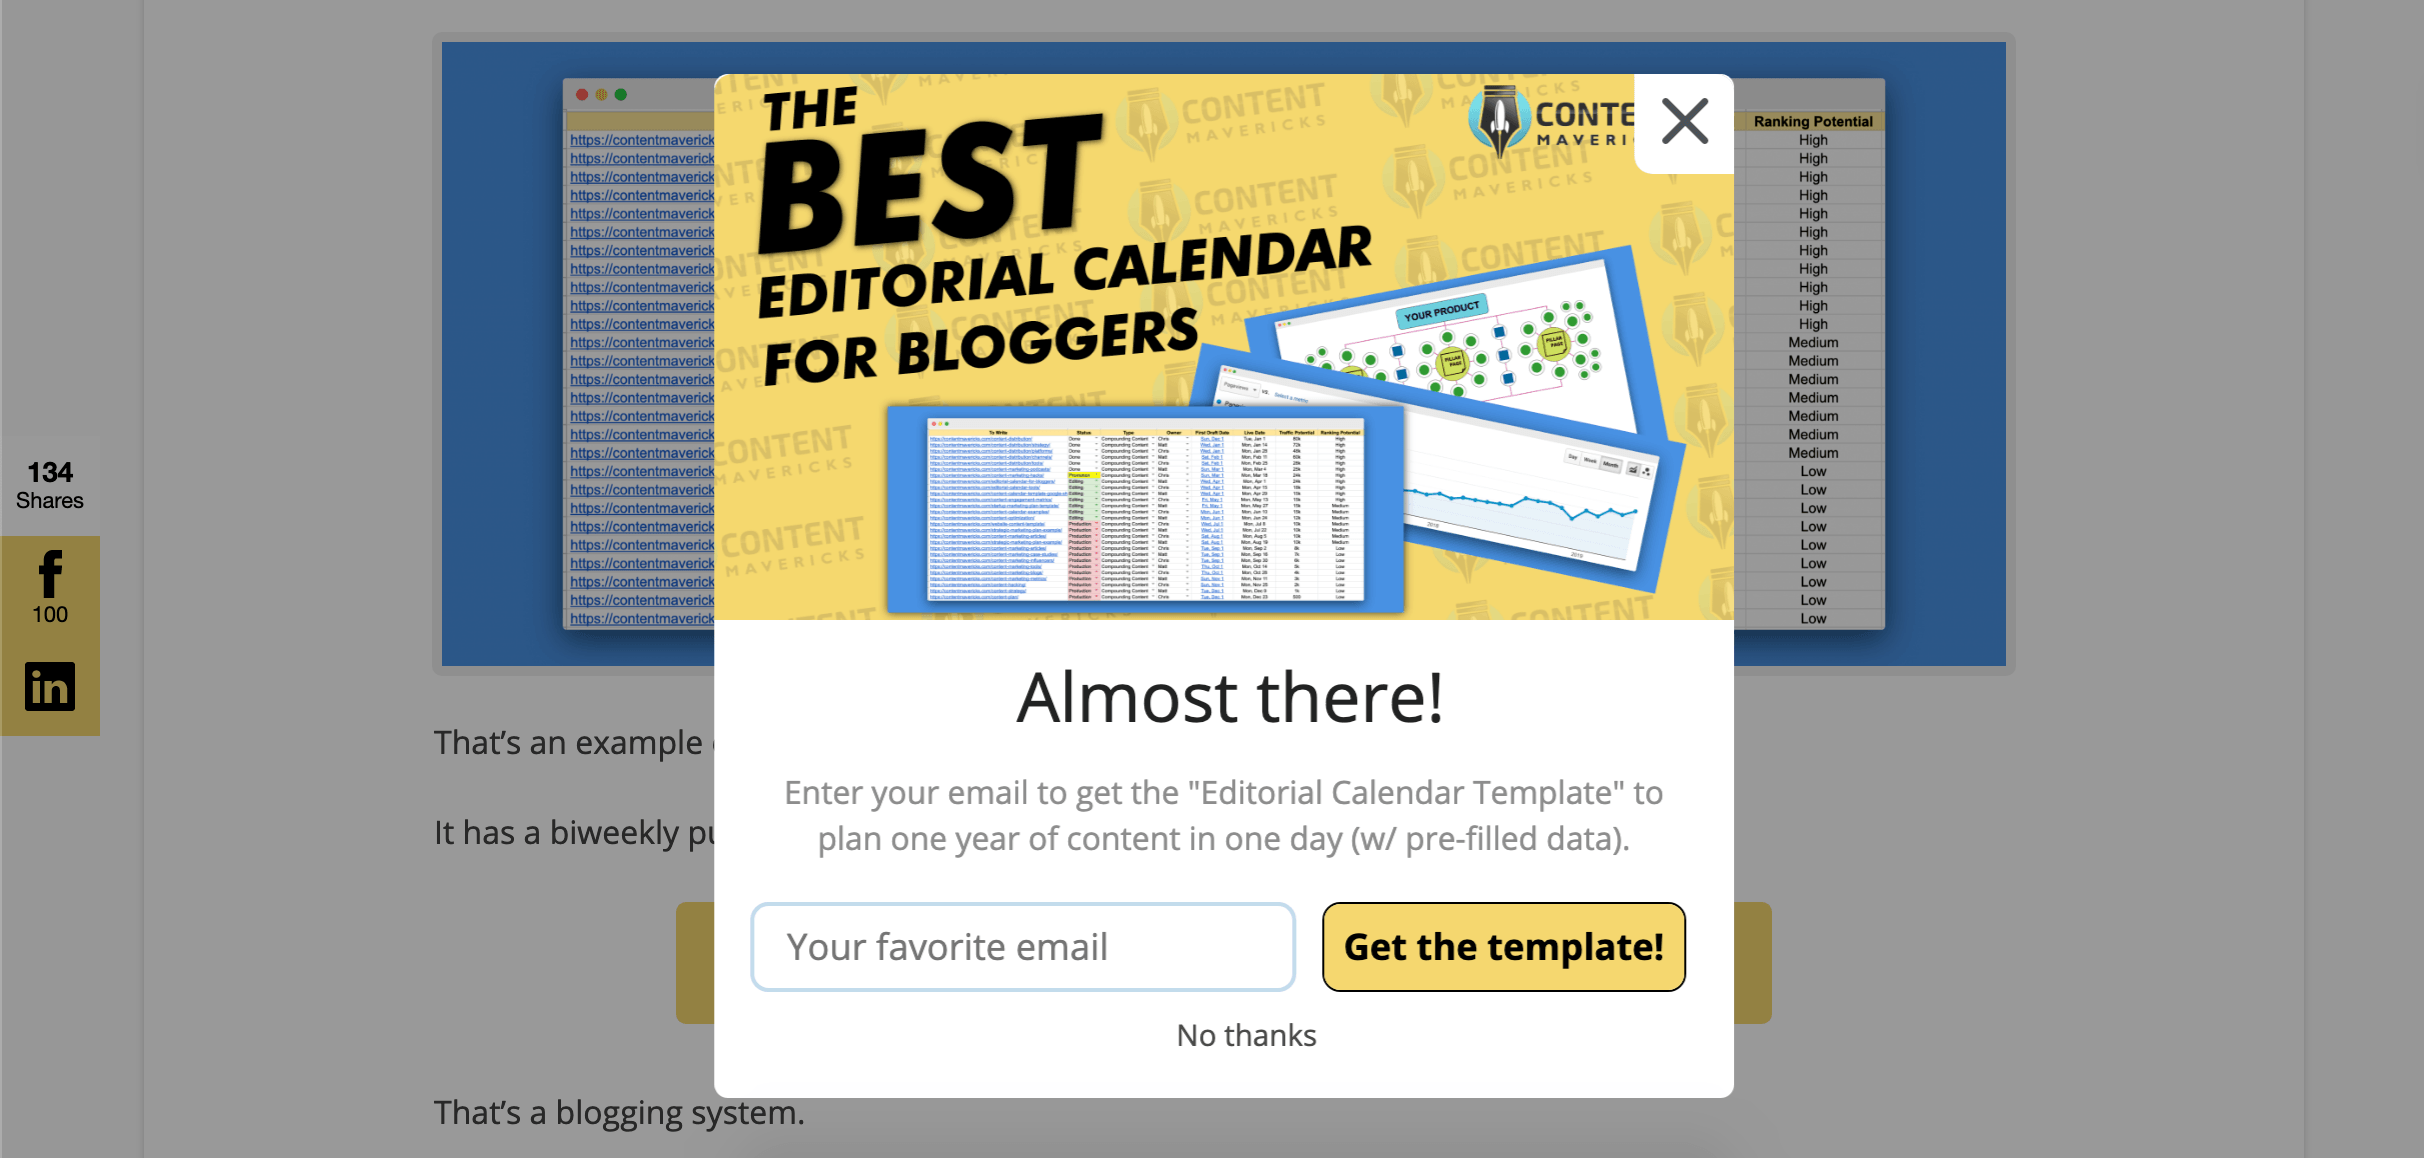
These are bonus pieces of content people can download by entering their email address.
The key: Offer a “direct next-step upgrade” to the content people come to read.
For example, in my post about 10 content marketing hacks, my content upgrade is to download my complete list of 100 content marketing hacks: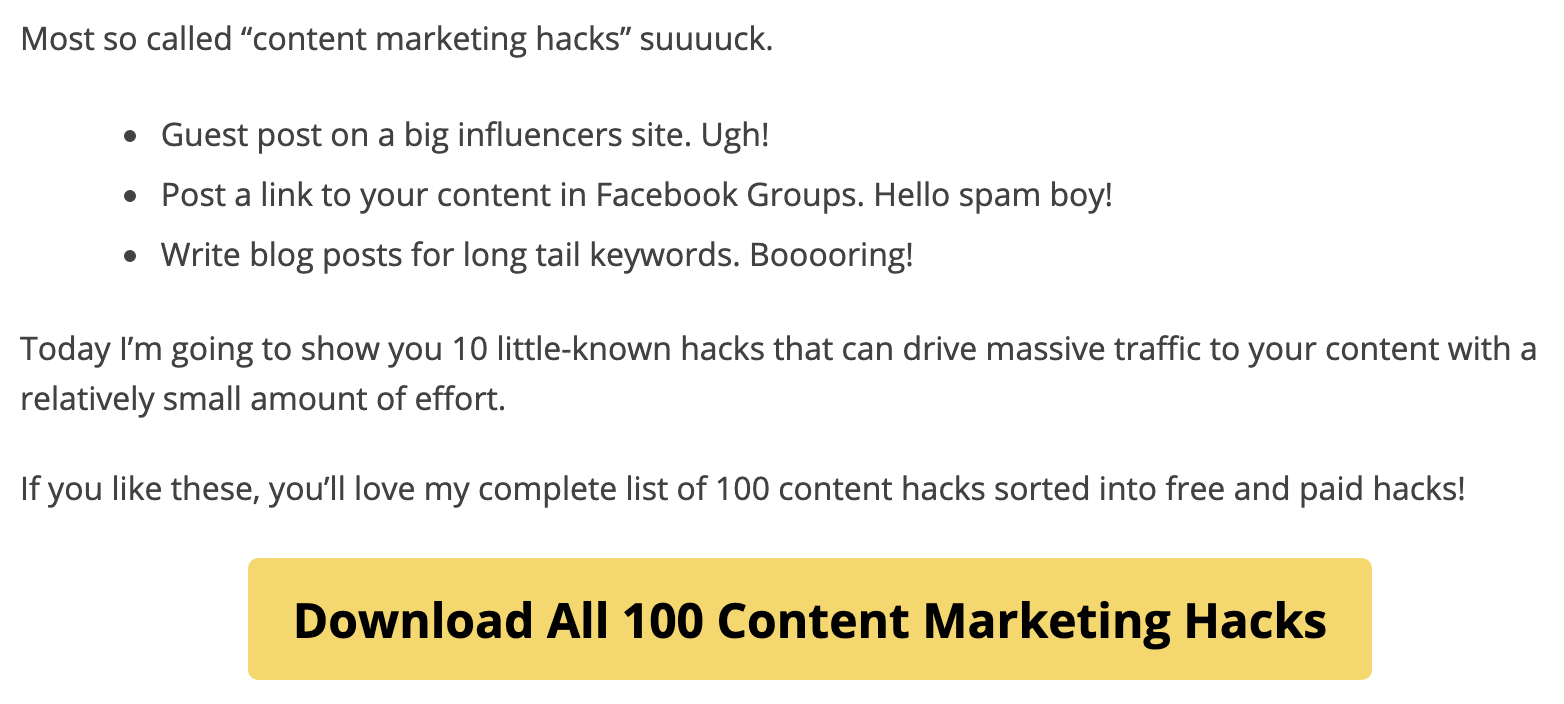
People came to read about content marketing hacks.
So it’s likely they’re going to want even more if they like the first 10 hacks I show them.
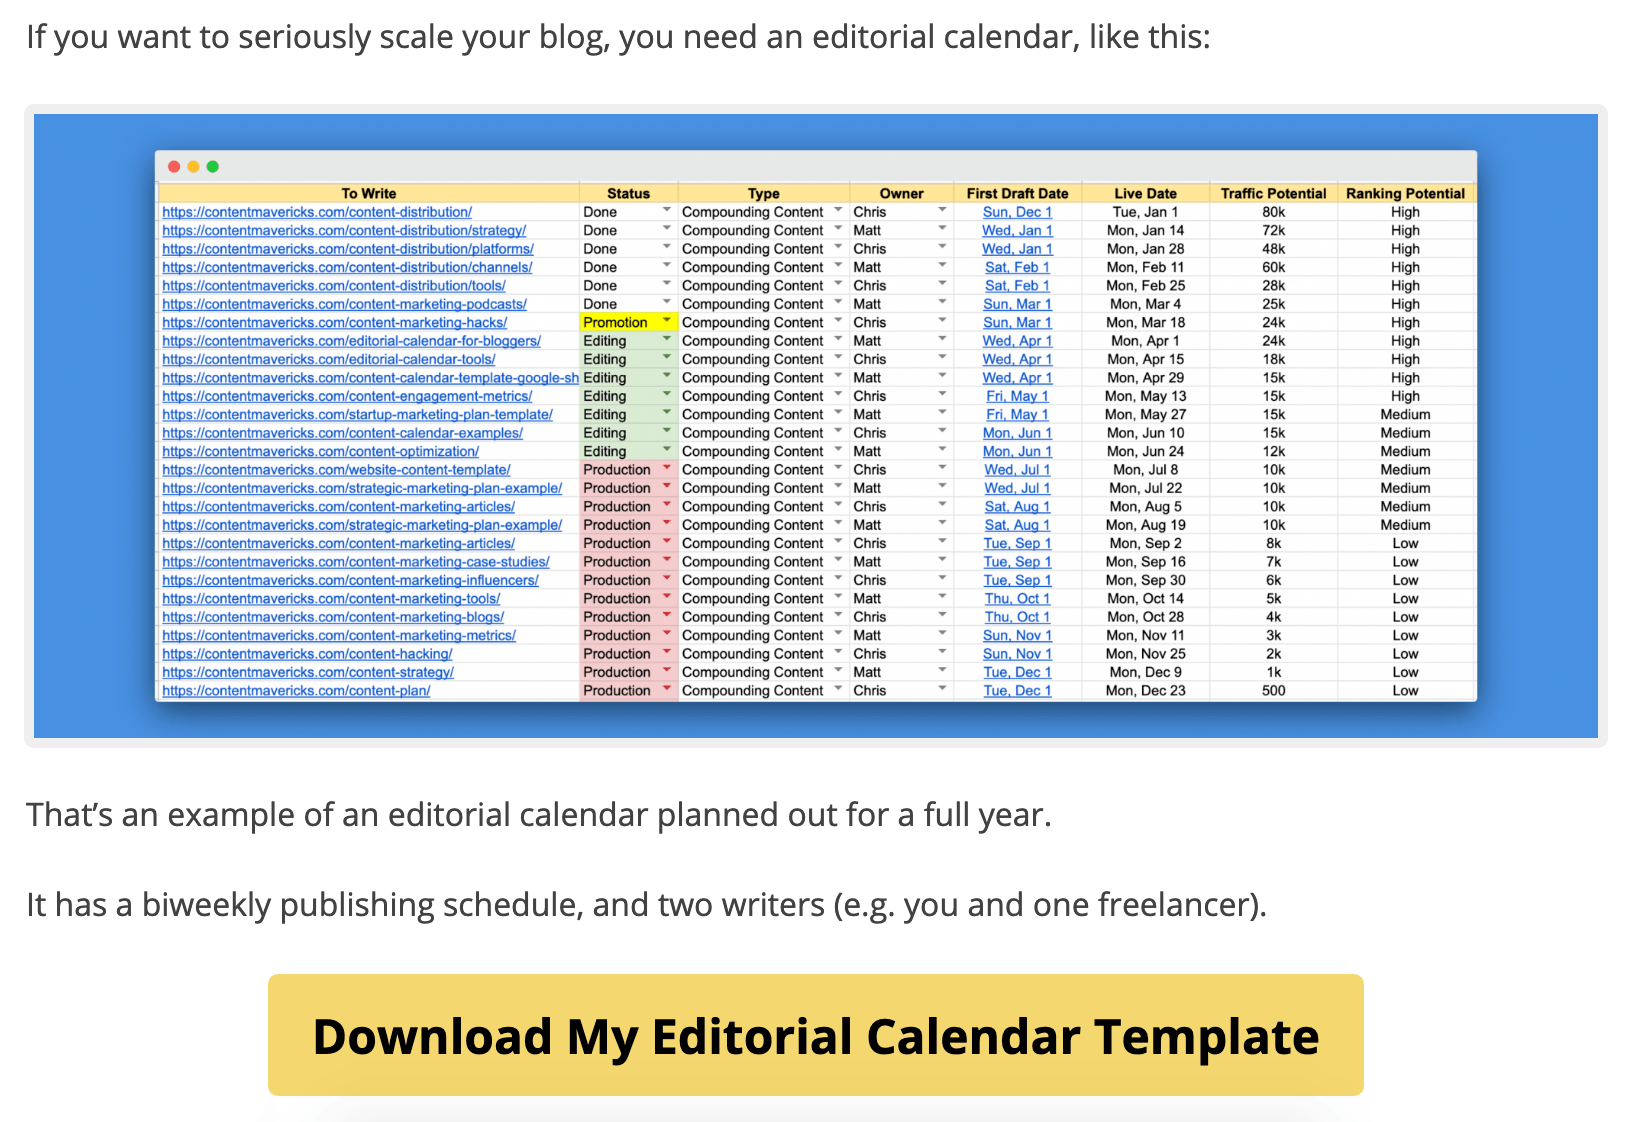
Another example is my post on how to build a content calendar.
People who want to build a content calendar likely also want a calendar template to do it.
So that’s exactly what I offer:
And it converts like gangbusters:

To do it, go to Forms > + Create New Form inside ConvertBox.
Set your Goal to “Collect Emails.”
Then choose the “Click Trigger Popup” Form Type.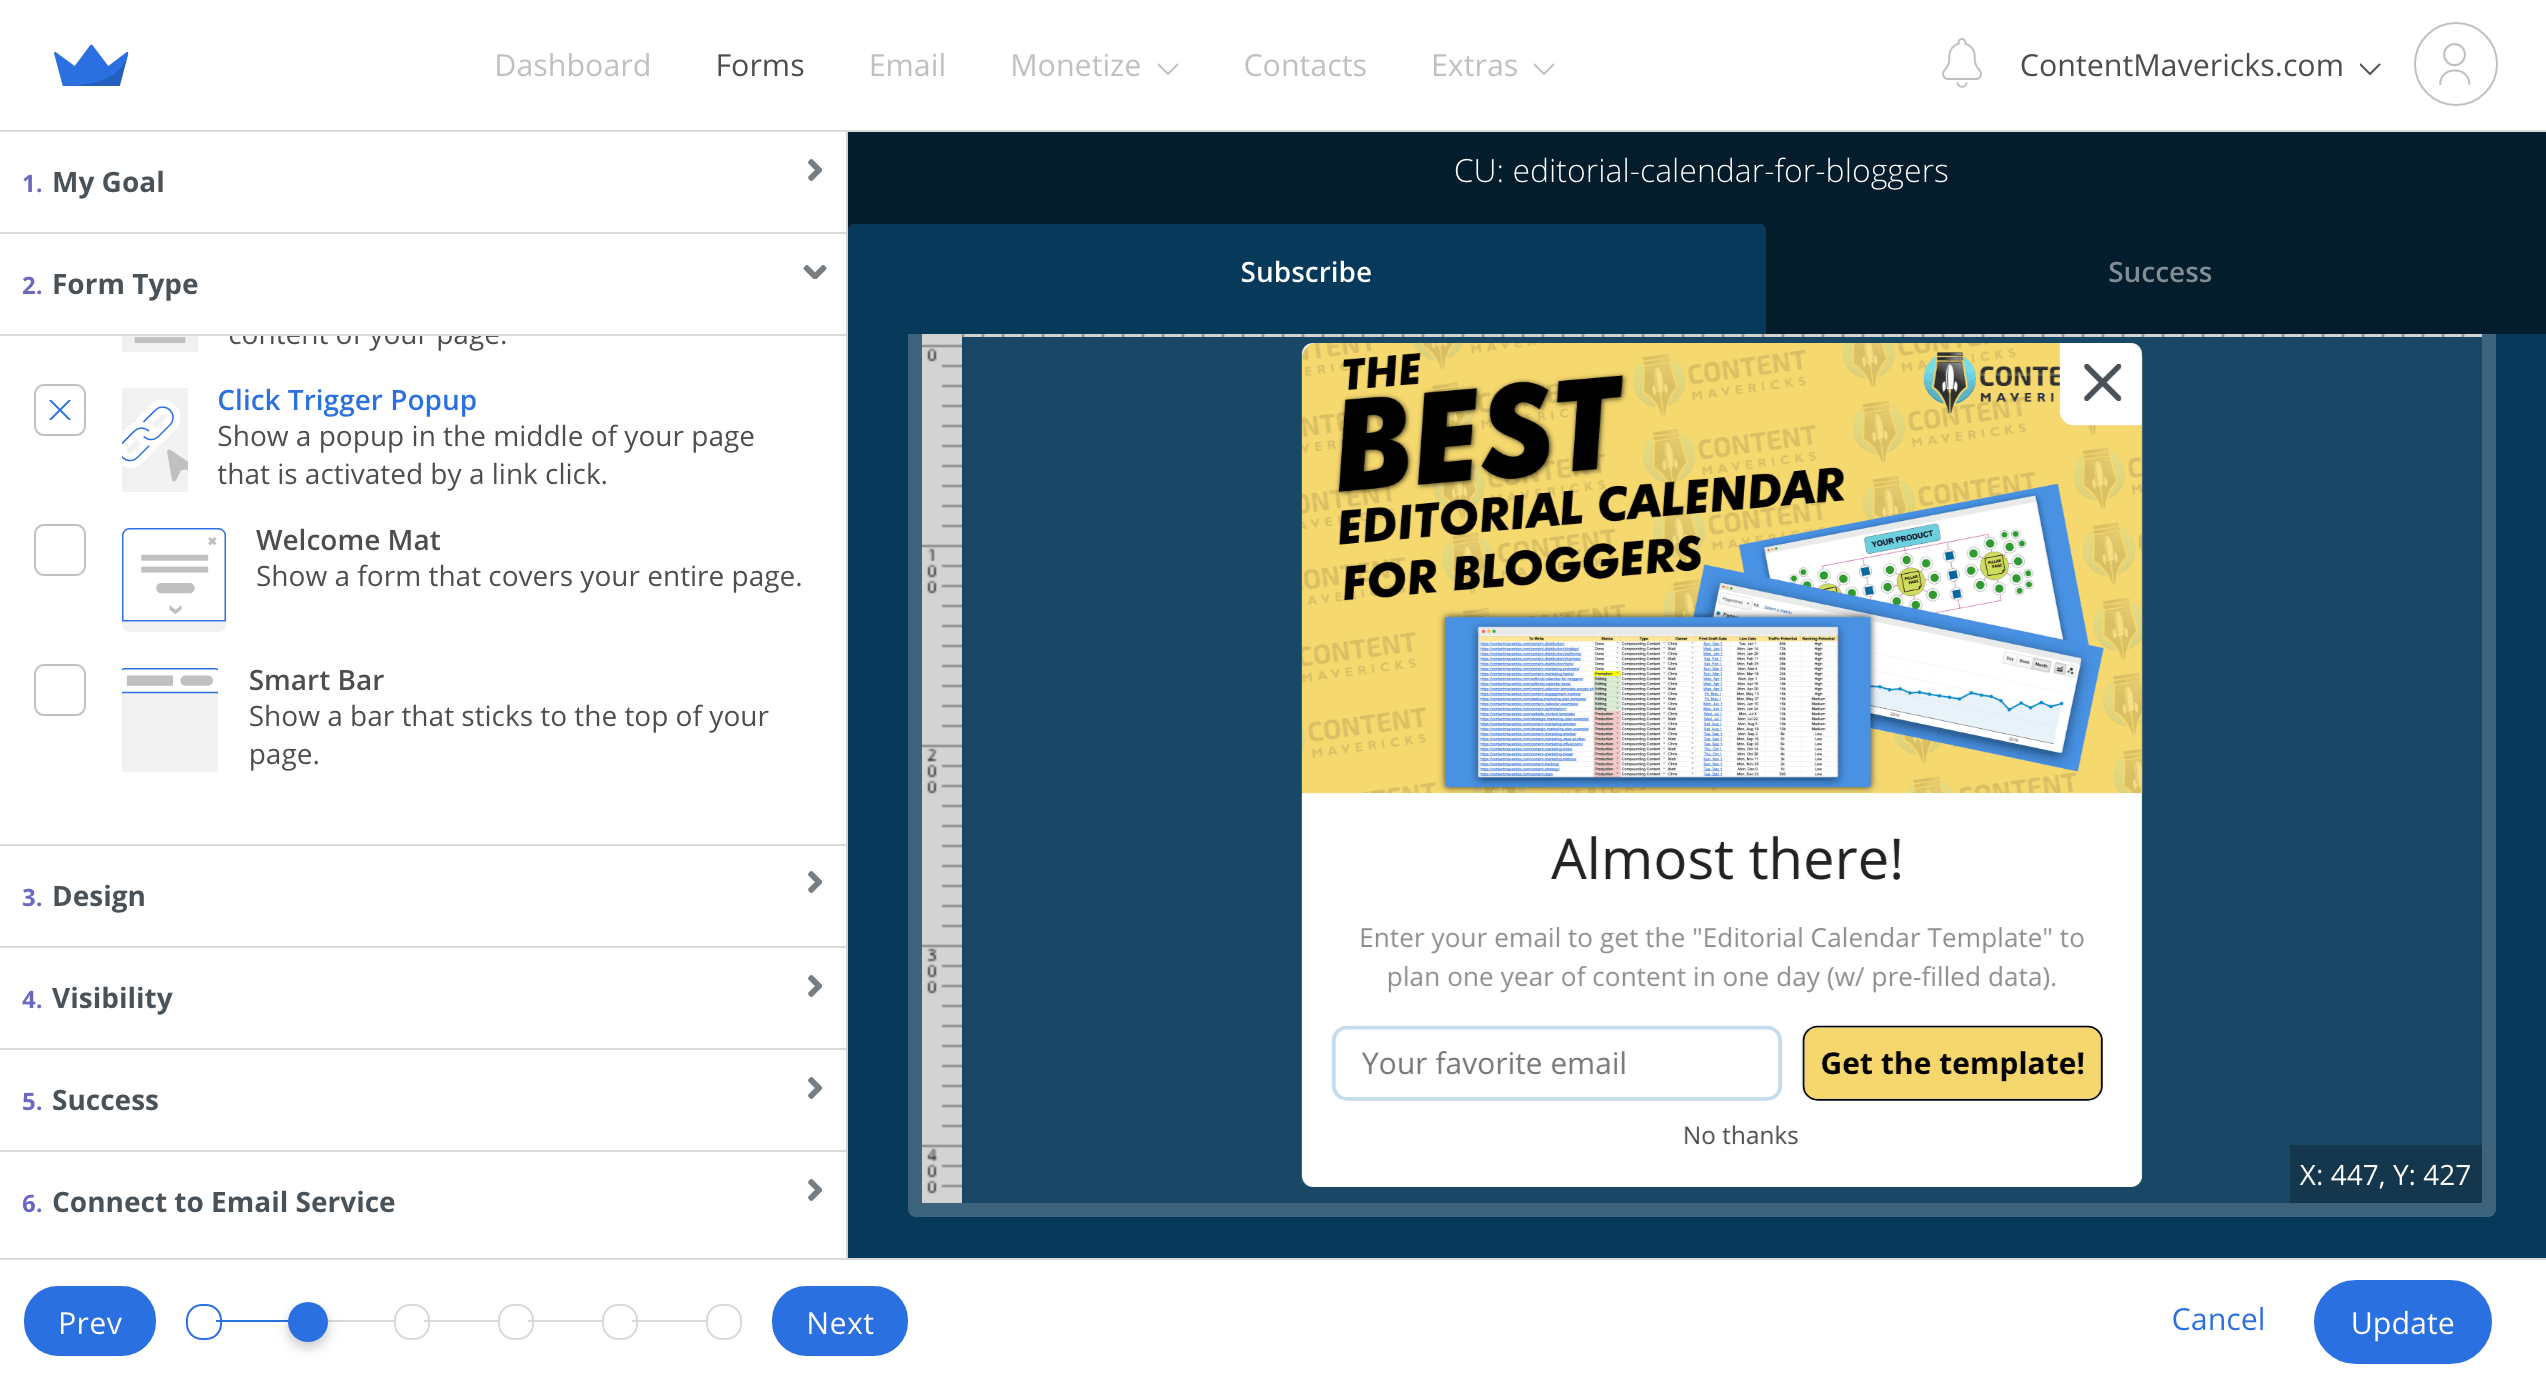
In the Visibility section, grab the embed code for your form:
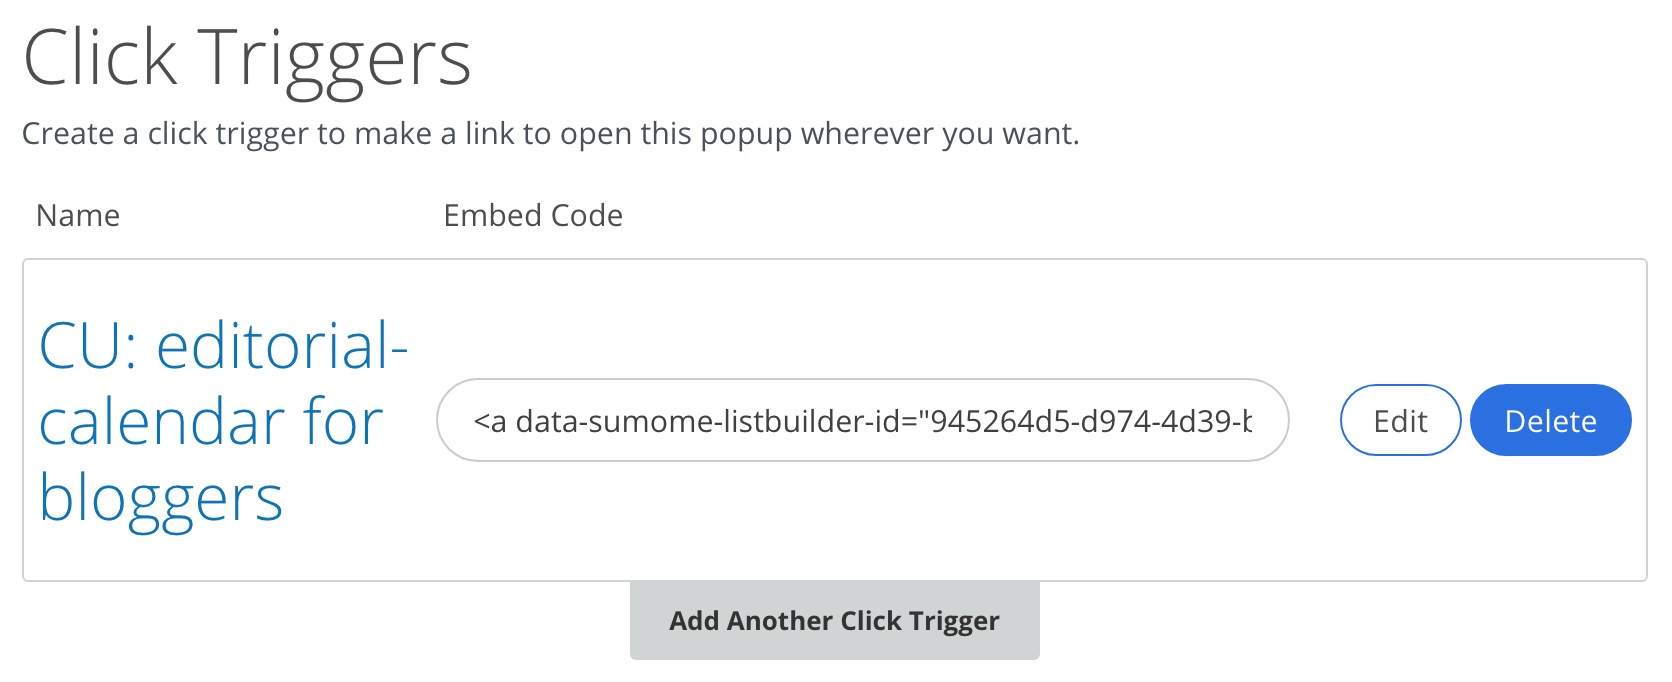
Then paste it into the HTML on your post, like this:

Bob’s your Uncle!
My Content Optimization Checklist To Consistently Create Perfect Content
As you’ve seen, optimizing your content can be a BIG job.
To make it easy, I created a content optimization checklist so you don’t miss a thing.
It’s based on the exact same checklist I use to optimize the Content Mavericks blog content.
Grab a free copy below and start using it to create “perfect content” using the content optimization strategy I covered in this post.
Then before you go.
Let me know in the comments below right now:
What’s the ONE thing you’re going to start optimizing your content for?
- Keywords with <500 search results on Google using an intitle: search.
- Grade 6 readability.
- Content upgrades.
Or something else?

